I offered to make a little cake for some friends who were getting married, just for the formality of cutting a cake at the reception – they were having a very informal wedding and potluck reception, and didn’t want a big fancy cake. The bride deferred to the groom on type of cake, saying she liked anything and he was more particular, but said he’d probably want a hamburger cake because he’d been quite taken with some at the grocery store. He was not present for that conversation – when I asked him what kind of cake he’d like, he said “hamburger cake.” No hesitation. So hamburger cake it was!
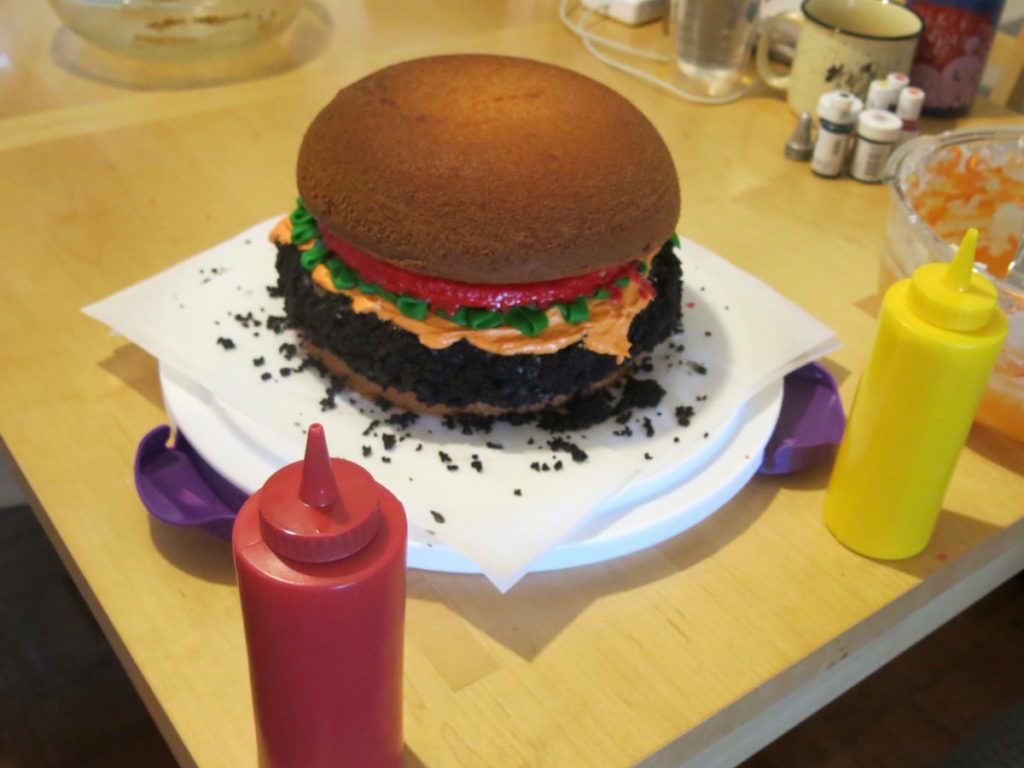
Clearly before the protective strips of parchment were removed. Those bottles contain red and yellow icing for people to add to their slices.
The hubs did at least as much work on this as I did, I should say. I started with a Food Network cheeseburger cake “recipe”, though I couldn’t find a 2.5-quart bowl, only a 2-quart bowl, and we decided to make only the burger patty chocolate.
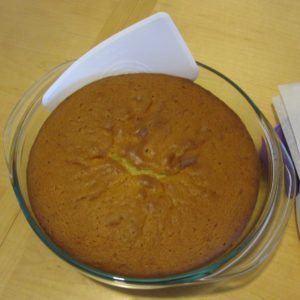
A couple of weeks ahead I did a dry run. I thought I would make a finished, decorated product, but I ended up only baking the cake. I used half a box of chocolate cake mix (1 layer) and a full box of vanilla cake mix (3 layers, which seemed annoyingly excessive at first but turned out to be the right amount).
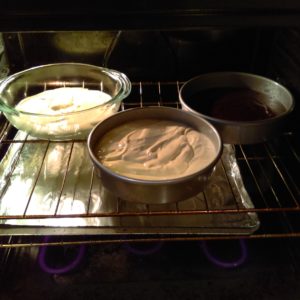
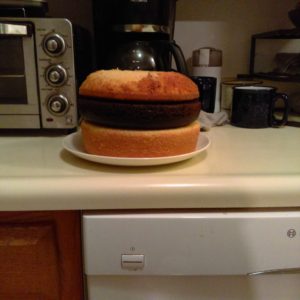
I took photos with my phone for later reference so the next cake wouldn’t be so bottom-heavy – the top “bun” looked silly, like a little hat perched on top, and the bottom bun could lose up to half its thickness and still be fine. However – look! A burger!
At this point we also thought the bare cake for the bun looked nicer than the icing-covered version, though no icing meant no sesame seeds (rice krispies being the universal “hamburger cake sesame seeds” according to my research). That’s actually why we did the “condiments” – the lack of bun icing meant overall a low quantity of icing, and we thought it would be nice for people to be able to add more if they wanted.
The day of the wedding we worked on the cake for SIX HOURS. I did not expect this to be a six-hour cake, but we made a lot of icing and had to go out for more powdered sugar at one point.
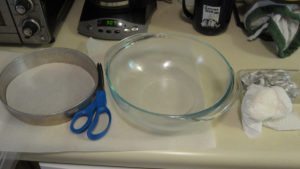
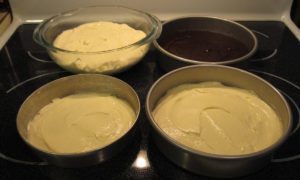
Preparing and filling the pans: cut out circles of parchment paper on the regular pans, thorough vegetable shortening on the bowl (via paper towel). A lot more batter in the bowl this time around – two-thirds full. Note that the bowl will take a long time to bake and even the pans will take longer because of the full oven. The tomato slice will be quicker, but for everything else start with a 30 minute timer.
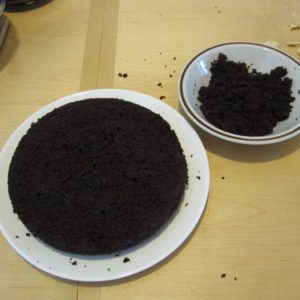
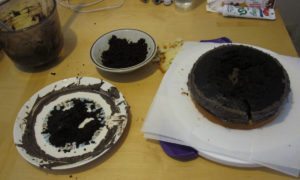
I leveled the chocolate layer on a plate, saving the crumbs so I could put icing around the outside and pat them on (a great idea from the Food Network version). Unfortunately I should have put parchment on the plate beforehand and I lost the middle of the layer when I flipped it onto the bottom bun. A lot of toothpicks and additional icing later and it was okay, but not stable – it kind of disintegrated on the way to the wedding. I was able to make it look all right but there is a reason there aren’t as many photos of the finished cake as there might be…
Flexible dough scraper with rounded edge: the perfect tool to get the top layer out of the bowl.
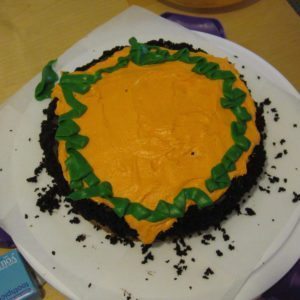
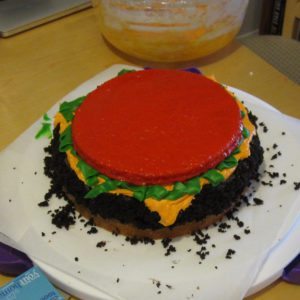
The hubs insisted on cheese, lettuce, and tomato, and fortunately we had a small-scale cake pan (in fact it was retrieved from the to-donate box, so good timing!). I baked a skinny cake layer and he soaked it in glaze-style icing (powdered sugar and milk, as opposed to the easy vanilla buttercream – plus cocoa powder as appropriate – of the rest). He colored all the icing, except the green which was commercial, and iced on the cheese and lettuce. It was a minor miracle when we added the tomato slice; suddenly it all looked right.
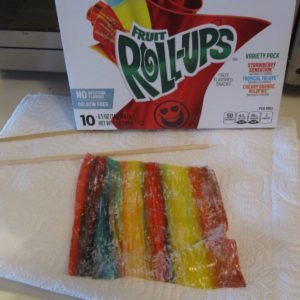
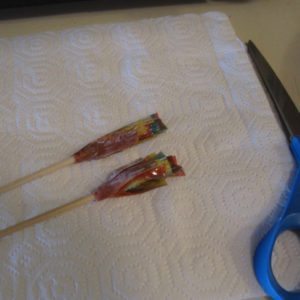
We’ll close with a failed experiment – frilly toothpicks. I cut strips of fruit roll-ups into fringe and rolled them around the ends of bamboo skewers. I corn-starched one side of each strip but probably should have done both… on the way to the wedding they just solidified into a wad of gummy at the end of the skewers.
