Simple gifts

I taught my husband crochet last fall, and he took right to it. He’s completed three projects, including a scarf he gave me at Christmas, and has two in progress. He got his own embroidery scissors and set of hooks for Christmas, and I gave him some large pins last week for his upcoming multi-piece projects. Today I’m giving him a place to put those pins.
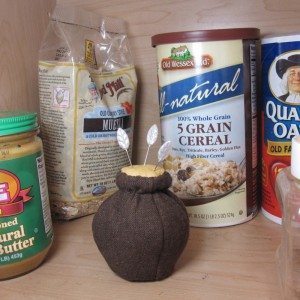
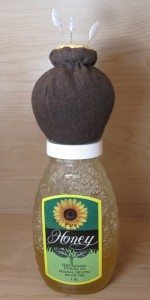
honey pot in situ honey pot posed

Honey for my honey! I began by tracing the outline of a Winnie-the-Pooh type honey pot, making four identical, symmetric pieces (of course it came out with much more extreme contours than that). I left out the tuck-in below the top rim and extended above the rim symmetrically to below it. After stitching those pieces together into a contoured tube, I added a disk of fabric across the bottom and sewed in a plastic ring (1.5″ diameter, outer edge) to hold the shape.
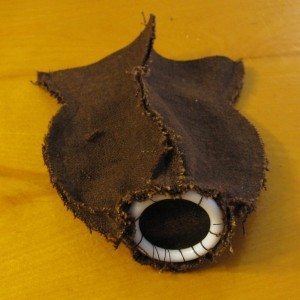
honey pot base ring

For the top rim, I had marked how far up the tuck-in should be and ran a running stitch around that part by hand. I filled the pot most of the way with sawdust, gathered the fabric until the opening was not much more than an inch across, then laid a second plastic ring above the gathers and took a few stitches to hold it in place. I folded the fabric at the rim to the inside of the pot.
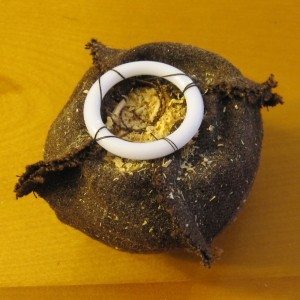
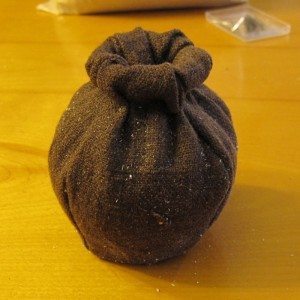
honey pot top ring honey pot base done

For the honey, I first had to locate proper color fabric! That turned out not to be possible in my stash, so crayon tinting came to the rescue. I cut a 2.5″ circle of honey fabric, ran a gather stitch around about 1/4″ from the edge, and laid two 1.25″ circles of batting on it to keep the surface of the “honey” smooth. I drew up the stitches to make a disk and stitched across roughly to keep the fabric contained. Finally I topped off the sawdust on the pot, laid the honey on top, and stitched it on. I used a sticky lint roller to remove the sawdust from the outside of the pot.
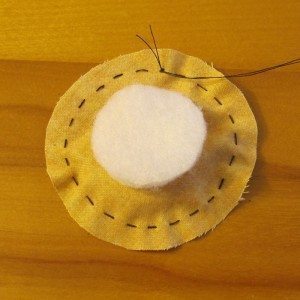
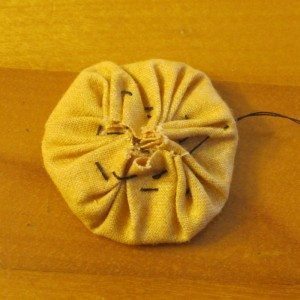
honey pot top prep honey pot top prep 2

If you want to make your own honeypot, I have a pdf pattern of the pieces, with brief instructions. Enjoy!
Wishes won’t wash dishes

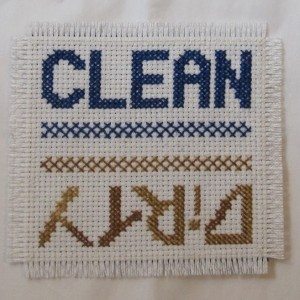
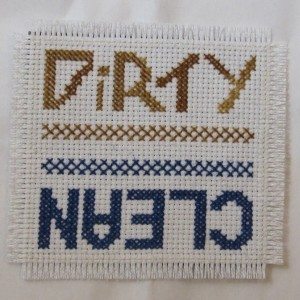
Now that I have a second person in the house, dishes get done by someone who is not me (this is a wonderful thing). Because of that, it became a Good Idea for the dishwasher to indicate whether the contents are clean or dirty. Being me, I designed such an indicator from scratch. It’s a cross-stitch square to be applied to a piece of self-adhesive magnet sheet.

magnet clean side up magnet dirty side up

This one isn’t actually ours, it’s one I made for a friend, which is why it looks pristine. The pattern is available as a pdf download. Colors are not included; I used unlabeled floss left over from other projects, and neither of them appears to be DMC (according to my color card).

If you want to make one that looks like the one above, you’ll need a crisp dark blue floss and one that variegates between tan and sand color. Don’t worry about matching up the colors in the variegated side; sudden changes, stitches that are half one color and half another, and pools of one or the other extreme color add to the “dirty” vibe. I used 2 strands on 14 count Aida; you might decide the fuller look of 3 strands would be better.

After stitching the middle, I used a single strand of white floss to secure the edging inside the fringe (which had yet to be cut) with a neat whipstitch. I secured each end of each strand in the colored floss of the interior, came out one square away from the image, and went back down two squares outward of that. Repeat in the next square over, so the back of the work shows gently slanted stitches. At the corners, five stitches share an inner corner.

For extra security (our magnet is showing most of its wear in the fringe region), I backstitched across the middle of the whipstitches all the way around and out to the edge of the whipstitch (i.e., the 2nd and 4th whipstitches sharing an inner corner actually share two inner corners, because a second stitch goes from their outer end to the corner of the backstitch line). This thread was also secured in the colored stitching.

To make it easier to remove the magnet from the dishwasher without pulling the fringe out, I wanted to bevel the magnet with my utility knife. However, I realized it was far too thin for that, so I beveled it by rubbing the outer edges on sandpaper. After wiping off the dust, I peeled off the paper backing and pressed it onto the back of the stitching.

Finally, for extra extra security, I taped off the fabric outside the white stitching with masking tape and brushed a thin layer of Mod Podge on the interior. After that dried, I peeled off the tape, trimmed the fabric to 3 rows outside the white stitching, and pulled out the crosswise threads of the fabric outside the white stitching to make fringe.

More gifties

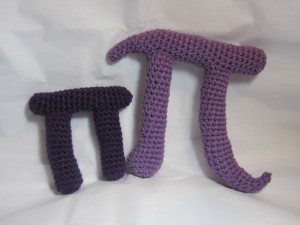
My sister requested a crochet Pi for her office, and since the very few versions I found online (for pay or free) did not excite me, I decided to make my own.

two pis

This is big little pi and little big Pi. I haven’t totally worked out the pattern for big little pi, but here’s the other.

Little Big Pi

Top bar:
1. Sc 6 in magic ring.
2. 2sc around (12).
3-5. Sc around (3 rnds).
6. Ch 3, sk 3 sts, sc 9.
7-8. Ch 3, sk prev chs, sc 9.
9. Sc into each ch and sc of prev rnd, leaving a lp of each ch exposed to sc into later (12).
10-14. Sc around (5 rnds).
15. Sc 2, ch 3, sk 3 sts, sc 7.
16-17. Sc 2, ch 3, sk prev chs, sc 7.
18-20. Rep rnds 9-11.
21. Dec around (6).
Cut, leaving a tail for finishing, and pull end through last stitch, but leave open for now.

Legs:
These are crocheted directly onto the top bar, beginning in rounds 6 and 15 of the top bar. Be warned that it is very easy to add a stitch in rounds 1 and 2 – when you are done with round 1, count to 12 back the way you came to make sure you’re stitching into the correct loops.
1. Place sl kn on hk and sl st to join to middle skipped sc in rnd 6 or 15. Sc in same st and next sc (2), in ends of rows once before, between, and after the chs (3, 5 so far), in each rem lp of the chs of rnd 8 or 17 (3, 8 so far), in ends of rows as before (3, 11 so far), and in rem skipped sc of rnd 6/15 (12).
2-14. Sc around (13 rnds; sk sl st of rnd 1!).
15. Dec around (6).
Stuff and FO. After both legs are done, stuff and FO top bar.