Elephmints

One of my earliest embroidery floss crochet projects was Roman Sock’s instant crochetification elephant. You can see my first elephant in my family photo. It is now in the keeping of one of my cousins. After learning a friend’s younger brother had pronounced it “elephmints” as a child, I decided to make some elephmints. I thought it would be good practice for color work. And it was, though I delayed making them so long that I’d gotten other practice for color beforehand. Anyway, here they are!
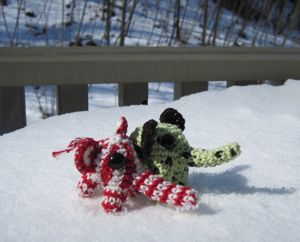
elephmints from the side

Starlight Elephmint was started in January and completed last weekend. I had to change the pattern because originally the initial rounds are multiples of seven stitches, which wasn’t going to work well for a starlight mint pattern. There was a lot of color changing and the floss skeins were thoroughly twisted together when I finished. The trunk and legs are not made by color changing, but by adding one color in the middle of a round and then working alternately with each, stitching as far around as possible with one before switching to the next, as in the last of my mother’s potholders. I also changed the ears to magic rings with ch 2, 8 dc in ring, ch 2 and sl st into ring; join new yarn to ring and ch 3, sc across (which somehow became only 7 sc?), ch 3 and sl st to ring; tighten ring. They aren’t as big as they could be; I’d probably do some sc inc across if I did it over. His tail is a chain stitch with one strand of each color, slip stitched on and with an overhand knot at the end.
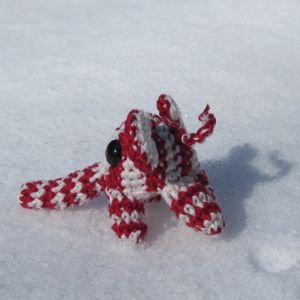
Starlight Elephmint

The one I think came out much better, Elephmint Chocolate Chip, was completed in December. My multipacks of cheap floss included a good mint ice cream green, but I bought the dark chocolate brown specially. There were no changes to the pattern here (except I did the ears as magic rings with ch 3 on each end of the triples, since when I try to do them as ch 7s they get all pulled out of shape; this may be entirely the fault of working with embroidery floss). I simply threw in an isolated brown stitch every once in a while. It came out better than I could have planned – the effect is remarkably reminiscent of the little flat chips, square or sometimes shaped like half a log, that you find in mint chocolate chip ice cream. His tail is two strands of brown, threaded through his behind so they end up doubled, and overhand knotted at the base and the end.
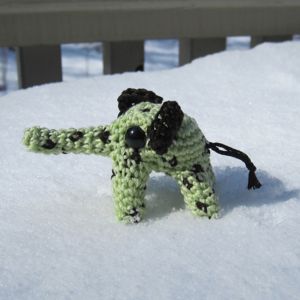
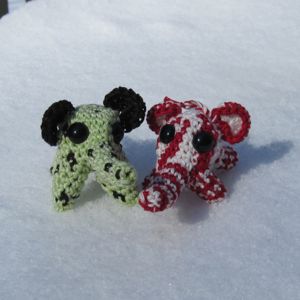
Elephmint Chocolate Chip

from the front

Paint card notepads

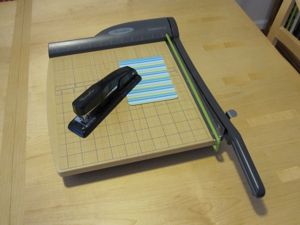
Onward to Craft Countdown #4. I’ve been enamored of this idea since I found the tutorial for it on Whimsy Love a long time ago. The idea is to make little matchbook-like notepads out of paint color cards. My paint cards were all boring colors I’d actually considered using for decor, so I used different heavy paper instead: two cards from the Pilates Body Kit (not ones with exercises on them) and one former notebook cover. You need some things:

materials

The paper trimmer isn’t essential, but it would not have been possible for me to do this as one of my ten-by-midnight crafts without it. The sturdy stapler is definitely a must. I trimmed the notebook cover to remove a strip of black material that had formed the spine, and the opposite side to eliminate the rounded corners so it would be symmetric. To fold the covers, I scored the paper with a mechanical pencil – with the lead out on the bottom (3/4″) fold, and with the lead retracted to fold the top down. As recommended, I used 20 sheets of paper per notepad, cut 1/4″ smaller than the covers in each direction, and centered. That was about right – too much more and stapling would have been very difficult.

I didn’t worry much about getting my staples symmetric, but I definitely felt two would be necessary for notepads this size. Since the one notepad had a large stretch of plain blue, I applied some additional decoration.

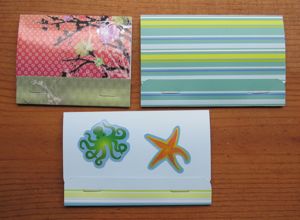
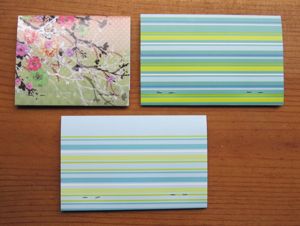
front view back view

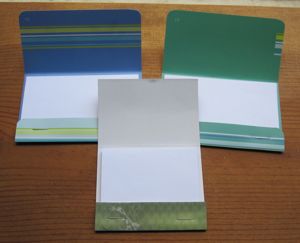
looking inside

Potholders

My mother made a request for crochet potholders for Christmas, as I have mentioned. I made her four, two single layered and two double layered. I pulled four patterns from Crochet Pattern Central, but only made two of them after all.

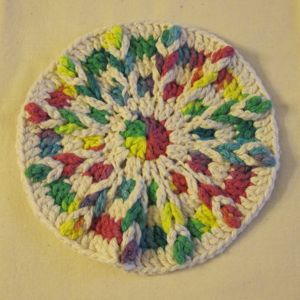
The first potholder I made was a kaleidoscope hot pad. This pattern was very mysterious, because until you get to the last round there are just a billion big loops sticking out everywhere. Then, you weave them through each other, and it all makes sense. One modification I made was to go back afterward and stitch around between rounds 2 and 3, because until the weaving gets going, the potholder is very full of holes.

kaleidoscope hot pad kaleidoscope hot pad

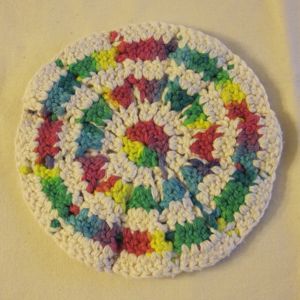
The second was the double-sided ric rac potholder. If you make it yourself, note that mine didn’t look quite like rickrack until I washed it.

ric rac potholder

Next I made the ill-fated peacock attempt, which was inspired by the sea shell potholder pattern. While I was pondering where to go with that, I decided not to make the jewel heptagonal potholder, partially because it seemed like it might be awfully thick in the center, and partially because I couldn’t settle on colors.

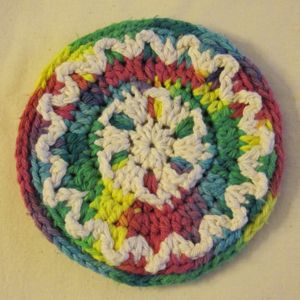
Instead, I freehanded a potholder that started out pentagonal and ended up as a ten-petaled flower.

pentagon flower

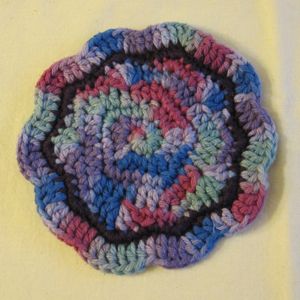
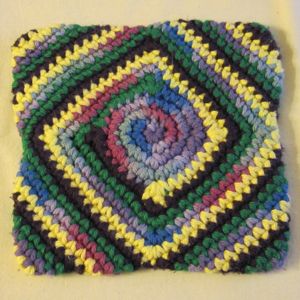
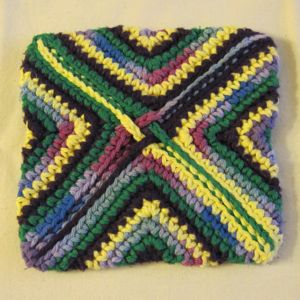
After that I decided to table the peacock idea and freehanded a second potholder. This one started out as a disk, 7 sc in the first round and an additional 7 sc per round until I got to 28, and then became a square by concentrating the increases in the corners. I intended to add each new color with a ch 2, hdc, sc in the first stitch, but halfway through I realized I was actually doing ch 2, dc, sc in the same stitch. Oh well. The next color put an sc in the ch and then 2sc in the dc, and after that I just spiraled around, going as far as I could with each color when it was innermost before going to the next, and putting 3sc in each corner. I made a very large square, finished each color at the corner where it had started, and folded the corners to the center back. I added one more sc, catching a loop from the other side of the potholder, ch 3, and sl st down the opposite line from where each color ended. To get the chains in the center to each be over one other and under one other, I worked around in a circle and with the last one I passed the ch 3 under the appropriate other ch and pulled through the yarn needed to complete the sl st line.

spiral potholder spiral potholder

Potholders are a good project – you can do them in one or two sittings, and they’re a nice manageable way to try out interesting stitches and patterns. Highly recommended.