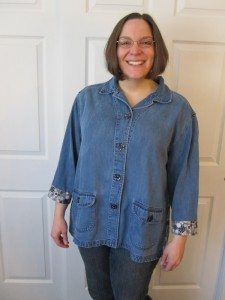
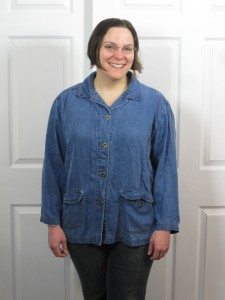
Shopping a ten-cent sale for alterations class props, I came across a denim shirt. Here I am rocking it, wet hair, and a pretty fab head cold, if I do say so myself:
Something about the artist smock styling drew me in; periodically I decide I want a denim layer, and the price, while not ten cents, was right, so I bought it. However, it’s just not quite…. just not quite. Its sleeves are too short to be full-length and too long to be three-quarter length. It’s not remotely fitted but not loose enough to count as A-line or even just flowy. And there’s just something meh about it style-wise. Bordering on schlumpy, even.
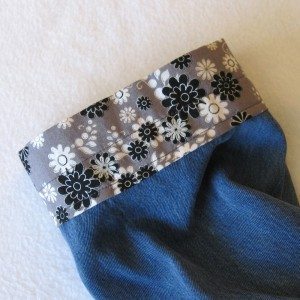
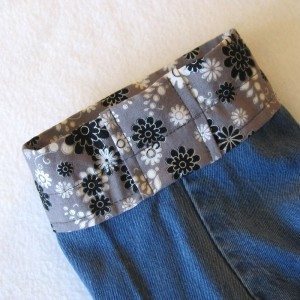
I don’t typically go in for three-quarter-length sleeves, but they are more appropriate for an artist’s smock, so I folded the sleeves up to gauge a good length and cut them off. After picking a fabric out of my stash to make all my adjustments, I covered the cut edge of each sleeve with a band of fabric. Better.
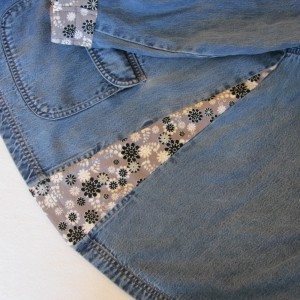
To move the shirt from “awkwardly loose” to “intentionally loose” I remembered the bell-bottom trick of inserting a triangular panel into a seam and did so with each of the side seams. Not too much; hopefully just enough to keep the shirt from hanging up on my behind all the time.
I didn’t plan ahead past this point; I had some ideas for other alterations but figured I would see how it looked before making any decisions. And it looked pretty good! I was much happier with the silhouette.
However, something was still missing. I thought about doing something to the pockets, adding a strip of my fabric just outside the button placket on each side, doing something up at the yoke… but I didn’t want it to be too flashy or busy. Then it came to me: buttons!
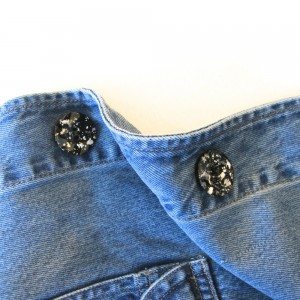
Finding new buttons turned out to be a big job. The hubs came to help and we found a bunch we liked pretty well – but had at most 6 in stock, while I needed 7. I could have made 5 work with different buttons on the pockets, but nothing seemed to go together well enough for that. Finally after going up and down the button aisle repeatedly I pulled a few different styles off the rack and we chose some shiny black ones with silver paint spatters of a sort. Except better and less ’80s than that description makes them sound. Take a look:
And they were just what the doctor ordered. I had to open up the buttonholes a little, but I happened to have matching thread in my stash to finish the edges, so that was straightforward. I did the button sewing by machine, actually; pulled the top threads through to the inside afterward, tied them in a square knot with the bottom threads and wound them around the stitching and between the layers of fabric a ways.
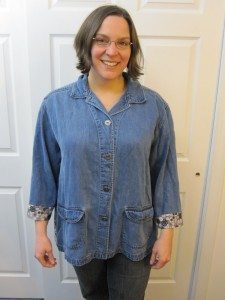
But without further ado, the finished product!
