Gifties!

I can only do this because I have some confidence the recipients of these gifts won’t be looking at my blog on Christmas Eve. As usual, I made a few Christmas gifts in crochet.

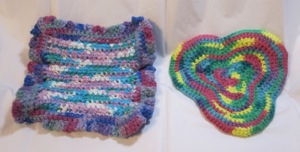
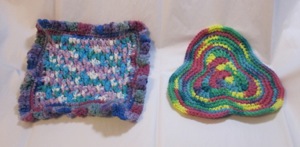
For Mama (said with the accent on the second syllable, of course), a couple more potholders.

potholders, front potholders, back

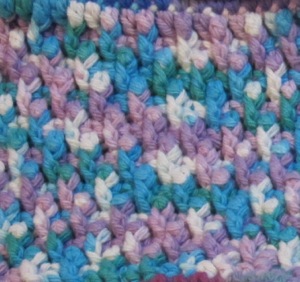
The triple-lobed one I freehanded, making the initial shape via stitch height and then continuing it by increasing around the lobes and decreasing (often via skipping a stitch) in the corners. The other is stitch pattern 421 from Linda Schapper’s Complete Book of Crochet Stitch Designs. It alternates double crochet with front post double crochet around a previous row’s double crochet, offset so you get a sort of checkerboard. Here’s a close-up:

stitch texture detail

If I were doing it again I would change the outermost double crochets into half double crochet or even maybe single crochet, because the edges are taller than the middle with the pattern as written. I still like how it came out, though. I should have written down what I did around the edge, because I can’t remember. I think it was single crochet around and then double crochet with a chain in between each, but I wouldn’t swear to it.

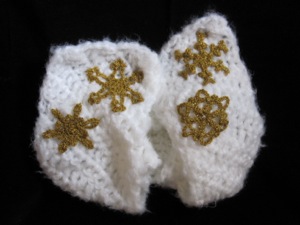
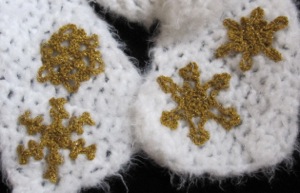
For Grandmother, a fluffy white scarf with gold snowflakes, to wear with her stylish white dress coat. Here are a picture before washing and a snowflake close-up after washing:

before washing after washing

The diagonal stitch is just double crochet, increased at one end and decreased at the other. I ended up designing three more snowflakes at the last minute, which I haven’t had the chance to write up formally yet. I think my favorite is the one that looks a bit like antlers. After washing the fluffy white yarn was less fluffy, so I used my pet slicker brush to comb out the mats.

I also made my own chocolates, the easy way: three high quality chocolate chips in a candy cup, microwave in short intervals until soft, press a nut or two on top, add five or six more chocolate chips and repeat. Use the tip of a butter knife to get rid of the chip-shaped bumps once the chocolate is fully soft. You can make peanut butter cups as well, with one or two more chocolate chips on the bottom to give a sturdy layer. The disadvantage to this method is that cocoa butter soaks the candy cup and when it cools it is stuck to whatever it’s sitting on. I also made “mini turtles” with chocolate chips, half a caramel, and a broken-up pecan half, but if I were doing that again I’d cut the caramels (standard Kraft ones) into thirds and be more careful about getting chocolate between them and the cup on all sides – they stick! Those I did in the oven at about 200F, because I was worried enough time in the microwave to melt the caramel would scorch the chocolate.

More gifts will be revealed in later posts…
Glue

At the Sew-Op, we have a lot of fabric that is too small to sew with, unless you are extremely dedicated. In looking for things that can be done with very small scraps, I found many projects that use Mod Podge to glue fabric to a number of different surfaces. With the idea that, project in hand, we might be able to donate our fabric to a good home (a local art gallery that holds classes and after school programs), I decided to test this Mod Podge theory.

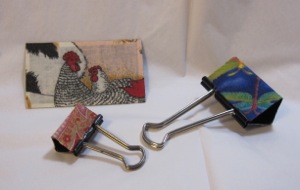
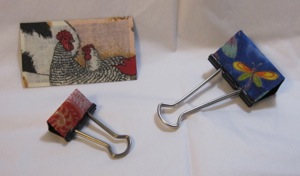
I used ordinary cotton calico, the kind sold for quilting. I have some doubts that Mod Podge would work terrifically well to glue anything very heavy or thick. I cut pieces to wrap around two binder clips and cover a promotional magnet, brushed Podge on the surface of the item, pressed the fabric onto it (this required trimming to fit in all cases, more so for the binder clips), and brushed more Podge onto the surface of the fabric.

mod podge projects mod podge projects, alternate view

As you can see, it worked beautifully, with the caveat that the color of the base shows through the fabric a bit. On the other hand, the glue made the fabric sparkle a bit, which was an unexpected bonus.

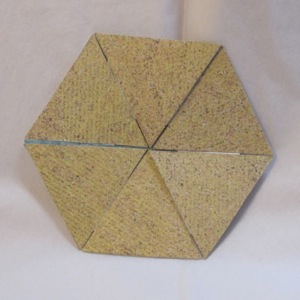
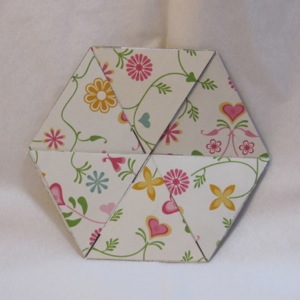
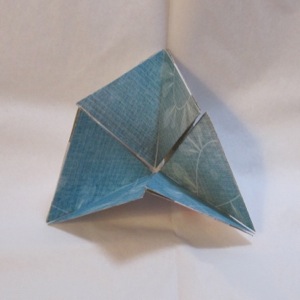
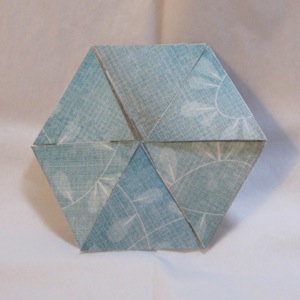
If you are disappointed in the post so far, never fear, there’s more. Recently a video was going around about flexagons. It made me think of the old fortune tellers we made in grade school (I’ve also heard them called cootie catchers) and I decided to make one. I was ambitious and cut out pieces for a dodecahexaflexagon (twelve faces, each a hexagon, two of which show at any given time), but came to my senses and made a trihexaflexagon first. I cut six equilateral triangles of each of three decorative papers, two inches on a side, and a bunch of half inch squares of plain paper for the hinges. I glued them together using rubber cement, following the instructions on the Flexagon Portal, with only a front side on one end. After folding the whole thing up I glued the back on.

face 1 face 2

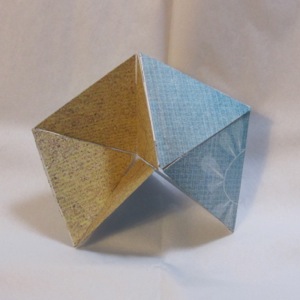
Changing from the second face to the third…

from 2 to 3 face 3

And back to the first…

from 3 to 1

Even more recently I discovered an old flexagon I made in middle school (I think). I’m not sure whether it officially counts as a flexagon, but it has more than two faces. In fact, it has four, and each consists of six squares in a two by three rectangle. With Thanksgiving I did not have time to explore it for this post, but it will appear at some point in the future!

Good morning!

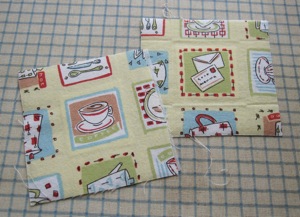
My sewing and crafting room is bursting at the seams – every available horizontal surface has baskets or bags or piles of stuff on it. I don’t like it that way, and as part of a more general downsizing and organizing push I am trying to make a dent in it. One aspect of that is to either complete or declare bankruptcy on all of my “current projects” (some of which have been in a large plastic storage bin labeled as such for several years). While going through piles I found some pieces of fabric that were earmarked to become coasters; some cutting and facing had been done. My first step in completing them was to cut interfacing of the full finished size (4 inches square) and use Wonder Under fusible web to affix it to the back of the fabric.

just fabric with interfacing

You can see the original bit of iron-on interfacing just under the image itself.

My original plan was to take the coordinating fabric and make a square frame around the center image, but I didn’t really put enough forethought into the process to do that. Instead, I sewed it to cover the partial images on two sides (sides on one coaster and top and bottom on the other), with pieces large enough that the raw edges were close to the center back, and folded another piece to match the uncovered image in front.

one layer sewn covering the raw edges in back

I think I may have swapped the two backings when I put them on, but that’s okay. They were attached with more Wonder Under. Then I found a coordinating color of bias tape (extra wide double fold, my standard kind) to cover the raw edge.

pinned

After sewing the hidden seam, I refolded the tape once, wrapped the ends around the edges of the coaster, folded the exposed corners so no raw tape edges would show, and stitched (somewhat sloppily) in the ditch with thread in two colors from the main images.

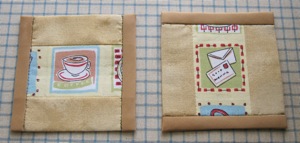
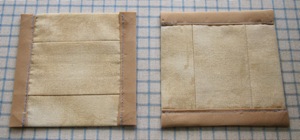
front back

Then I mailed them to my boyfriend, who was appreciative.