First time wet-felting

Just over a year ago, I bought a skein of Noro Kureyon, a scratchy wool yarn the yarn shop proprietor said was good for felting. I couldn’t decide what to make with it, so it sat for ages. Well, with my new drawing habit, I wanted something to keep my pencil and eraser in – mostly so they would be easier to hold on to when I wanted to move between the dining table and sewing room table.

The shape I decided on was a barrel with a flap in the long direction, buttoned down near each end. The pattern is at the bottom of this post (behind the cut, if you’re on my main blog page); before that are my experiences with the felting process.
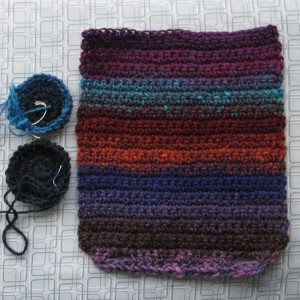
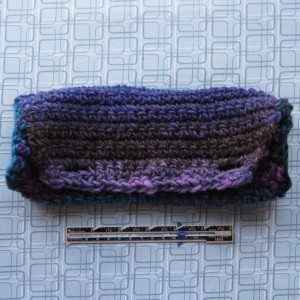
pencil pouch, preassembly assembled pouch pre-felting

My pre-felting measurements:
Gauge: a bit over 11 stitches and a bit under 13 rows in 4″.
The rectangle is 10.75″ tall and just over 9″ wide.
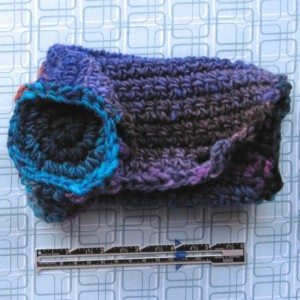
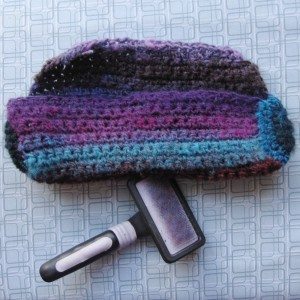
assembled pouch pre-felting, showing end pouch brushed, pre-felting

I read this was a good but slow felting yarn, and decided to help it along by brushing it with a cat brush before starting the felting process. I don’t know whether it helped, but then I don’t have any comparison.
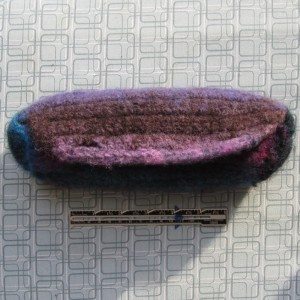
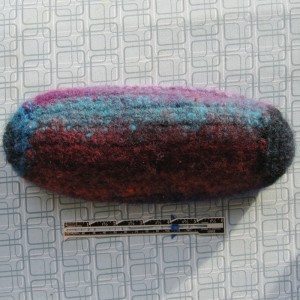
slightly felted pencil pouch slightly felted pencil pouch

slightly felted pencil pouch partially felted pencil pouch

I started with two rounds of wash-wash-rinse in my giant washing machine, with two spiky plastic dryer balls for company and a little bit of soap. The machine was set on heavy soil, hot water, and the heavy duty cycle, and the pouch was in a mesh bag to keep in lint. Even after a run in the dryer, very little happened (the results are the first 3 pictures above). Afterward I did a round of hand-felting by shaking the pouch (without a mesh bag) with the dryer balls in a plastic canister, in two changes of water, each with a bit of dish soap and one also with baking soda. I read that hard water inhibits felting, and while I wouldn’t call ours hard, it’s far from soft. Another trip through the dryer, and still just about nothing (last picture above).

After a bit more research, I learned this “good for felting” yarn has a reputation online for being persnickety about felting. I went back to the washing machine, but more seriously. Same settings, with a round of wash-wash-rinse, but this time with two pairs of pants in addition to the dryer balls, a kettleful of nearly boiling water added to each wash, and a pretreatment of soaking the pouch in ice water before the first wash – the temperature change is supposed to help shock the fibers open. No mesh bag, either, because it didn’t seem to be shedding badly.
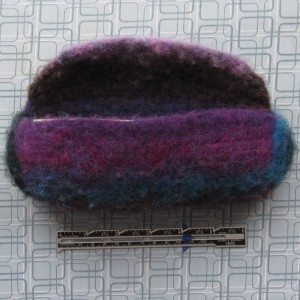
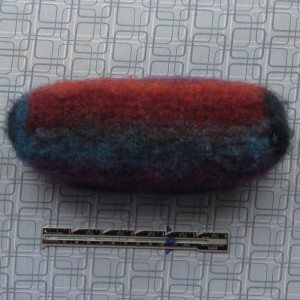
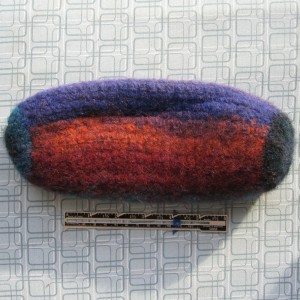
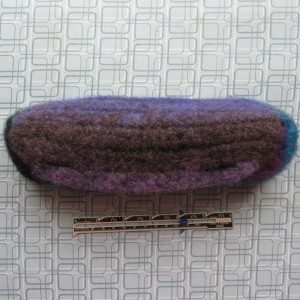
fully felted pencil pouch - front fully felted pencil pouch - back

That is when the magic happened. So much smaller, so little stitch definition. I don’t know how much was the particular method I used last and how much was the fibers finally being ready to give up their original shape, but I can say I’ll start with this method next time. A shave (see notes on razors in an earlier post) and some buttons and it was ready for use!
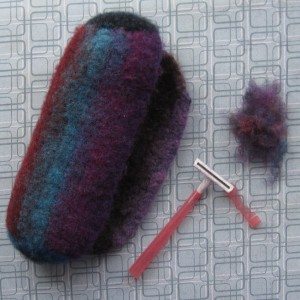
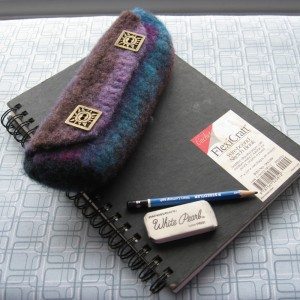
shaved pencil pouch pencil pouch on sketchbook

Final measurements: 7″ seam to seam and 8.5″ end to end, since the ends are poofed out. Not quite 9″ around from opening to end of flap (what would be the height of the original rectangle); 2.5″ diameter. The rectangle lost almost 2″ in each direction.
Continue reading First time wet-felting

Wire crochet experiments

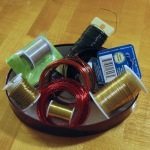
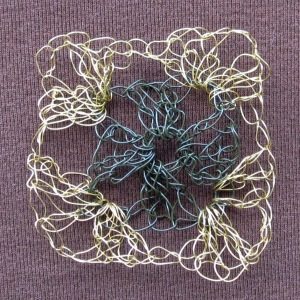
my wire collection - some of it. As promised, I crocheted with wire for the first time last night. The evening began with me teaching my Crochet Via Granny Squares class, so my first idea was a little wire granny square.

It didn’t go so well. I started with green floral wire, probably about 28 gauge, maybe 26, which was stiff with its coating. Second round was 30 gauge gold wire. Both were with a size 1 steel hook (2.75mm). My tension was all over the place – with the gold wire especially, it was impossible to get a grip on it without bending it and risking kinks. Not that I didn’t get kinks regardless. After the fact it occurred to me that finger cots on two or three fingers of my left hand might be a help, but by then I was getting ready for bed.

wire crocheted granny square

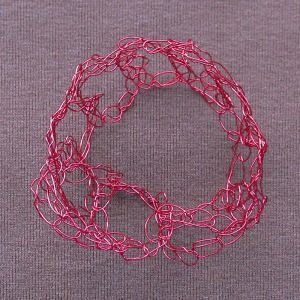
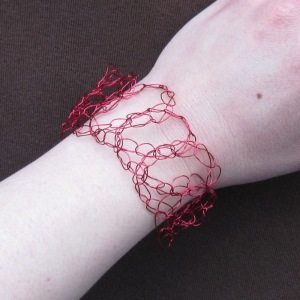
I did feel like I was starting to get the hang of it, as uneven as that second round is, but by then I was kind of over the whole granny square idea and decided to make a chained chain. I used the same hook, and red wire that was unlabeled, but probably 28-30 gauge. That went better, especially because the unevenness of my loops is not as apparent as the uneven height of the double crochet stitches.

wire crocheted bracelet wire crocheted bracelet

Speaking of kinks, as we were a while ago, I tried to reel the wire straight off the spool instead of letting it come off the end, coiled, because I read a hint somewhere that I’d get fewer kinks that way. I didn’t have much luck getting the gold wire to unreel like that, but the red wire was better behaved. I think it did result in fewer kinks, but not their complete elimination.

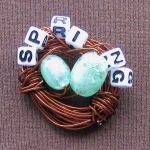
wire wrapped bird's nest I thought about trying beaded wire crochet, but it was getting late and I didn’t have any ideas that appealed to me much. Instead, in honor of how birds-nest-y my wire crochet is (especially the granny), I made a wrapped wire bird’s nest.

Frigid rain all day yesterday. I do like winter, but not that aspect. 🙂

Fiddleheads and fabric paint

As promised, I made another fiddlehead project for the Upper Valley Fiber Crafts’ April craft challenge (still time to get in on it should you wish!) — or at least, I am making one.

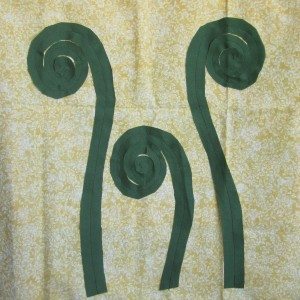
I thought I’d show you the steps so far. I started with a large piece of yellow fabric and some pieces of green that I cut out into fiddlehead shapes. I sewed the spirals on with a straight stitch down the middle of the strip of fabric and zigzagged the outer edge of the background.

fiddlehead fabric project

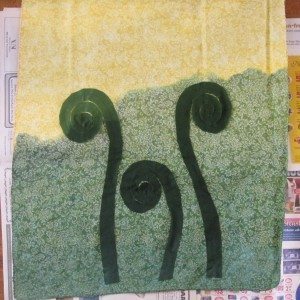
Then it was time for paint. I wanted a darker green than the fiddleheads at the bottom, and for whatever reason was completely attached to a rosy pink at the top. I also wanted an irregular gradient, so I diluted fabric paint (green with a little black) in a fairly tall, narrow jar, rolled up the fabric, and dunked it in. I happened to have a rolled-up piece of light cardboard — originally the center of a roll of wrapping paper — that could hold the fabric tube upright during the dunking. My hope was that the fluid would wick up the fabric, but gravity would keep it most concentrated at the bottom. I also expected the white design on the yellow fabric to resist the paint.

fiddlehead fabric project

And it did! There is the green, still wet, not as dark as I imagined but just fine as is. I left the fabric in the jar overnight, and it crawled much further up than I expected (especially given the amount of fluid left in the jar the next morning). I love how much further up it extends on the right, which was on the inside of the roll, than the left.

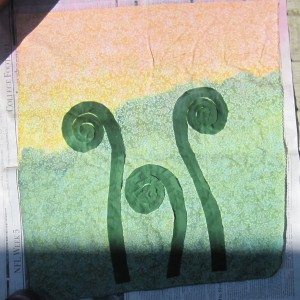
For the rosy pink I mixed pink with a little red and gold, and decided not to repeat the capillary action method, lest I get a muddy mess where the colors met. Instead, I mixed up less-dilute paint, scattered it across the top of the fabric, and used my hand (and water in a spray bottle) to distribute it to be unbroken across the top, with an irregular bottom margin. There was some drippage, which was perfect, although I did have to rescue one fiddlehead from a pink splotch with a judicious spray of the water bottle. Here’s a very sunny picture of the wet pink paint.

fiddlehead fabric project

The next step will involve heat-setting and washing the fabric, but the paint has to set for 72 hours first. This project will see you again next week.