Homemade iron-on patches

Craft Countdown #9 was robot iron-ons. It was getting close to 11:30 and I was worried about running out of ideas, so I started rooting through my fabric drawers. The top one holds flannel-ish material and denim, and I pulled out a small remnant of robot fabric. I loved this fabric, but there is so little of it, the options for using it are limited. I had thought about making iron-on patches out of it, but hadn’t gotten around to it.

What I had on hand for fusible web in sheet form was Wonder Under, so that is what I used.
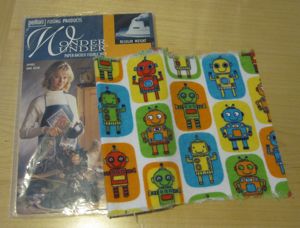
materials

I cut pieces, lined them up with the pictures, and ironed them down. Of course, it being 11:30, I did two dumb things: I started ironing one on upside-down, necessitating a later cleaning of the iron, and I peeled the paper off before cutting them instead of leaving it as a protective backing. They’re still cute.
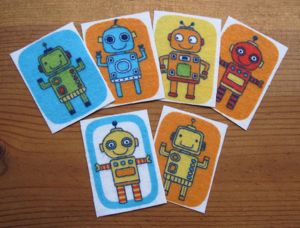
robots!

Now I just have to figure out what to do with them. I have made these before, out of other fabrics that had nice little pictures, but they languish in a drawer for the most part.
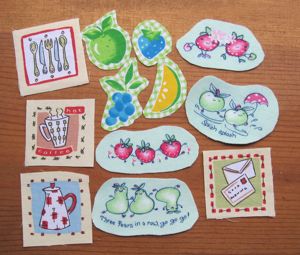
too many iron-ons

Of course, making the business card case and the memo pad holder gave me a use for some of my commercial iron-ons, so maybe these will see use in such projects as well.
Spray of flowers

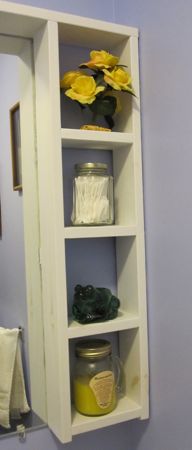
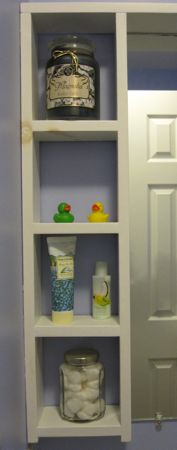
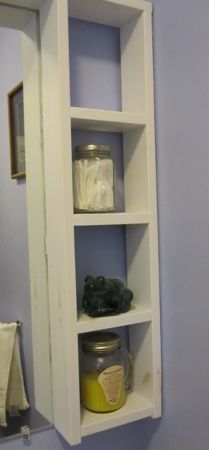
We have come to Craft Countdown #7, the only one for which I bought new materials. My half bath has an absurd amount of shelf space that I really do not have any need for. It is also painted a shade of periwinkle that I believe was engineered in the laboratory to coordinate with as few other colors as possible. I decided to go with green and yellow as accent colors, which work okay, and a mild frog theme. There are four cubbies on each side of the mirror, and one was empty; it had held a large bar of soap that is now in use. I wanted something a little livelier than the other cubbies’ contents.

left side right side

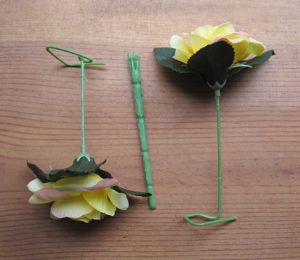
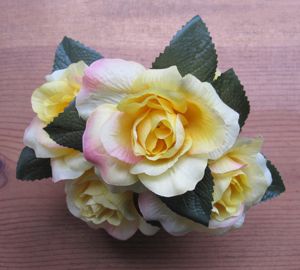
I dropped by the dollar store while running errands in the afternoon, and found some nice looking yellow roses that I picked up. When I got home and cut them apart, I discovered I could move the leaves, so I pushed them all up right below the blossoms. I bent the stems around so the flowers would stand at varying heights, and wired them together.

materials from top

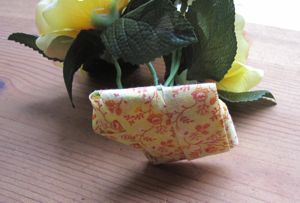
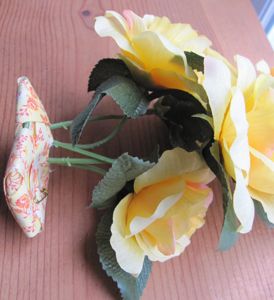
Then I found some (accidentally perfectly) coordinating ribbon from my stash and wound a length around the bottom to hide the tangle of stems. Initially I had it pinned together, but the ribbon was actually iron-on, so later I went back and pressed it so it would stick to itself and stay wound.

base middle

It serves its intended purpose!

in place

SF in stitches

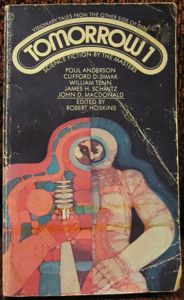
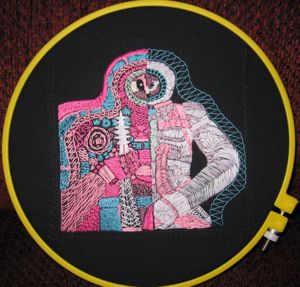
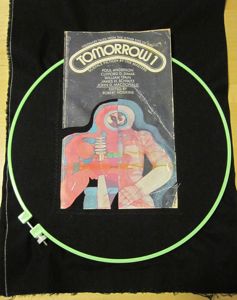
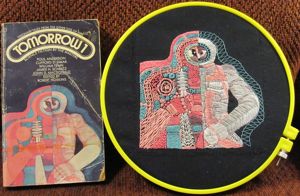
This is my entry to the Feelin’ Stitchy “Covered in Stitches” embroidery contest. I love the covers of 60s and 70s (and even some 50s and 80s) science fiction books – all lurid colors and crazy images. This was the only one on my shelf I felt I had any chance of doing justice to, though:

SF embroidery

I am so pleased with how it came out.

SF embroidery

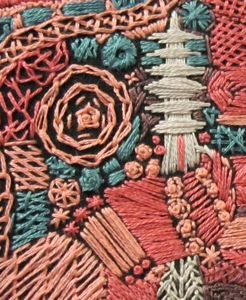
I just stitched without any grand plan, and couldn’t have foreseen how well his hand would come together.

SF embroidery

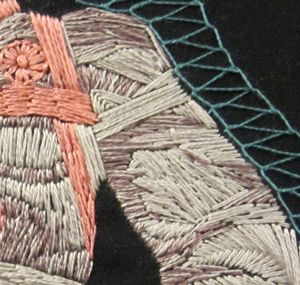
My other favorite detail is his left shoulder; I love how the threads blended and it looks like abstract art.

SF embroidery

Of course, I have since discovered that the colors on my copy were not as vivid as they had been originally and in particular some formerly different colors had become indistinguishable from each other. However, it still looks good to me.

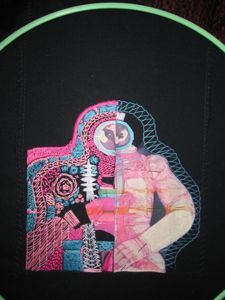
To make this, I first made three or so blown-up color copies on my home printer. Then I just pinned one to my fabric and started cutting out sections. Here’s a shot near the beginning:

SF embroidery

And here’s a shot of when I finally started thinking, “maybe this will actually work.”

SF embroidery

And it did!

SF embroidery