Revised 5 April with some additional experience.
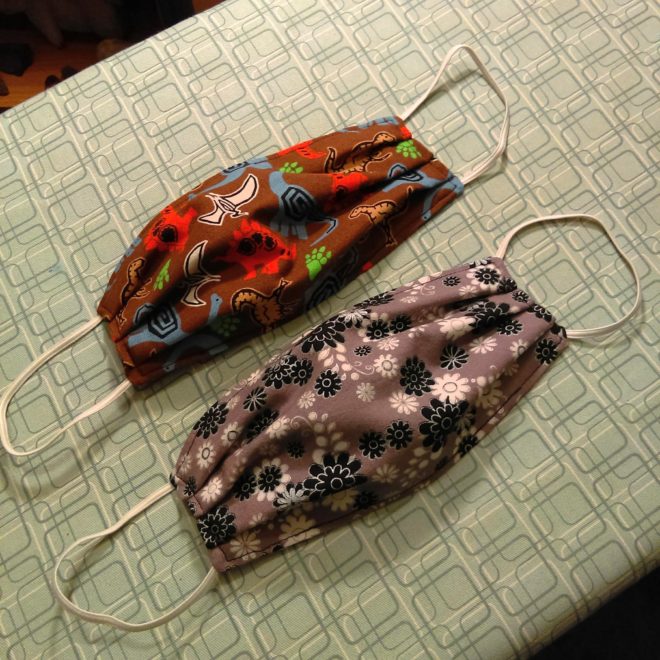
I have made two rounds of face masks now, using the face mask sewing instructions from Deaconess Health System.

The written instructions aren’t completely explicit – though the video fills in a lot of gaps – so I thought I’d write my experiences.
For the first round, each mask was made of two 6″ by 9″ pieces of fabric and two 7″ lengths of elastic. I pinned the elastics onto one piece of fabric before I started, just over 1/2″ in from the long edge, and sewed most of the way around with a half-inch seam allowance. That is more than the video shows, though the video says “one-quarter to three-eighths of an inch”, so my finished size could be as little as 1/4″ smaller than theirs in each direction.
After turning and pressing, I added pleats (more on that below) and sewed an eighth of an inch from the edge all the way around.
The finished masks were big enough for me, if a little snug on my ears (that extra seam allowance also shortened the elastics!), but not big enough for my husband. He could wear them, but they didn’t come over his chin at all if they were high enough on his nose.
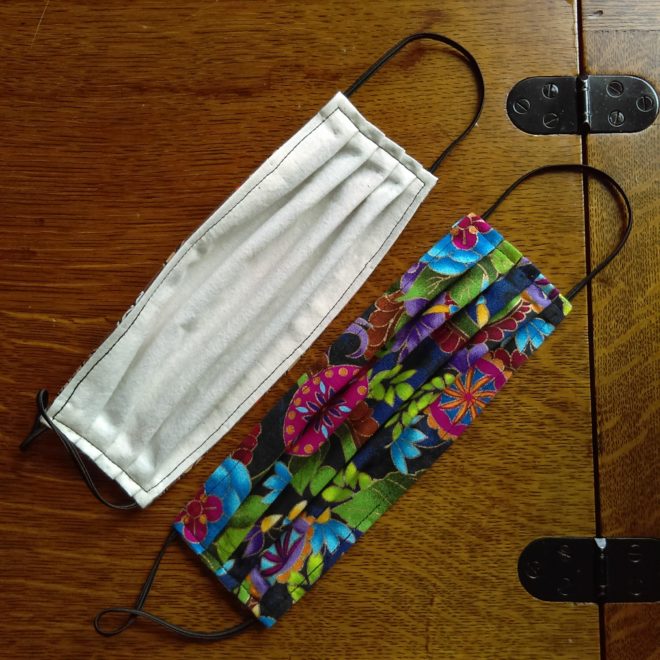
Meanwhile I also received advice from someone using masks that making the two sides with different fabrics is desirable, because if the mask is removed it is quick and unambiguous to determine inside from outside when putting it back on.

My second round of masks was for my husband. I started with 7.5″ by 10″ fabric (1.5 inches taller and 1 inch wider), and for sturdiness, still sewed at a half-inch. I increased the elastics to 7.5″ apiece to accommodate the extra seam allowance. Really, the extra seam allowance is only needed at the sides, not the top and bottom, but it would bend my brain too much to keep track of changing seam allowances each time I turned a corner.
I had started with a prototype – quickly-sewn doubled fabric with pleats, elastic (that precious resource) safety-pinned on – and determined my original thought of increasing all the way to 8″ by 10″ was too much. It was making the fit more gappy.
For the pleats on the smaller masks, I made 3 on each end, trying to get them all even. I basically made it so that once you were within the elastic, all of the edge of the mask was part of a pleat, but pleats did not overlap. Each pleat ended up about 3/8″ wide, fold to fold.
On a larger mask I went up to 4 pleats, which are easier to do. You can mark the halfway point of the side of the mask with a pin, and the points halfway between that and the inside of the elastics, and make each pleat with the fabric between pairs of pins (or elastic and a pin).
I am curious to try out making a Ragmask, with more coverage and fit. From that page I found a good resource on the effectiveness of different homemade mask materials. The upshot: not as good as surgical (unsurprisingly), but still beneficial.
Good luck out there. I’m thinking of you!
Awesome. You are wonderful Reve!