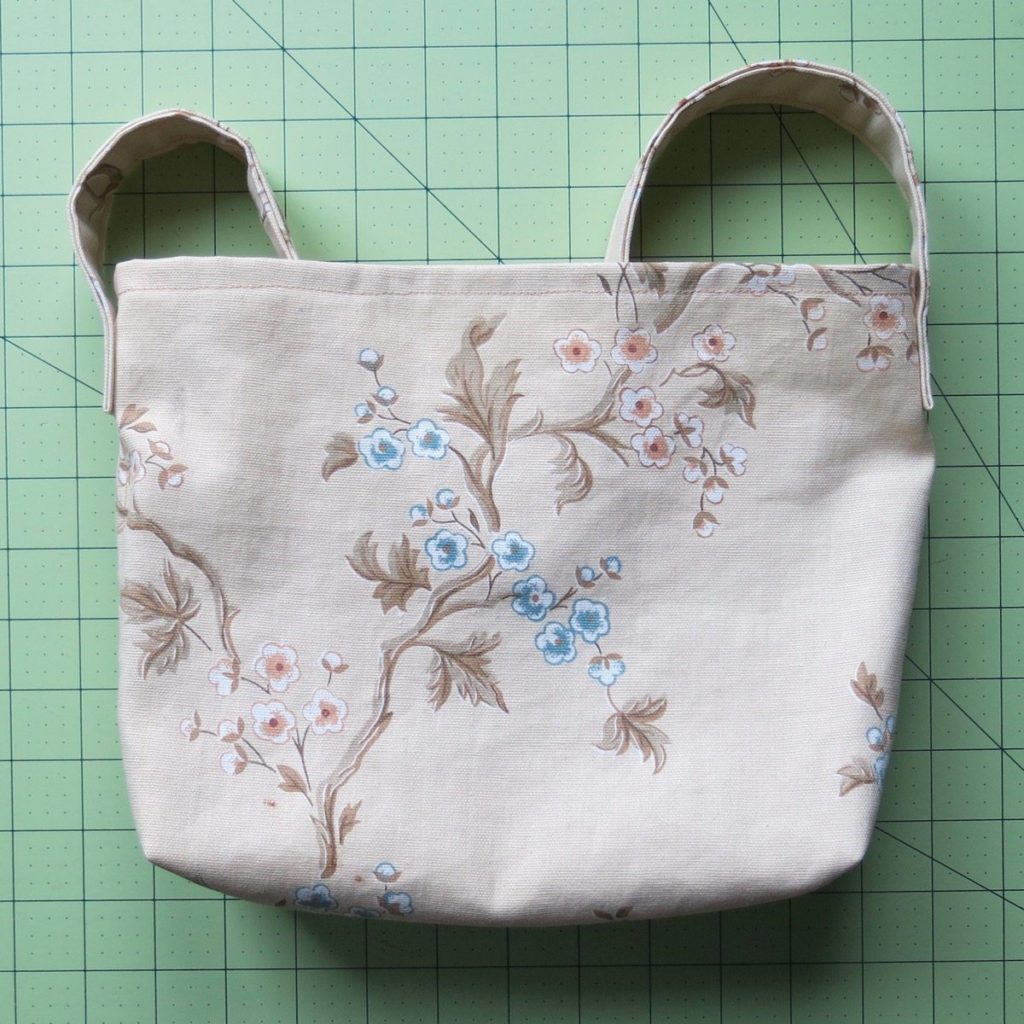
Ever since downsizing my purse to a wristlet in July I’ve intended to sew a tote-style purse it would fit inside for when I need to carry a bit more – for travel or shopping, say. I finally got around to that on Friday.
I have measurements and instructions should you want to make one like it (as well as for my own reference later). I’ve used it once so far and am quite pleased.
Mine is made from what feels like a very lightweight canvas-type fabric. It was a scrounge from the Sew-op so I don’t actually know what it is, but a lightweight home dec option would be fine. I didn’t line or interface it at all.
Outer piece: 11″ x 25″, short sides parallel to selvedge. Sew short sides together at 1/2″ to make a wide tube. Press seam allowance open and its raw edges under; stitch down. Press top edge down by 1/2″ twice to hem and stitch down.
Inner piece: 8″ x 24.5″, short sides parallel to selvedge. Zigzag short sides and fold last 1/2″ to wrong side; press and stitch down near zigzagged edge. Press top edge down by 1/2″ twice to hem and stitch down.
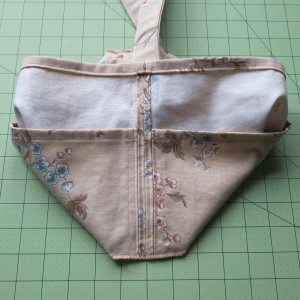
Place inner piece wrong sides together with outer piece, raw bottom edges aligned. At seam, folds of inner piece ends should abut folded edge of seam allowance of outer piece, as pictured. Stitch inner to outer at inner’s ends and halfway around tube. I sewed the latter seam all the way to the top of the bag instead of stopping at the top of the inner layer.
To make base of bag, flatten so seam is at one end and opposite attachment between inner and outer layers is at opposite end. Stitch all four layers together at 1/2″; no need to go all the way to the outside ends. Trim two layers (outer and inner on same side) to 1/4″ and zigzag raw edge of remaining two layers. Press all seam allowances to one side so zigzagged layers cover trimmed layers; stitch down close to zigzagged edge.
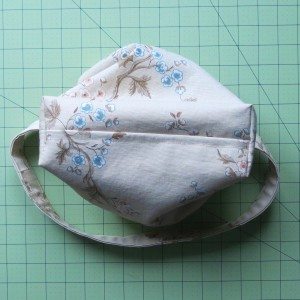
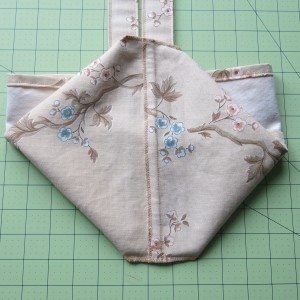
Shape bag by darting base corners: reflatten bag so bottom corner is the point of a triangle and side seam aligns with bottom seam (second picture above has this configuration). Mark a 3″-long line from fold to fold perpendicular to and centered on base/side seam; it will be 1.5″ up the seam from where the base and side seams intersect. Stitch base and side together along that line and trim to less than 1/4″; zigzag raw edge.
My strap length was dictated by my fabric width; my strap piece was 3.5″ x 55.25″. That turned out to be exactly right to make a strap which allows me to clasp the bag with my elbow when it is on my shoulder. Anything 54″ to 58″ long should work just as well.
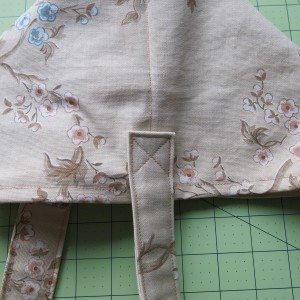 Anyway, construction: press long edges to wrong side by 1″. Open out at ends and sew into ring at 1/2″; press seam open and re-press 1″ folds. Turn so folded ends face each other and flatten into one long strip with a fold at each end. I put the seam from joining the ends 1/4 up from one fold so it would neither produce a lump to sew through when attaching the strap nor a potentially uncomfortable pressure spot on my shoulder (it is visible in the photo showing the bag’s outside bottom view). Press doubled strip and pin layers together; topstitch all the way around 1/8″ from edge (you will be sewing through 4 layers along the long sides and 6 in the center of each end).
Pin strap to bag so ends of strap are 2″ down from top of bag and straps are centered on sides of bag. Stitch a bow tie shape to join: down along topstitching, across and up at a 45-degree angle, repeat.
