The Sew-op is having another sale today, and since the items I made last year didn’t sell too well I’m making different ones. Well, not entirely – I’m supplementing the leftover crinkle squares with a few new ones to freshen the inventory – but no new coasters or drawstring bags. Instead, I received tea towels from another Sew-operator’s late grandmother and topped them with hangers so they can be attached to stove or refrigerator handles. Some hangers were crocheted and some sewn; I’ll show you the sewn ones today and the crocheted ones Monday.
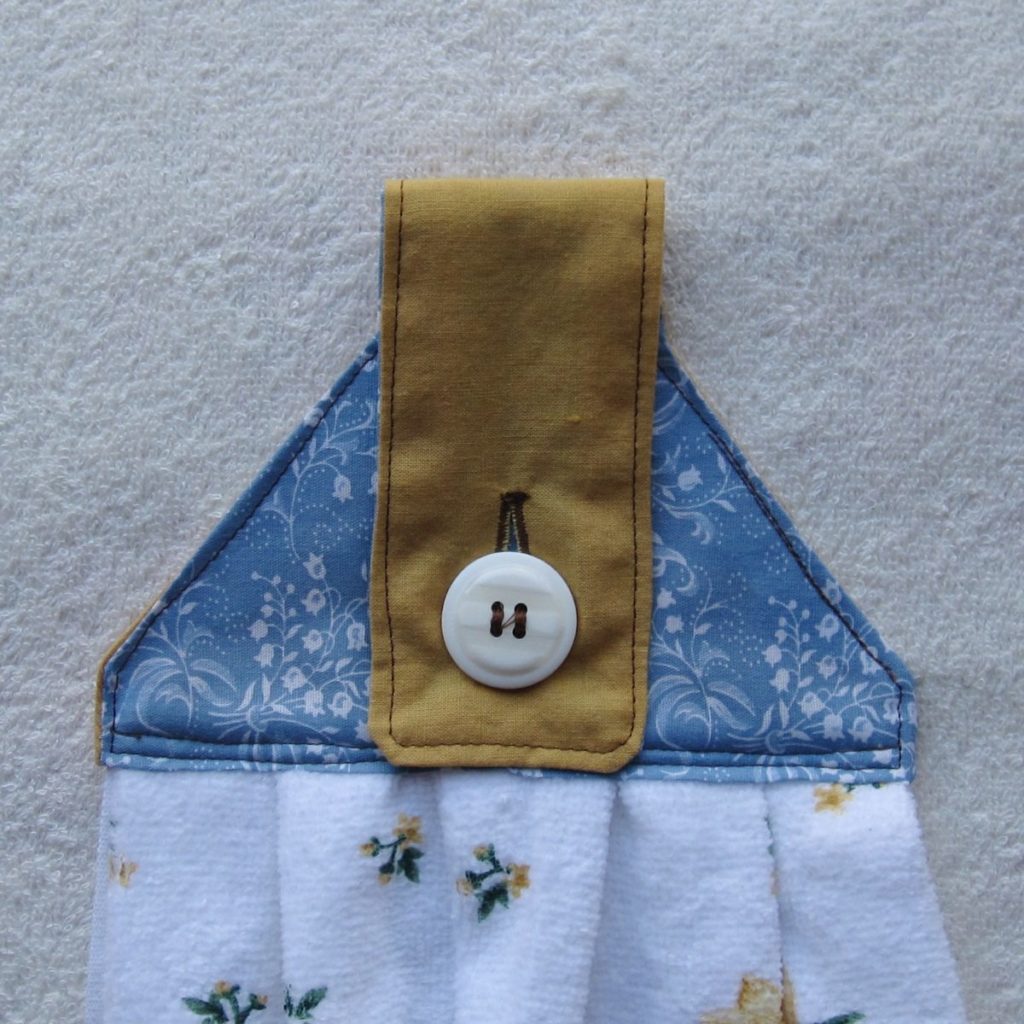
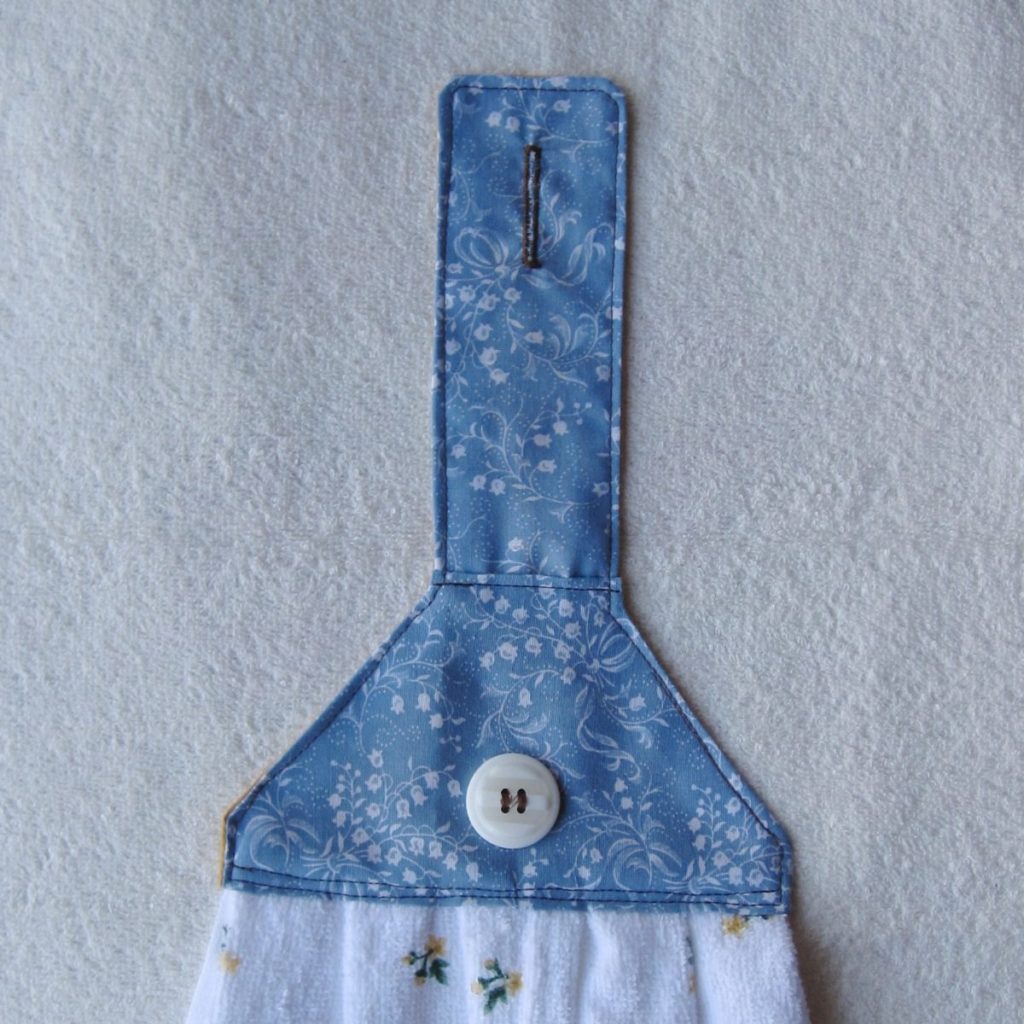
The towels are standard kitchen towels cut in half and zigzagged across the cut edge. Sort of following this tutorial, I topped them with a trapezoidal-ish part ending in a strip that folds over and buttons down. For some reason I thought it would be easier to make my own pattern than to go to the basement and print hers, so I’ll give you measurements.
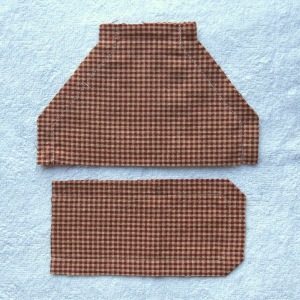
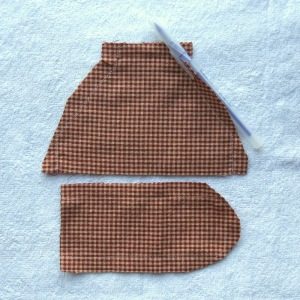
The pattern is two pieces, each of which gets cut twice per towel. Some of my towels used the same fabric on both sides but most did not. The base is sewn on the diagonal-ish sides (if it were a proper trapezoid they would be the diagonals) and the tab is sewn on the long sides and the end with the corners cut off. If you want to make your own pattern with my dimensions, first note all the seams are 1/2″. The longest edge of the trapezoid is 7.25″ and the opposite side is 3.125″. The total height is 4″, with the sides coming up 1.5″ from the base and down 0.5″ from the top, then joined by the diagonal. The tab is a 3.125″ x 6.375″ rectangle with two close corners cut off about 0.5″ in from the corner on each edge.
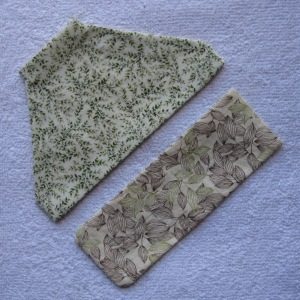
After stitching, trim and clip (the second picture has a pen in it to show the clipping), then turn inside-out and press (pictured below). Turn the openings of the trapezoid to the inside by 0.5″ each and press. Make the buttonhole. My buttons were 1″ across and reasonably thick, so I made a buttonhole that was 1.25″ (at least in theory – this way if I accidentally shortened it a bit I had leeway). The hole ran from 3/4″ to 2″ up from the end of the tab, centered horizontally. If you click through to the larger version of the photo below you can see my buttonhole marking on the tab.
Incidentally, I was having trouble with my buttonholes getting big lumps of stitching on the underside. At some point I realized my tension, which is usually pegged at 4, was closer to 3, so I turned it back up. That seems to have fixed the problem.
After making the buttonhole, insert the flap into the top of the trapezoid and stitch across 1/8″ down from the fold of the opening. Now you need to prepare the towel.
In addition to zigzagging (or, even better, serging) to seal the cut end, you have to gather or pleat the towel to 6″ across or just under. I gathered (as tightly as possible was just right), made two big pleats, or made six small pleats; I think the small pleats look the nicest with the gathers in second place. Stitch across to hold in place.
Insert the towel into the wide end of the trapezoid by 1/2″ and stitch across 1/4″ away from the folded edge. Then topstitch all the way around the towel topper at 1/8″.
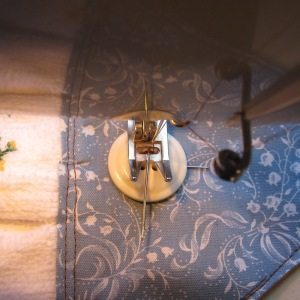
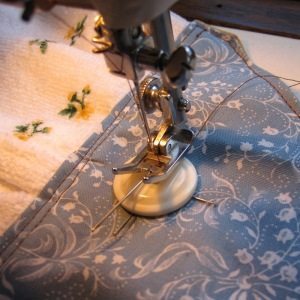
Finally, add the button. I machine-stitched my buttons and my setup is shown above. My largest hand needle is on top of the button, to add a little give to the stitching. The pins in the fabric under the button are for centering – it was centered horizontally and the middle of the button was 1″ or a bit more up from the base of the trapezoid. My stitch is set to its widest and to a length of 0. Afterward I took the top threads to the back and secured and hid the ends, then sealed it with a dab of Fray Check (I did that also to the end of the buttonhole where I began and ended).
We should get some of those. The kittens like to run off with our kitchen towels.