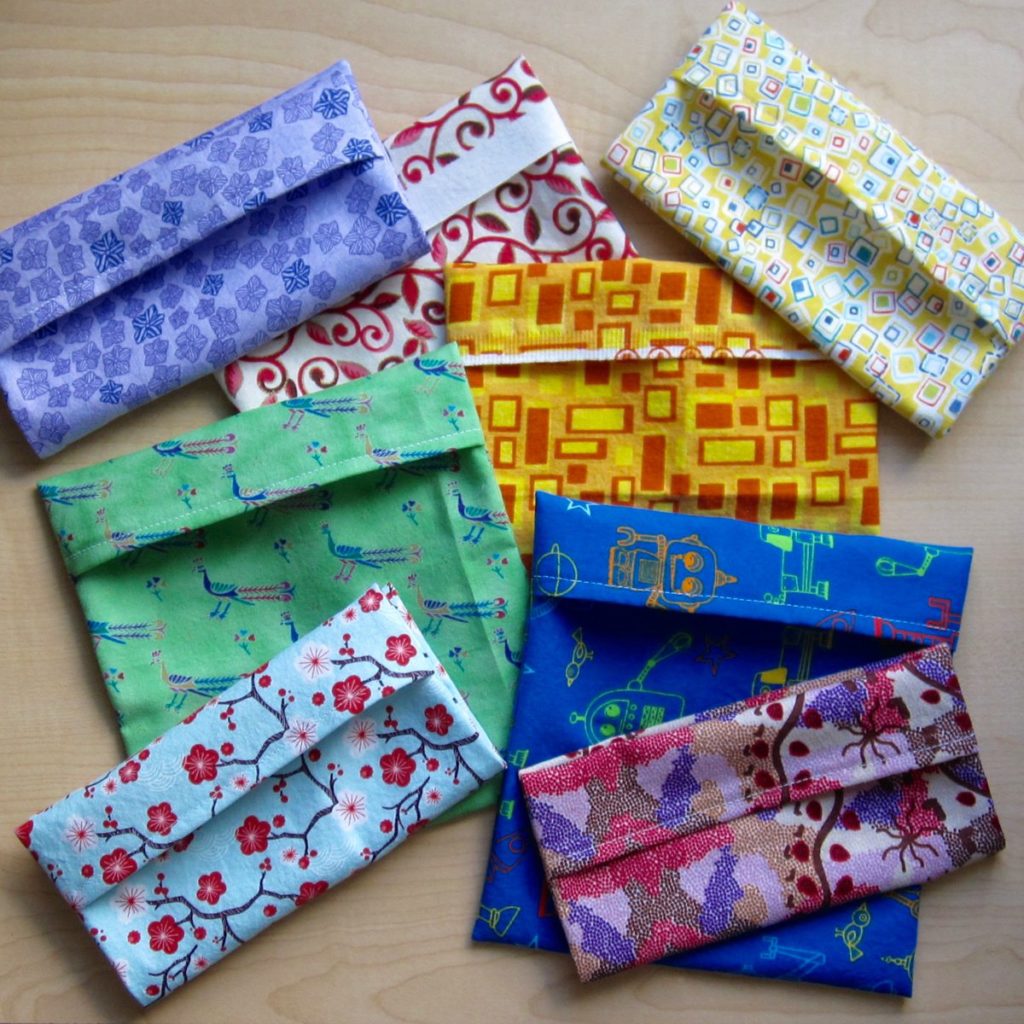
For a long time I took an apple in my lunch bag every work day. Recently I started branching out more, to fruit that I don’t want floating naked in the lunch bag – cherries, grapes, that sort of thing. There’s no room to add another rigid container, throwing out a plastic bag every day is wasteful, and washing plastic bags is a giant pain. The solution? Fabric! Throw them in the laundry every weekend and you’re set.
These bags are modeled after old fashioned (i.e., non-zippered) plastic sandwich bags and sized after the zip-top kind. You can’t turn them over and shake and expect their contents to stay put, but as a barrier between my clean grapes and my … also clean! lunch bag, they are more than sufficient.
I have made many such bags over the years and I don’t think I’ve every blogged the recipe, which is a shame because they are very simple.
Edit May 2018: After using these baggies for the better part of a year I made a second round with a slightly wider flap; I think that is better. Measurements below have been updated.
For each 6.5″ square bag cut a 7″ x 16.25″ rectangle of cotton fabric. Fold the short edges to the wrong side by 3/4″ and then tuck the raw edges under; sew to secure. You are hemming the opening of the bag.
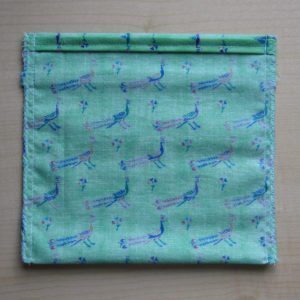
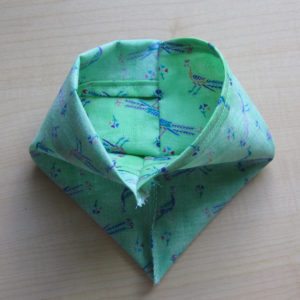
Fold one short edge to the right side by 1.75″ to form the flap. Bring the opposite short edge up on top of it, almost to the flap fold line. Sew the sides at 1/4″ and then zigzag the edges to prevent fraying.
Turn the finished bag right side out and push out the corners. Fold the flap over so only the right side of the fabric shows. Done!
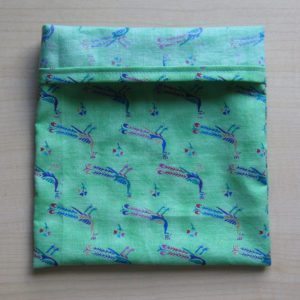
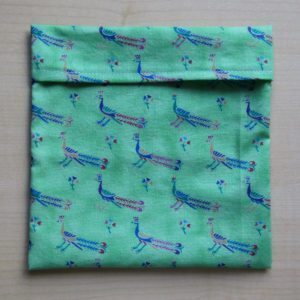
Baggie Modifications
If you cut the rectangle with one short edge on a selvedge, you don’t need to fold it down, and your rectangle only needs to be 15.5″ instead of 16.25″. You can choose whether to have the selvedge inside the flap or at the end of the flap – it’s an artistic decision.
To make bags of different sizes, here is the formula:
Short side of rectangle: (Finished width of bag) + 1/2″
Long side of rectangle: (Finished height of bag × 2) + (flap width) + 1.5″
If one of your short edges is pre-finished, you can reduce the long side by 3/4″ — the 1.5″ above is two 3/4″ hem allowances.
To be totally clear, for the bag in the construction photos the measurements were:
Short side of rectangle: 6.5″ + 1/2″ = 7″
Long side of rectangle: (6.5″ × 2) + 1.75″ + 1.5″ = 16.25″
There are a couple of things to consider when resizing the bag: you’ll likely want a wider flap for a larger bag but you can’t reduce the flap by as much when making a smaller bag – keep it above 1/2″ wide. Also remember, for a smaller bag especially, that the sewn-down flap makes the opening a little narrower than the body of the bag. I made a small bag like this for a little bamboo eating utensil and sometimes it’s a struggle to get it in and out, though it has plenty of room once it’s inside.
The only key piece of construction is to remember the flap is on the inside when you’re sewing. Enjoy!
Terrific idea! I have been wrestling with baggie guilt for some time now. Thanks for helping me become less plastic-dependent!