 I’m conducting some in-home sewing lessons for a ten-year-old right now, and realized after the first lesson that we hadn’t made any arrangements for ironing. We’re making a dress so ironing is not optional, but there’s not a ton of space – and there is a large and boisterous dog wandering about (similar to the one pictured). I vaguely recall reading a tip to use a flatiron to straighten ribbon, and I happen to own a flatiron that I bought before abandoning 90% of hair equipment and products (I’m down to shampoo, conditioner, a hair brush, and occasionally a hair dryer). I thought we could use that to at least press the seams open close to the edges of the fabric, where they will intersect other seams, and then they could do a full press all at once at the end.
I tested it out on bias tape, and set to 15 (its max is 25) it did a decent job. You have to be careful not to stretch the bias tape; pushing your iron along fabric can stretch it (though moreso if steam is involved), so pulling something through a pair of heated plates would definitely do so. Turning it up to 20 might have made it a quicker job, of course, but we’re working with a satiny material so trying lower temperatures was a priority. I’ll probably set it to 10 and test it on scrap dress material at the next lesson.
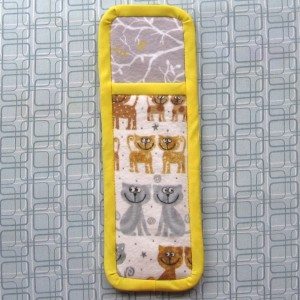
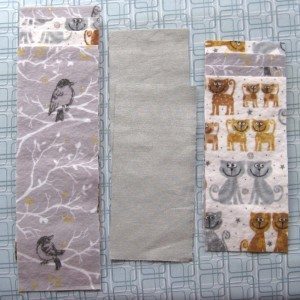
Naturally the flatiron has to be transported and I don’t want to have to worry about its temperature when doing so. That meant an insulated carrying case of some kind. Another vague recollection came to me, of using a potholder or two to make a flatiron sleeve for travel. I didn’t have any potholders to sacrifice to the cause, but I did have a lot of leftover 100% cotton flannel and some random pieces of the silvery insulated fabric used to make ironing board covers. I did some measuring and cut a bunch of pieces.
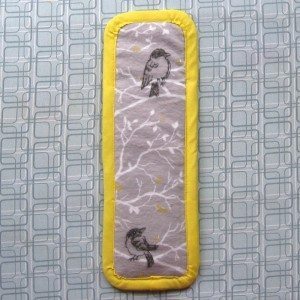
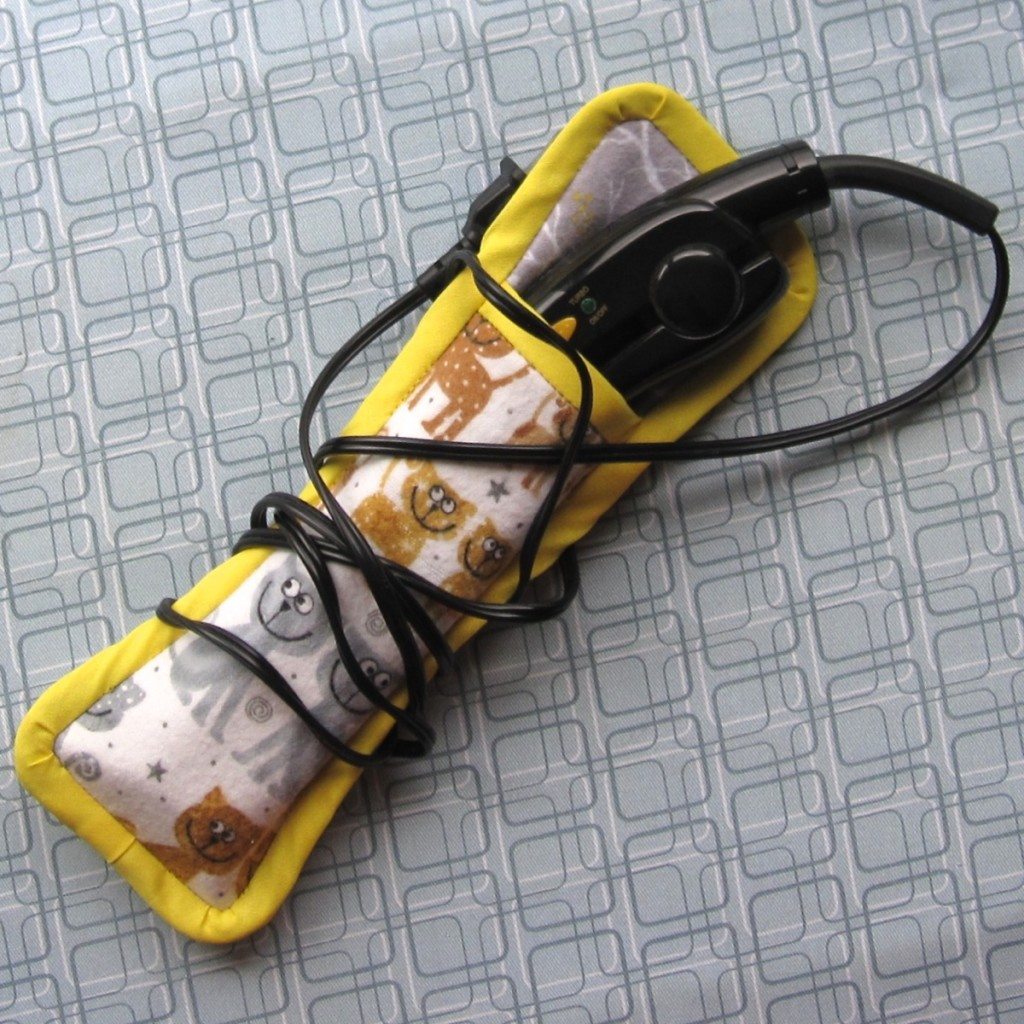
The larger pieces are 10.5″x3.5″ and the smaller ones are 7.5″x3.5″. The silver fabric wasn’t large enough to make 10.5″ so it’s somewhere between 8″ and 9″, but that’s still way longer than the hot portion of the flatiron. I laid them out with the silver fabric in the middle, silver side in, and stitched the layers together at 1/4″. I also zigzagged the edge, but not very tightly. The short side got bias tape on its top edge, and then I zigzagged the two sides together. Bias tape all the way around the outside and it was done.


The flatiron fits inside it perfectly. I am quite pleased.
So what else is in my teaching bag? Seam ripper, seam gauge, two sizes of scissors, some rectangles of fabric for stitch practice, and painter’s tape. The sewing machine we’re using has eighth-inch marks, but they’re not labeled. I plan to run a length of tape along the 5/8″ mark to make it stand out, and my business partner suggested painter’s tape instead of the masking tape I was thinking of. Perfect!

