Hippo Hunting

I like hippos. I like amigurumi. There should be ample hippo crochet patterns out there, no? No. At least, not realistic hippo crochet patterns. PlanetJune has one, but it’s not quite the shape I have in my head – in particular I like the hippos with their mouths open. Brigitte Read’s Super Super Cute Crochet has a cute open-mouthed hippo in it, but the pattern has errors. It starts at the rear and increases stitches so slowly that you get a hippo with a conical behind; I think there must be rounds missing from the beginning. The head/face pattern does what the photos indicate it should, but my “fix” of the body resulted in a spherical hippo:
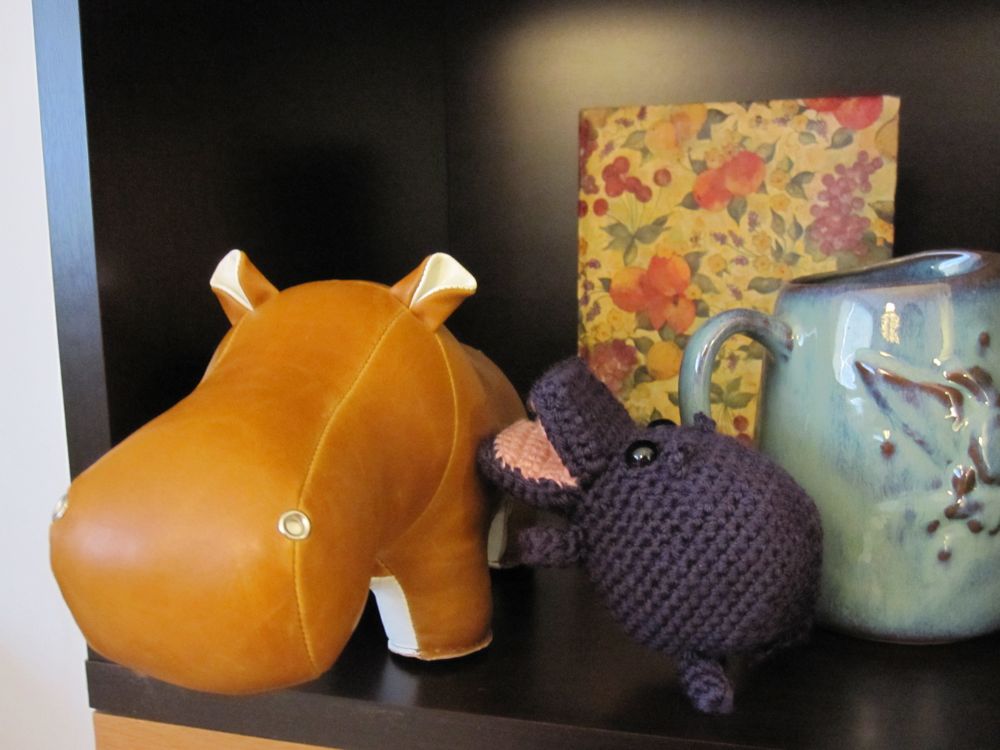
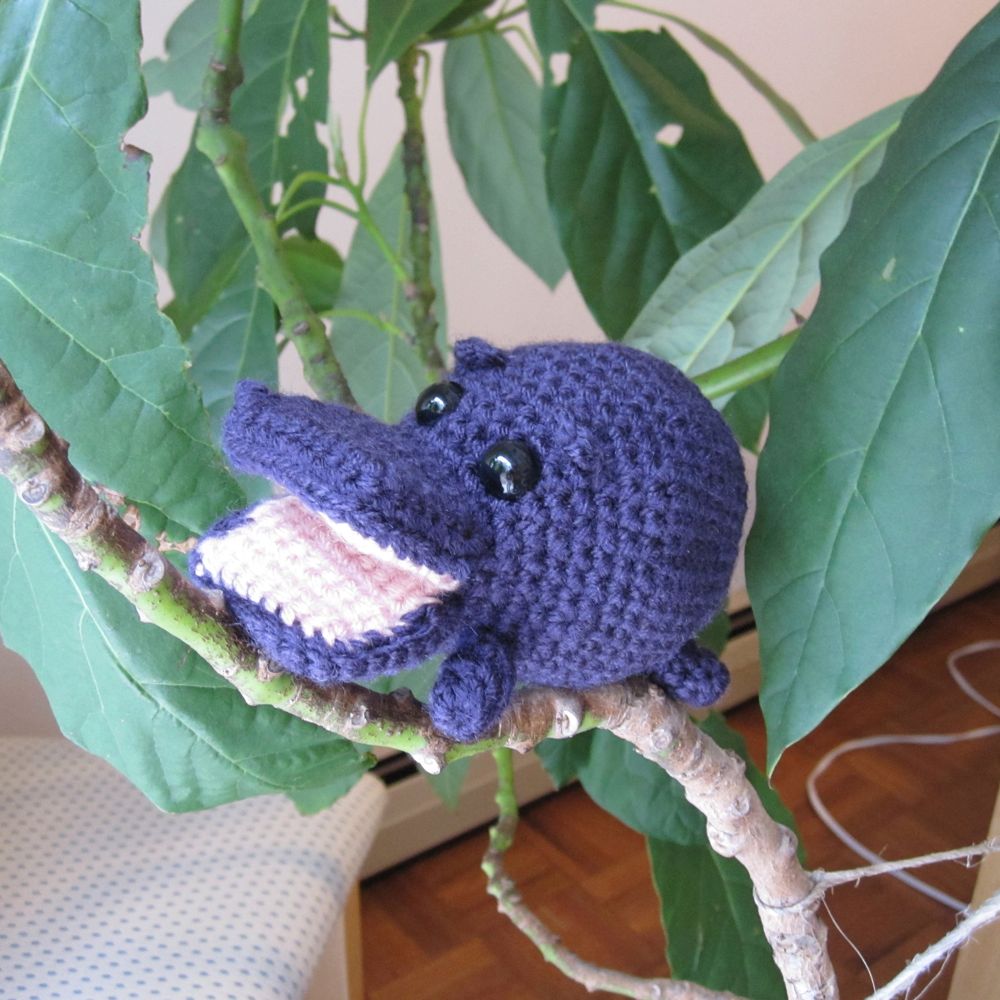
hippo in a tree two hippos
Have you ever seen a hippopotamus fly? Are you my mother?

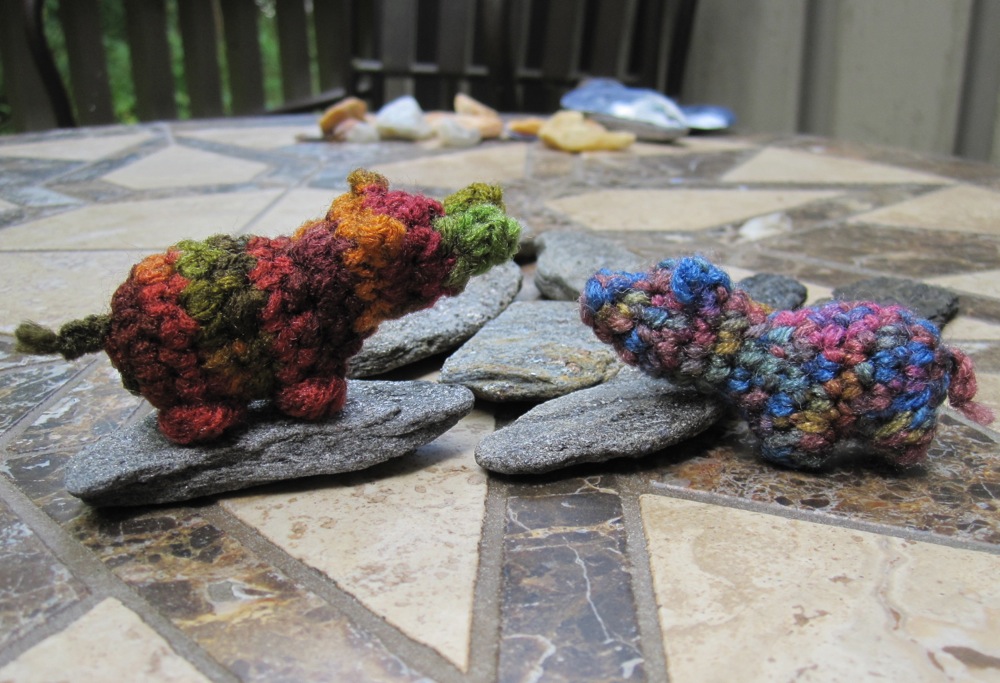
I have been working off and on for quite some time to design a realistic open-mouthed hippo – with the sort of Chinese spoon shape to the jaws – but this weekend I decided to try for a thumbnail hippo, a tiny little guy. I ended up making two hippos Friday, neither of which is a final draft:

two more hippos
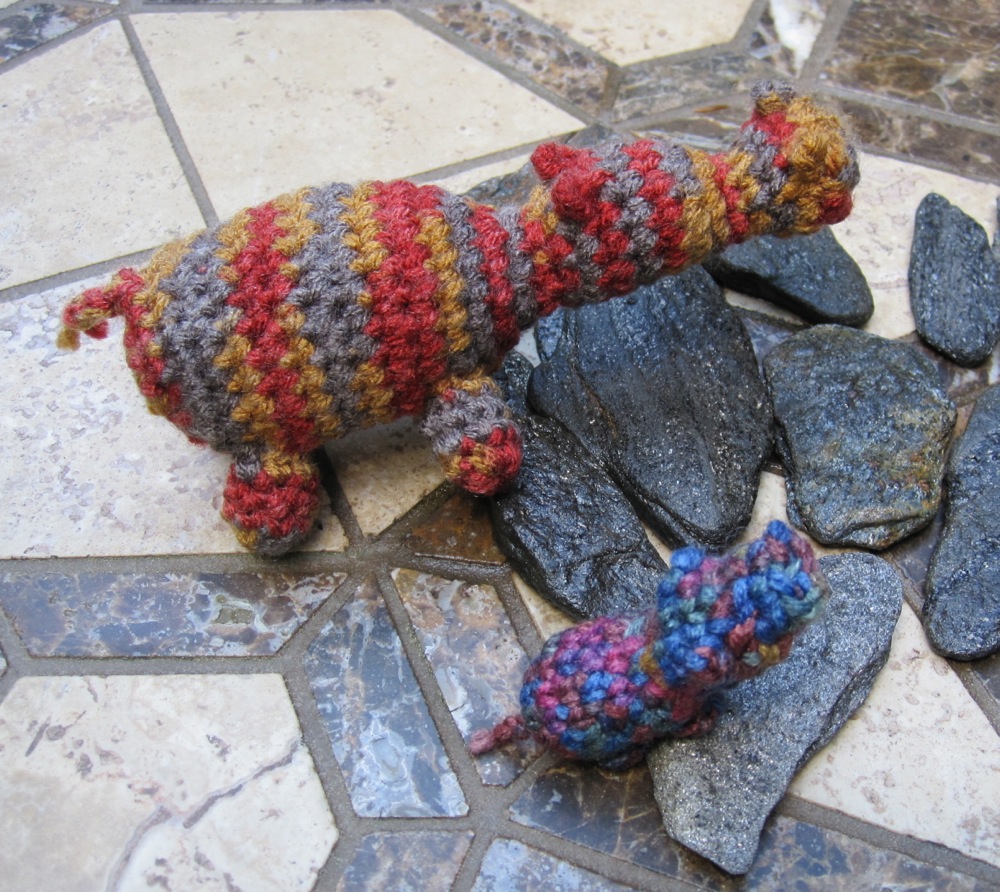
Believe it or not, the large one was supposed to be a thumbnail originally.

The bigger one has a better face shape, and just needs reproportioning to be something I would be happy showing to the world. The small one looks rather like a pig, and I plan to adapt the pattern both into a proper pig and into a proper hippo – and then make it in embroidery floss so it’s even smaller. I am extremely happy with how well my freehanding went in both cases, however.

don't get a big head, now wee little guy
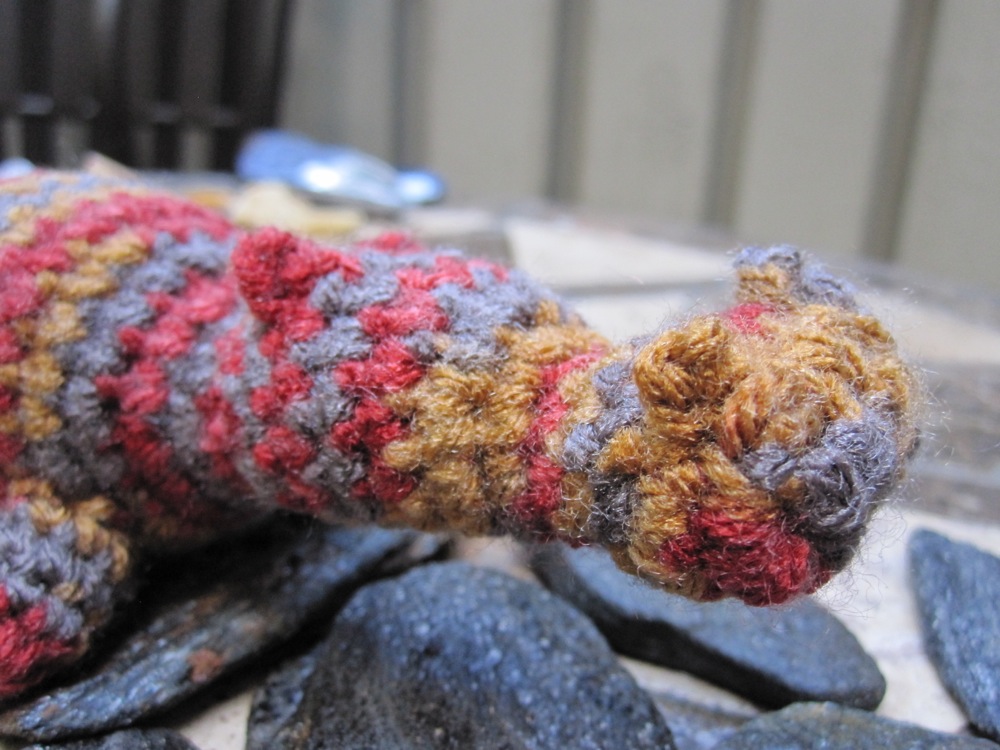
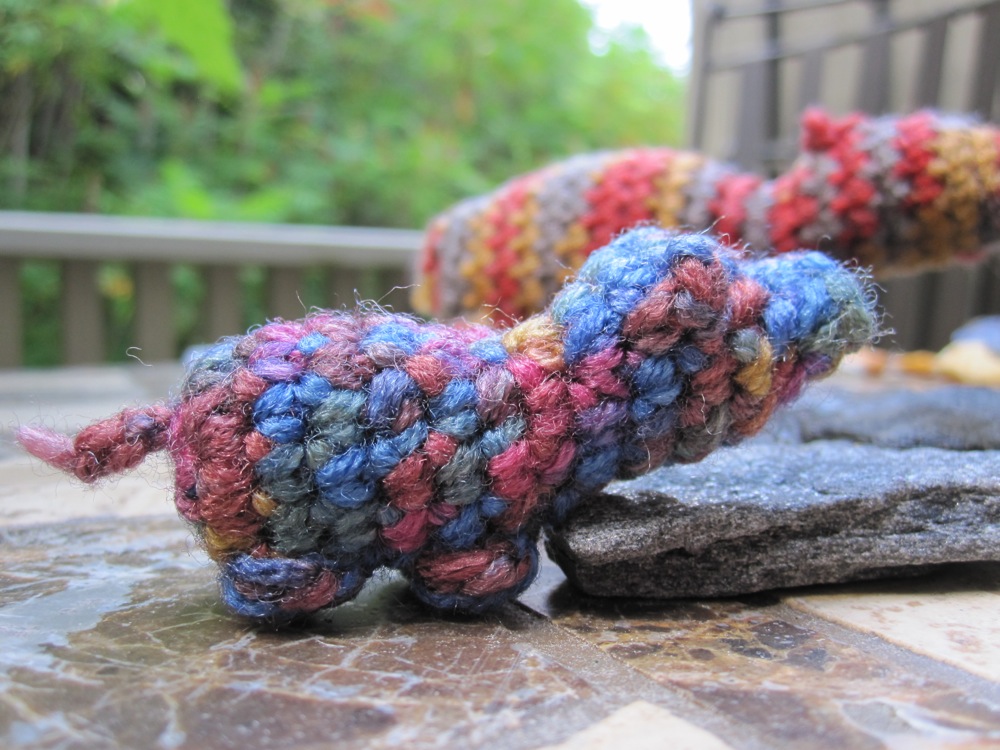
They are on rocks because they are both chin-heavy.

Saturday I tried again with the wee one, and it came out better. I’m not sure I’m ready to call it final, but I think this time around someone looking at it would successfully guess it’s a hippo!

little guys together in the spotlight
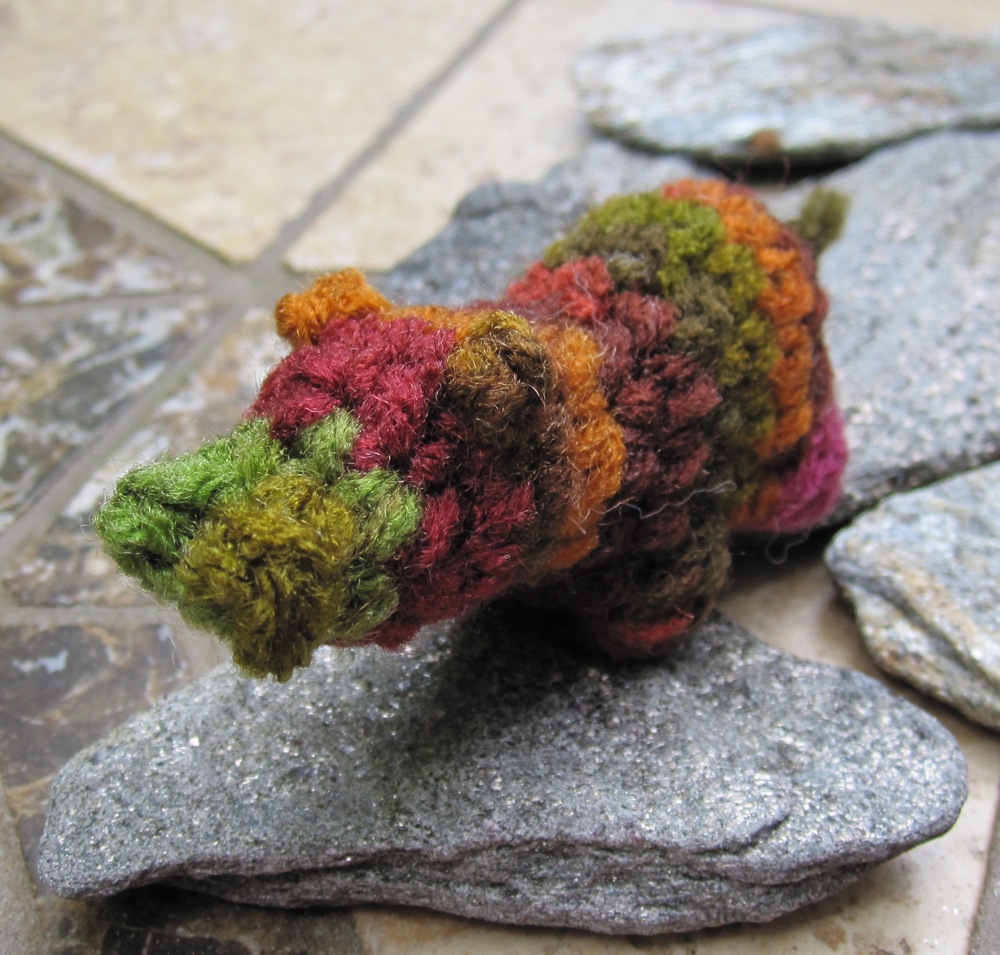
This time the rocks are in his body.

Good morning!

My sewing and crafting room is bursting at the seams – every available horizontal surface has baskets or bags or piles of stuff on it. I don’t like it that way, and as part of a more general downsizing and organizing push I am trying to make a dent in it. One aspect of that is to either complete or declare bankruptcy on all of my “current projects” (some of which have been in a large plastic storage bin labeled as such for several years). While going through piles I found some pieces of fabric that were earmarked to become coasters; some cutting and facing had been done. My first step in completing them was to cut interfacing of the full finished size (4 inches square) and use Wonder Under fusible web to affix it to the back of the fabric.

just fabric with interfacing

You can see the original bit of iron-on interfacing just under the image itself.

My original plan was to take the coordinating fabric and make a square frame around the center image, but I didn’t really put enough forethought into the process to do that. Instead, I sewed it to cover the partial images on two sides (sides on one coaster and top and bottom on the other), with pieces large enough that the raw edges were close to the center back, and folded another piece to match the uncovered image in front.

one layer sewn covering the raw edges in back

I think I may have swapped the two backings when I put them on, but that’s okay. They were attached with more Wonder Under. Then I found a coordinating color of bias tape (extra wide double fold, my standard kind) to cover the raw edge.

pinned

After sewing the hidden seam, I refolded the tape once, wrapped the ends around the edges of the coaster, folded the exposed corners so no raw tape edges would show, and stitched (somewhat sloppily) in the ditch with thread in two colors from the main images.

front back

Then I mailed them to my boyfriend, who was appreciative.

Catstitch

I was raised by cats. To commemorate that, long ago I decided to rework a four-cat cross-stitch pillow design to represent the four most longstanding feline figures in my history. I traced the original designs, sometimes altering the features a bit (to give Snowball her very round eyes, for instance), and changed out the colors almost completely. That latter involved a lot of staring at photos and my DMC thread card.

color check

Of course, although I begin all four of them, I ran into troubles with accurate colors for one cat (Tabitha was basically done in watercolor; hard to match the subtle variegation with thread) and ran out of steam on two others. The one I completed is my sister’s dearly departed O.D., originally our eldest brother‘s until he married a woman who is allergic to cats, then living in the family home, and finally sent to my sister in college in the Cat Diaspora when our father became allergic.

cat done!

Framing stitched pieces is kind of a trick. A double mat might keep the glass from flattening the stitches, but I went with a shadowbox frame – a half-inch spacer between the glass and the image. I think this is actually the first time I’ve ever framed a piece of stitching in a proper frame.

framed