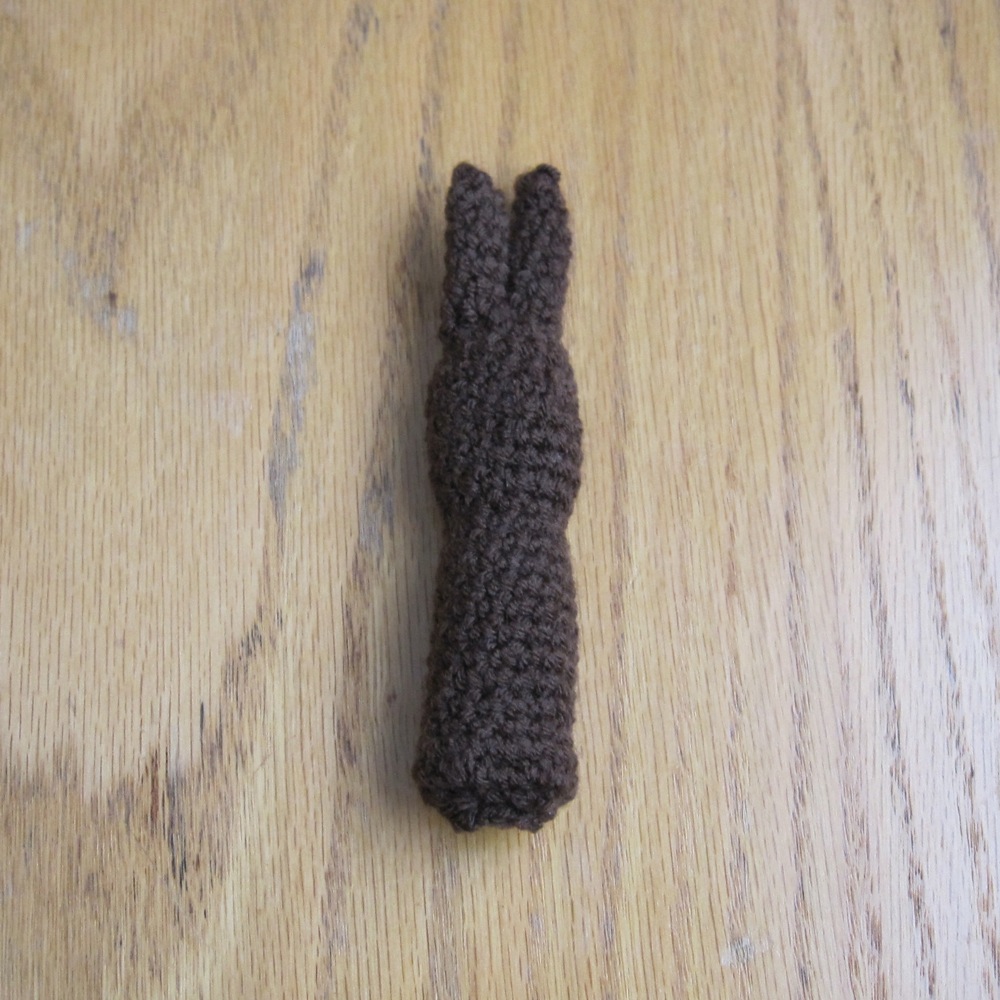
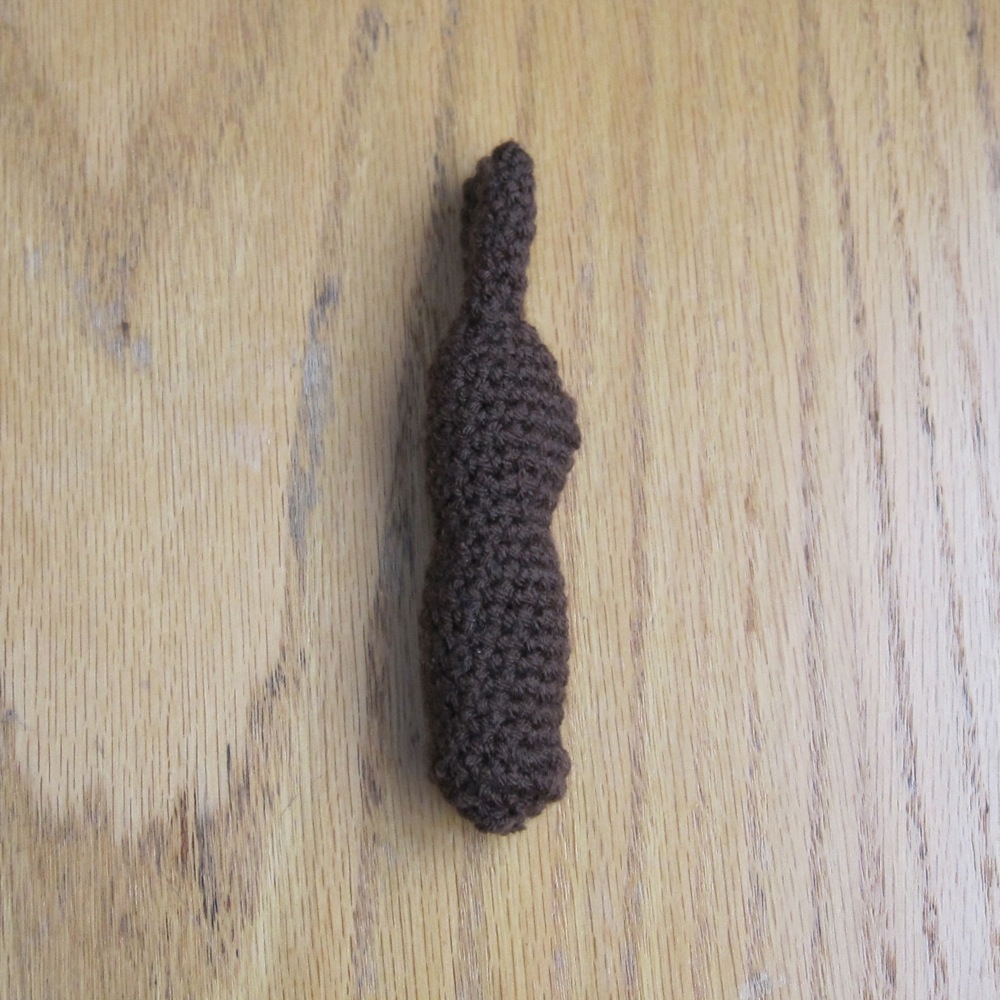
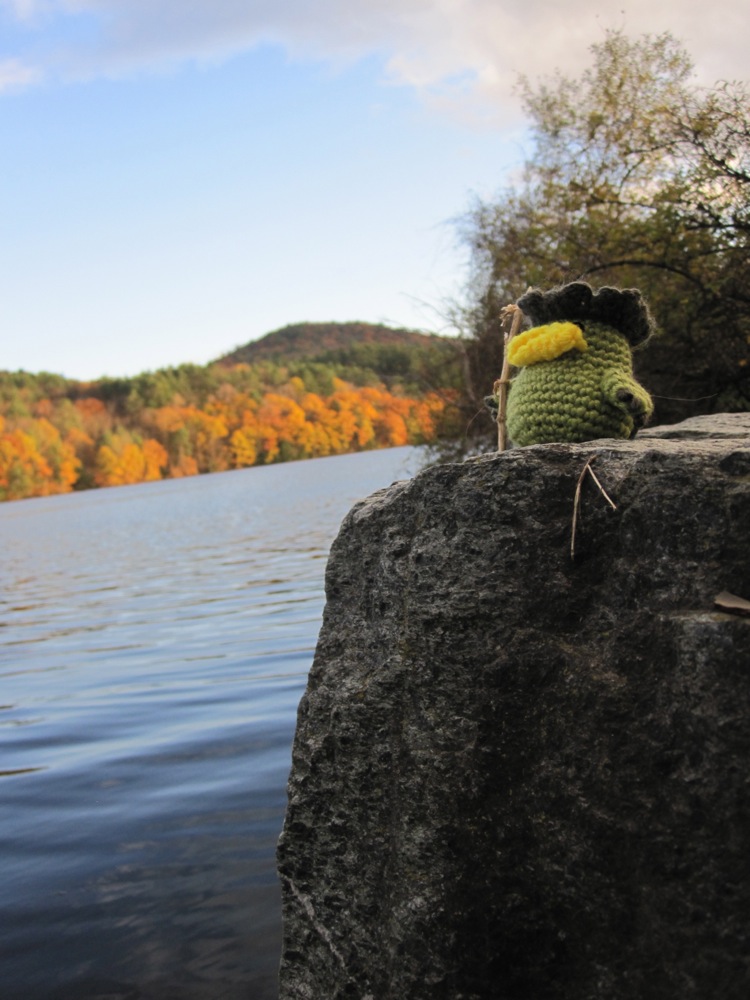
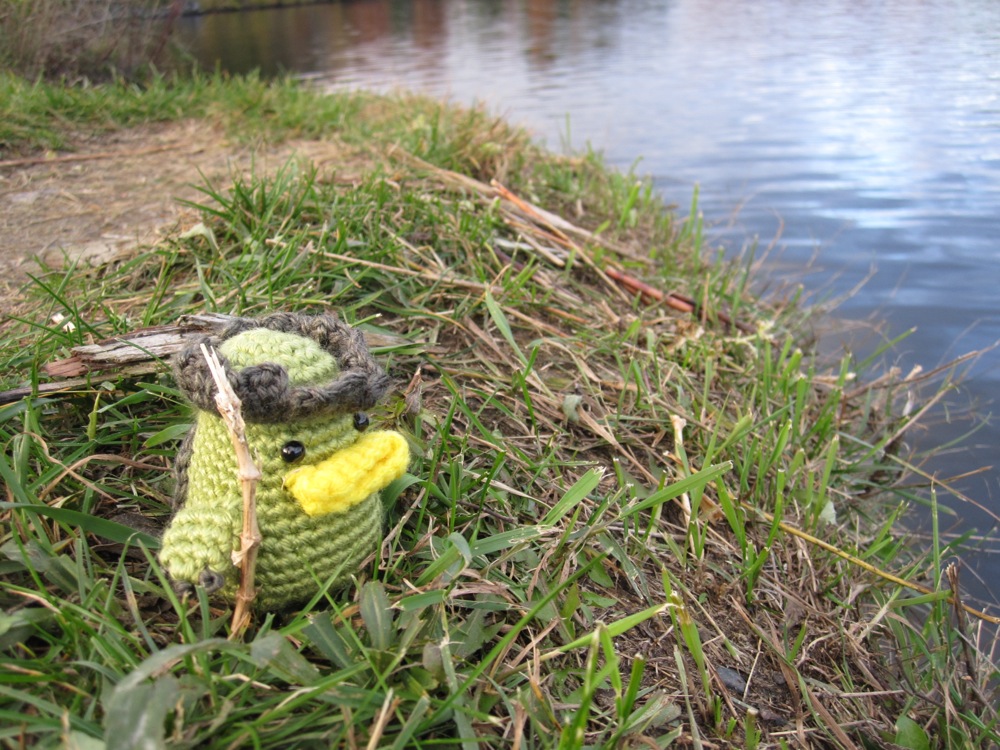
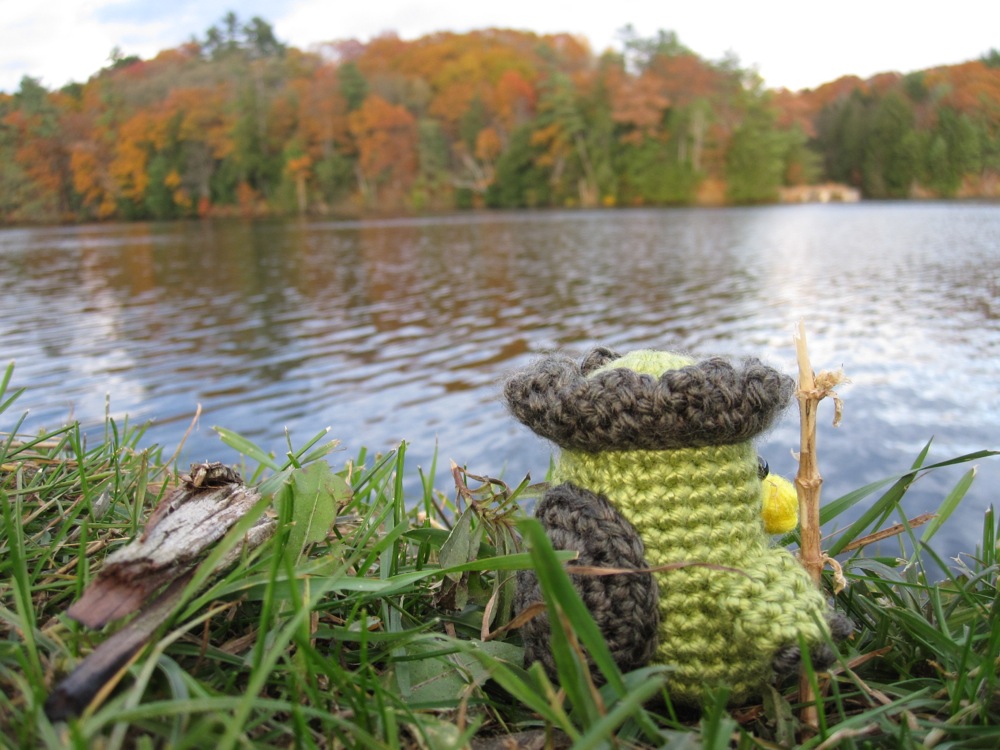
Eta, theta, iota…

Kappa!

kappa kappa
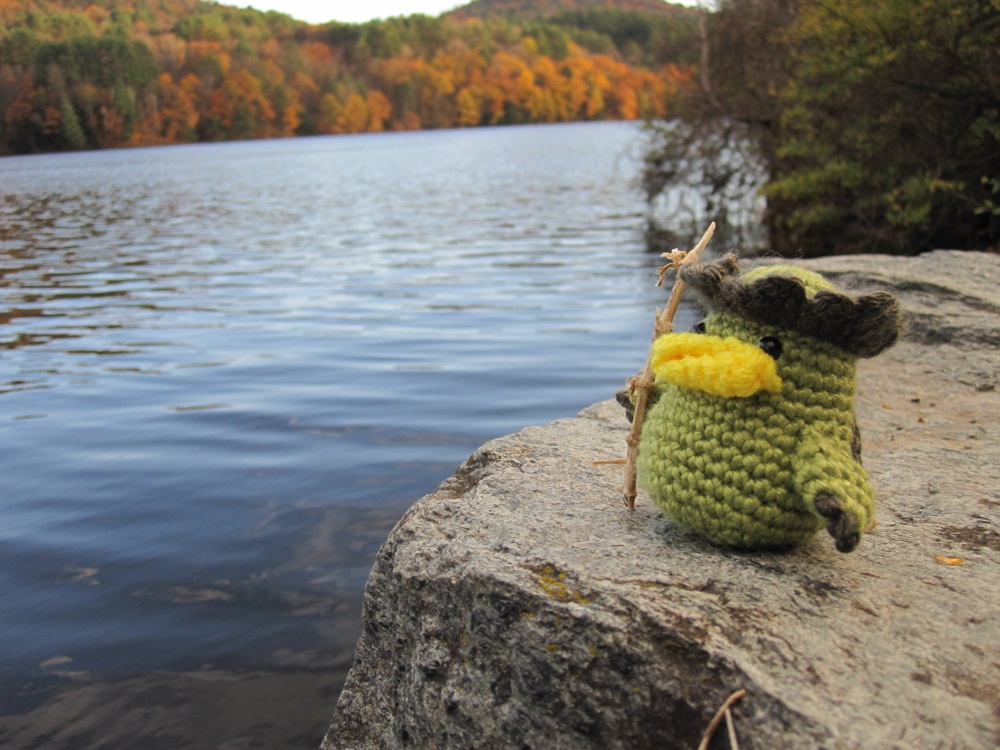
Thanks to my darling husband for being the photog on this expedition.

A while ago I ordered some Japanese amigurumi books (and one embroidery book) on eBay. They arrived in two weeks, on an estimate of 3-6 weeks, wrapped splendidly with an origami paper crane. (On a related note, I wholeheartedly recommend Books Toron for all your Japanese book needs.)

kappa kappa

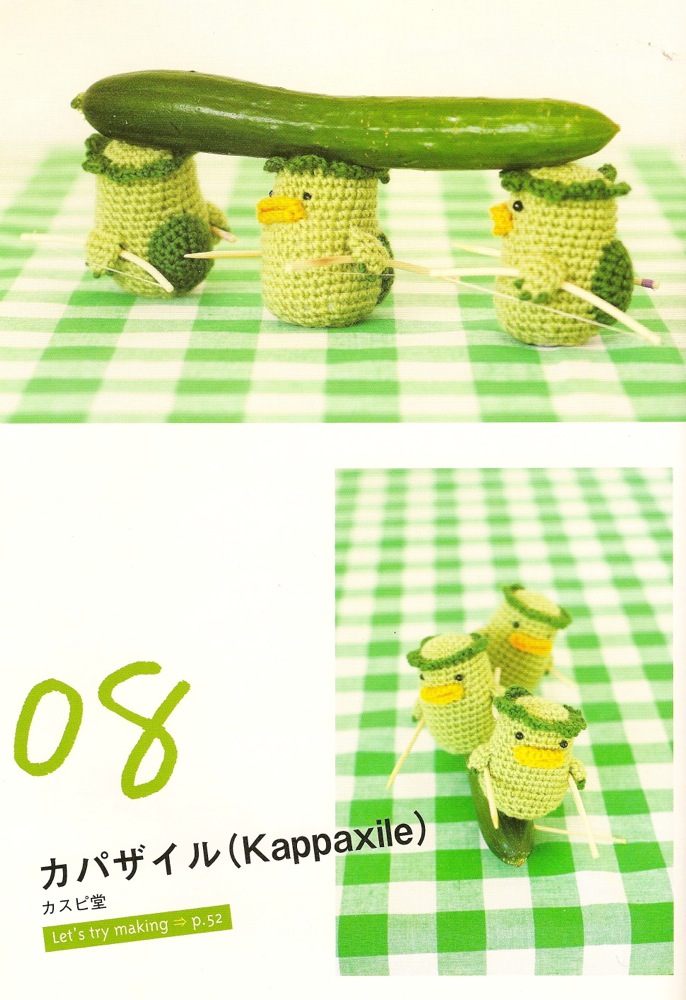
One of the books was purchased almost entirely on the strength of the kappa pattern above. I learned a lot about amigurumi photos just from looking at the pages posted on eBay.

  • Accessorize! Shawls, hats, sunglasses, purses. Look at the little monkey with his banana-shaped satchel. Ack!
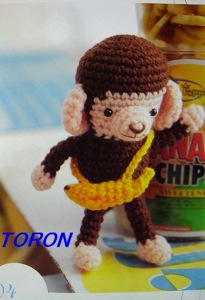
    banana satchel
    From Books Toron.
  • Make an army of your little guys and pose them all together. The only pattern in the book with the kappa that I cared about was the kappa itself, but I had to have that one, based on the cuteness of the picture.
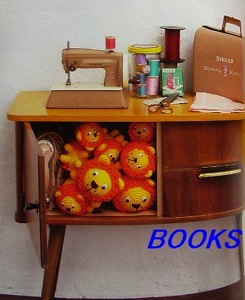
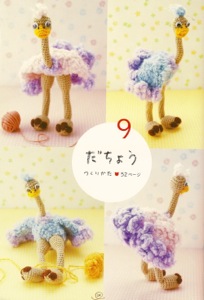
    army of kappas cabinet of lions
    Lions from Books Toron.
  • Make the background fun even if it is completely unrelated. My favorite was possibly the page below with amigurumi ostriches. The poses and background have nothing to do with ostriches, but they made me squee.

    ostriches!

The four page pictures above are from various volumes of Amigurumi Collection, published by Kawade Shobo Shinsha.

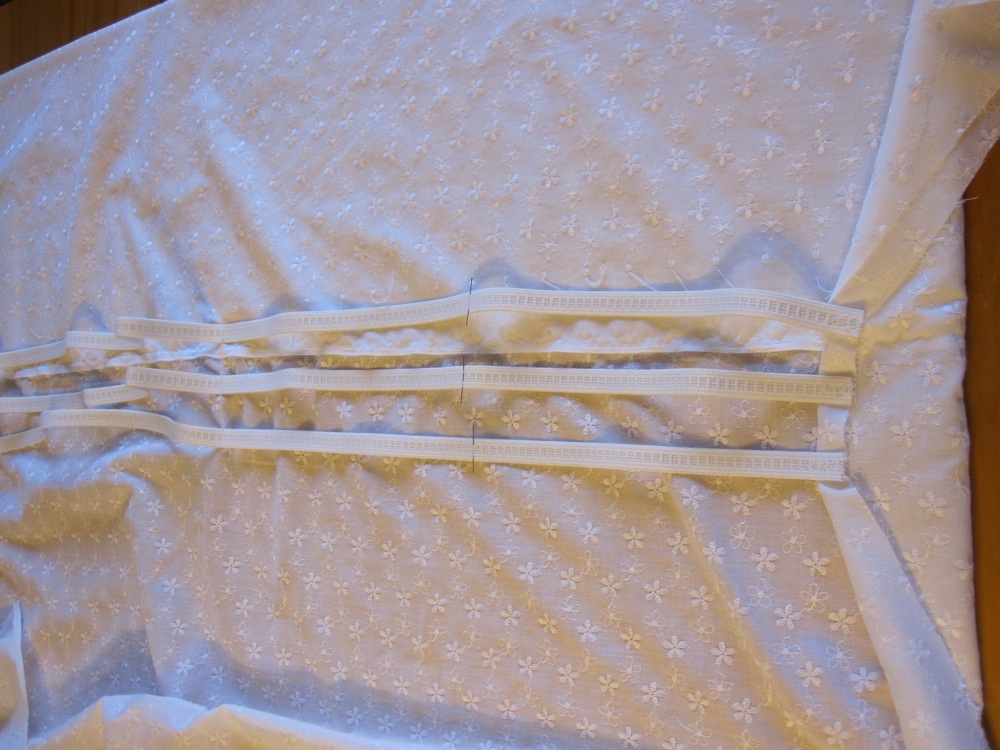
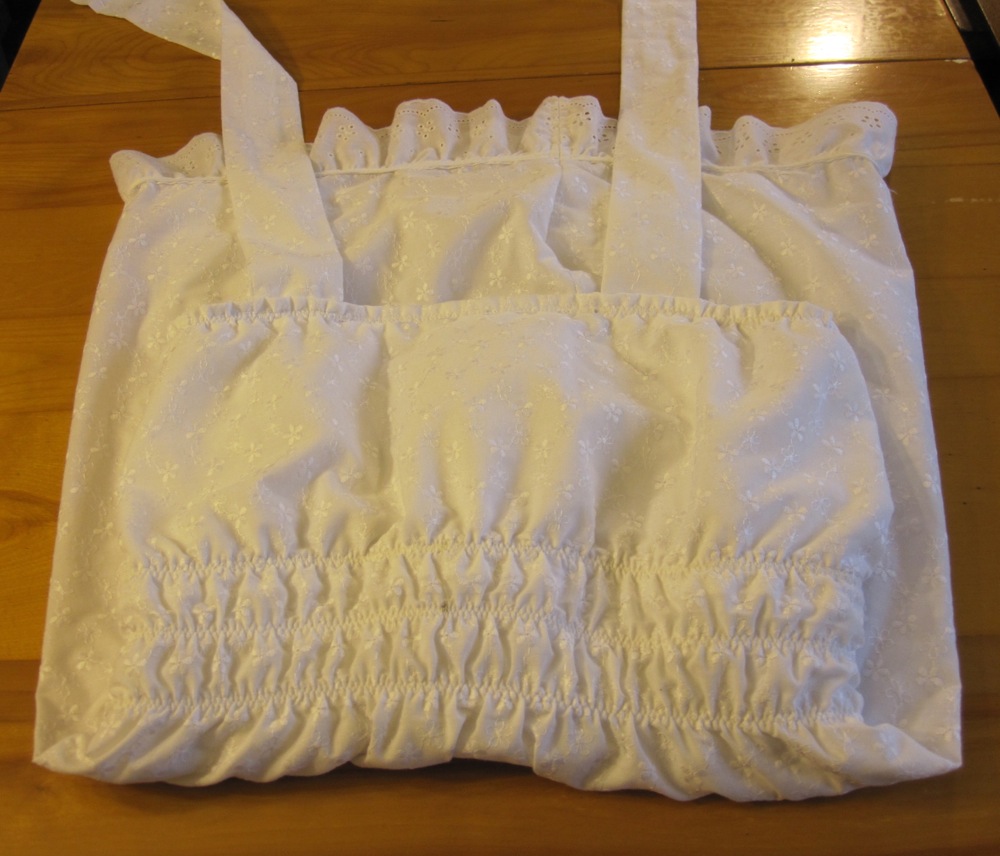
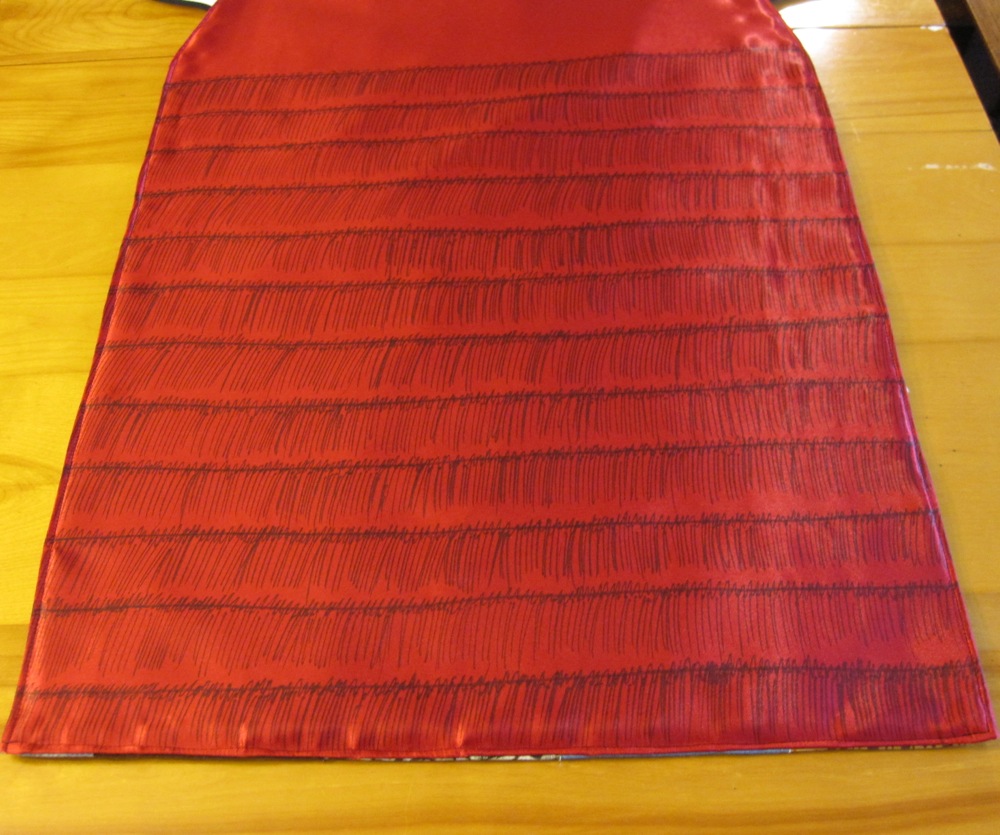
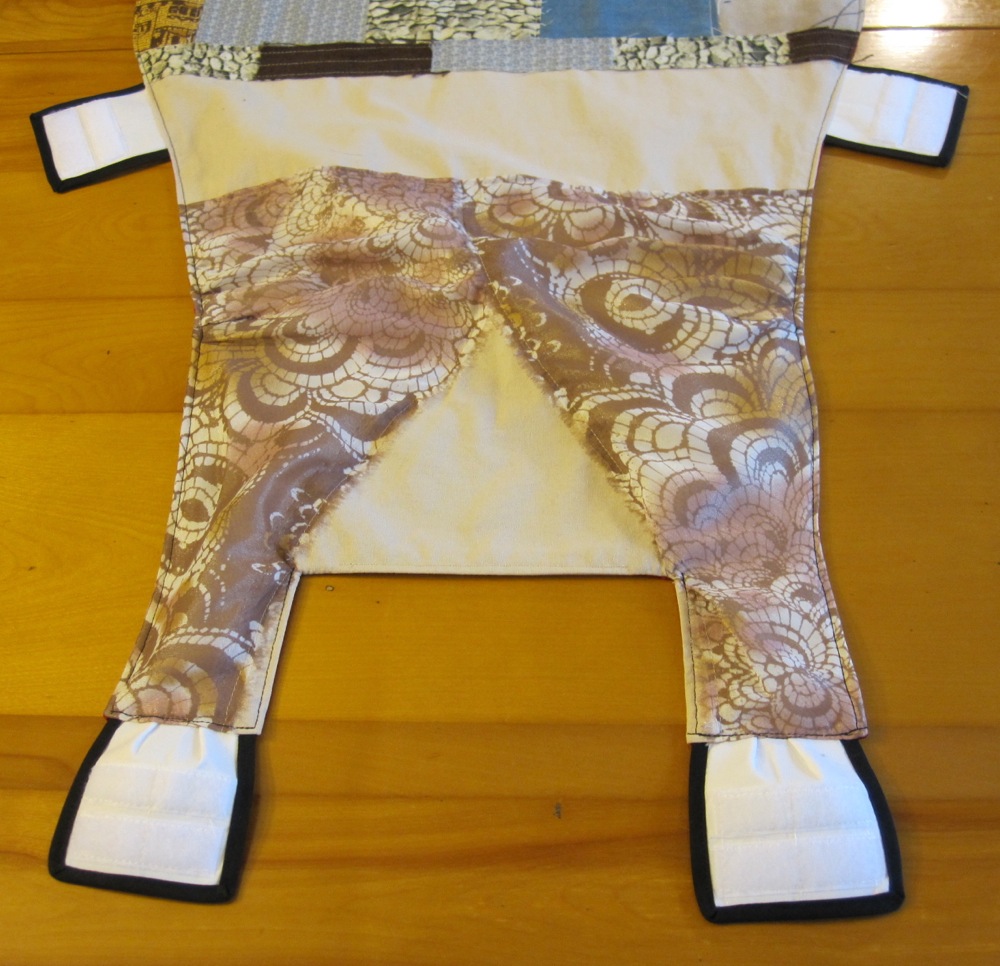
I haven’t put any of these lessons into practice yet, but I’m certainly thinking about them. Between these sorts of observations and the various online photography courses and graphic design books I’m taking in, the way I think about composition of everything has changed. Once I am done with the curtain sewing job, my next major endeavor will be a light box and photography setup.

I’d rather have a paper doll…

Man, I think I’ve only heard that song as part of a medley, because I just looked up the lyrics and it is way more bitter than I ever knew.

Anyway, here’s my paper doll.

flapper side hippie side back view

And here are some pictures of the making!

I went on a remnant rampage, buying material off the bolt only for the slip. It gave me an excuse to buy the fun cityscape material.

materials slip-making

I basically freehanded everything, using elastic to pull in the slip at the waist and top. You can see above that I was a little overoptimistic about my ability to just stretch the elastic into the correct alignment for sewing. The picture below is the slip finished but for two things: the straps are not sewn at the back, and there is no velcro yet to attach the doll clothes.

near-finished slip adjusted leotard

So I wouldn’t freeze, and for modesty’s sake, I bought a long-sleeved leotard to wear under the slip (I tried to find similarly-colored heavy tights or leggings, but struck out on anything under $40, so I wore nylons). I didn’t want to have to completely undress to use the restroom, though, so with some snaps that came with my eyelet pliers and some extra “skin-color” fabric, I made the leotard snap-crotch. For the outdoor event we went to I also wore a camisole under my slip.

The final touches were to draw fringe on the flapper dress side, and add velcro tabs to the shoulder straps. I’d added the side tabs before sewing the two halves together (down each side and in the neck opening), but the shoulders were not wide enough to accommodate the remaining tab. I made two small pleats in each and tucked them in, and then topstitched all around the dress, except for a little bit where the “skin” showed through on the hippie side but the flapper side had red fabric.

drawn fringe velcro tabs

To my surprise, it was a really difficult costume for people to guess. Next year I’m going to find a less labor-intensive costume to construct!

Mutant marshmallow bunny

My husband and I are in the habit of trading pet names of increasing ridiculousness, drawn from the grocery store. I occasionally like to crochet him representations of such names. This time, it was a chocolate-covered marshmallow rabbit. It came out a little stumpy, but since I wrote down the pattern as I went, here it is. As usual, crochet abbreviations and my pattern writing conventions may be found on the crochet reference page. Incidentally, I used sportweight yarn and a C hook (2.75mm). Note that I haven’t tested this at all.

front view side view

Ears:
1. sc 4 in magic ring
2. 2sc, sc, 2sc, sc (6)
3-6. sc around (4 rnds)

Cut yarn on first ear and pull through. Leave yarn connected to second ear and continue crocheting with it. First, awkwardly sc the ears together with one sc (see photo below).

attaching ears together

Head and body:
1. Sc around rem sts of ears to form one loop (10)
2. sc 4, 2sc, sc, 2sc, sc 2, 2sc (13)
3. 2sc, sc 2, 2sc, sc 6, 2sc, sc 2 (16)
4-5. sc around (2 rnds)
6. sc, 3sc, 3sc, sc 13 (20)
7. sc 2, dec, dec, sc 14 (18)
8. sc 2, dec, sc 13 (17)
9. sc around
10. *dec, sc 2* 4x, sc (13)
11. dec, sc 2, dec, sc 7 (11)
12. *2sc, sc* 5x, sc (16)
13-21. sc around (9 rnds)
22. sc 3, 3sc, sc 2, 3sc, sc 9 (20)
23. sc 6, dec, sc 10, dec (18)
24. dec, sc, sc3tog, sc, sc3tog, sc, sc 5 (12)
Stuff, sl st across bottom to close off.