Achieving closure

Three seasons of the year, I live in outerwear collected over the last decade-plus to meet the following criteria: openable in the front and not wool. One of my sweaters was simply open in the front rather than openable, which made it less useful – three temperature options are better than two. For a while I wore it with a shawl tied around my waist as a belt, but that was bulky and impractical. A better solution was to add a closure to it, and after perusing my options (hidden hook and eye, decorative hook and eye, frog, button and buttonhole, two buttonholes with “cuff links”) I decided on a large decorative button in the center of one front panel with a buttonhole symmetrically placed in the other. I had just such a button, a beautiful glass one I bought at a flea market. Furthermore, I decided to stitch the buttonhole with embroidery floss matching the colors in the button, so if I were wearing the cardigan open it would still be symmetric.
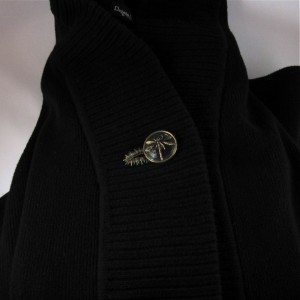
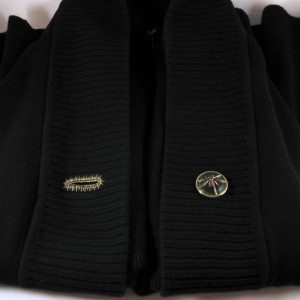
sweater closed sweater open

I can say with some confidence that the garment district need not fear my takeover any time soon, but I like how it came out. I finished this in the middle of last week so I’ve had a chance to try it out, and not only do I still like the look, I am pleased by the warmth difference.

In other keeping-warm news, I made a neck warmer for my husband a week or so ago, out of 100% cotton flannel and rice. I threw in some mace, allspice, cinnamon, cloves, and coffee beans (the spices were chosen according to which I had in unground form), which I can’t smell when it is heated but he says he can. It takes about 2 minutes in the microwave to warm up, but it stays warm a nice long time.
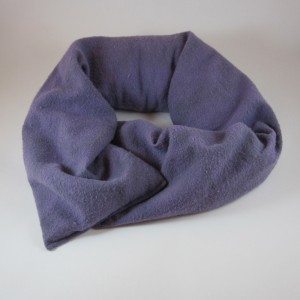
neckwarmer

Simple gifts

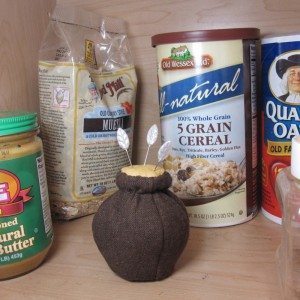
I taught my husband crochet last fall, and he took right to it. He’s completed three projects, including a scarf he gave me at Christmas, and has two in progress. He got his own embroidery scissors and set of hooks for Christmas, and I gave him some large pins last week for his upcoming multi-piece projects. Today I’m giving him a place to put those pins.

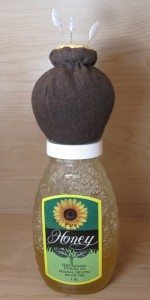
honey pot in situ honey pot posed

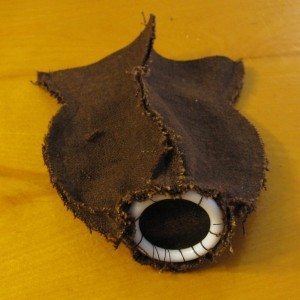
Honey for my honey! I began by tracing the outline of a Winnie-the-Pooh type honey pot, making four identical, symmetric pieces (of course it came out with much more extreme contours than that). I left out the tuck-in below the top rim and extended above the rim symmetrically to below it. After stitching those pieces together into a contoured tube, I added a disk of fabric across the bottom and sewed in a plastic ring (1.5″ diameter, outer edge) to hold the shape.

honey pot base ring

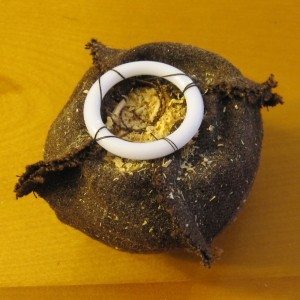
For the top rim, I had marked how far up the tuck-in should be and ran a running stitch around that part by hand. I filled the pot most of the way with sawdust, gathered the fabric until the opening was not much more than an inch across, then laid a second plastic ring above the gathers and took a few stitches to hold it in place. I folded the fabric at the rim to the inside of the pot.

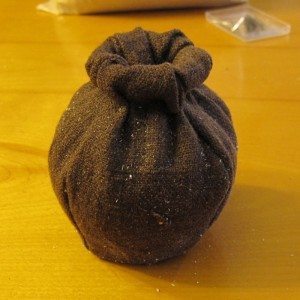
honey pot top ring honey pot base done

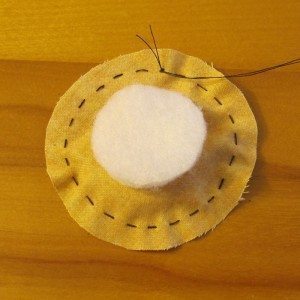
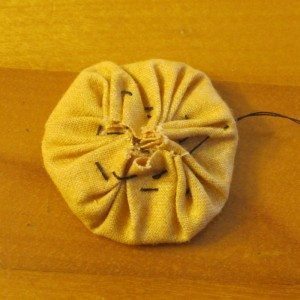
For the honey, I first had to locate proper color fabric! That turned out not to be possible in my stash, so crayon tinting came to the rescue. I cut a 2.5″ circle of honey fabric, ran a gather stitch around about 1/4″ from the edge, and laid two 1.25″ circles of batting on it to keep the surface of the “honey” smooth. I drew up the stitches to make a disk and stitched across roughly to keep the fabric contained. Finally I topped off the sawdust on the pot, laid the honey on top, and stitched it on. I used a sticky lint roller to remove the sawdust from the outside of the pot.

honey pot top prep honey pot top prep 2

If you want to make your own honeypot, I have a pdf pattern of the pieces, with brief instructions. Enjoy!

Babies and babies

Many moons ago, I wrote a quick tutorial on making baby bibs from a commercial pattern and terrycloth. Recently I had reason to use that tutorial, to make gifts for friends who’d had a baby Christmas Day and another pair of friends who had a baby in early January. Here they are!

First, a stained-glass bib.

stained glass bib

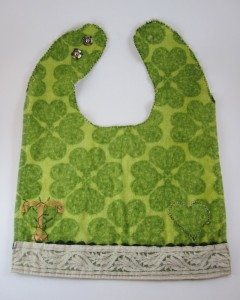
For the same couple, an Irish bib with illuminated initial of the baby’s name, made from a St. Patrick’s Day guest towel.

monogram bib

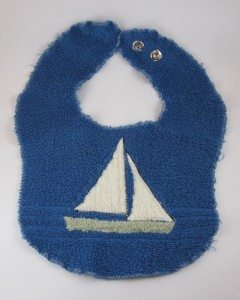
For the couple with a sailing husband, a sailboat bib.

sailboat bib

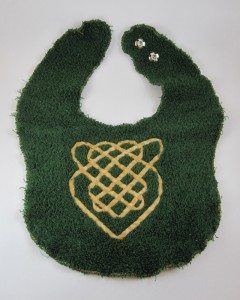
The second bib for the same couple, with an Eire-loving wife, a Celtic shield knot.

celtic knot bib

When I went looking for a Celtic knot to applique on a bib, I did not expect to find one that was traditionally placed on children’s clothing to protect them, but that is exactly what I found!

The knot and letter are done in ribbon, hand-sewn in place with matching thread. I formed the knot on a life-size paper printout of a photo of such a knot (in that case engraved on a button), pinning it first to the paper and then pinning each intersection and fold to itself. I unpinned it from the paper, lifted it over to the bib, adjusted it and centered it as best I could, and pinned it down. Periodically I repinned it, trying to minimize the number of pins used so there would be less for the sewing thread to catch on. It took a very long time. The letter T was formed directly on the bib and stitched down with somewhat less care than the knot, and then embroidered over to give it a medieval illuminated look.

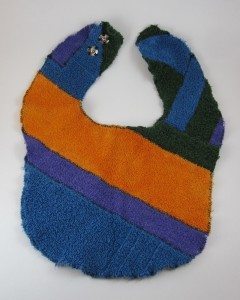
The stained-glass bib was made by piecing strips and squares of terrycloth over the paper pattern, zigzagging them together, and then cutting out the bib and zigzagging the edge. After it went through the wash I had to darn one part of it that has started pulling apart. The heart on the T bib and the sailboat were both made by appliqueing terrycloth shapes with a zigzag stitch; the sailboat has additional details (lines and mast) made just with stitching.