This morning I’d like to introduce you to the patterns currently in the ReveDreams.com store. This blog will not turn into an advertisement for the store with nothing else, though! As of this week we’ll have posts on Thursdays again as well as Mondays, and while I’ll show you items added to the store and patterns I’m working on, I’ll also continue with sewing, embroidery, and miscellaneous craft posts. Stop back Thursday for a non-crochet post!
Meanwhile, the store’s contents, which currently all relate to past posts.
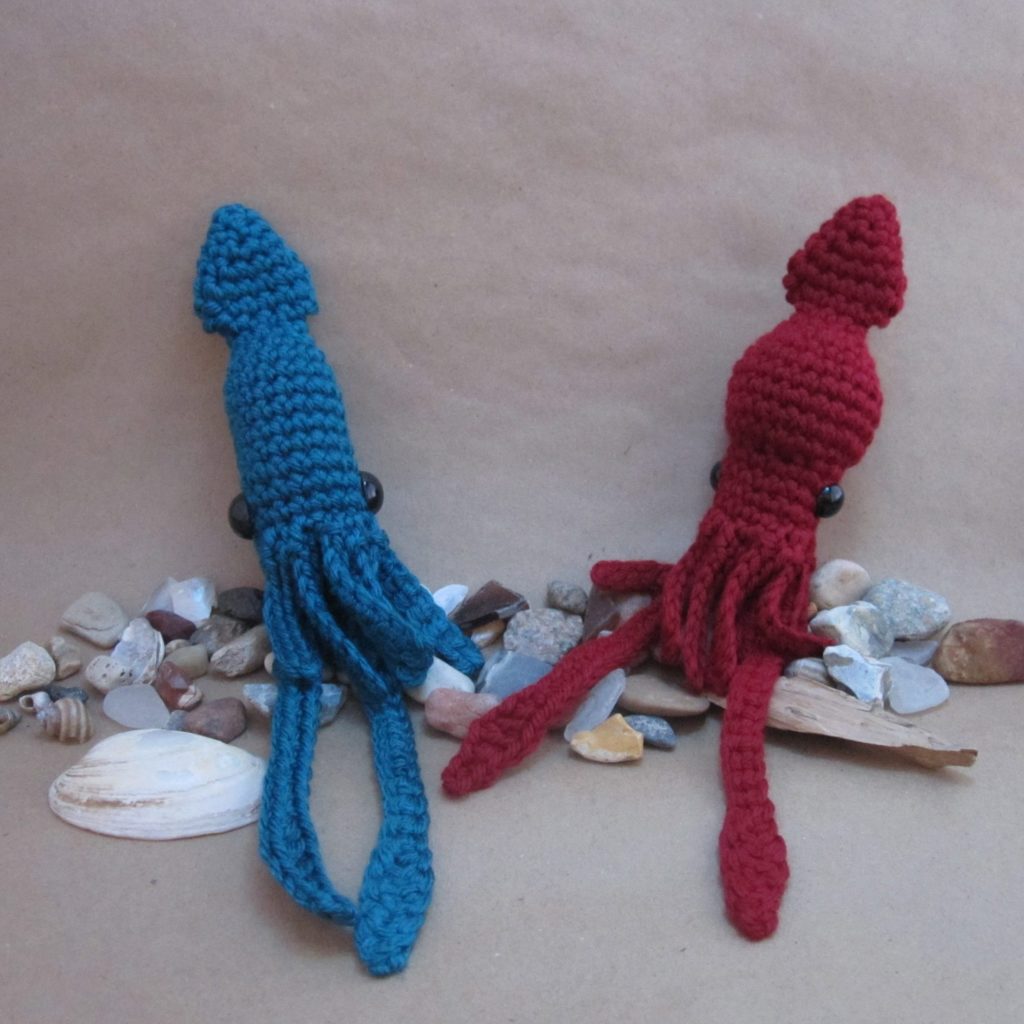
The tersely described squid is back, to be made rainbow or not. This is also a two-fer pattern, with a second squid included that shares top fin and tentacles with the first.
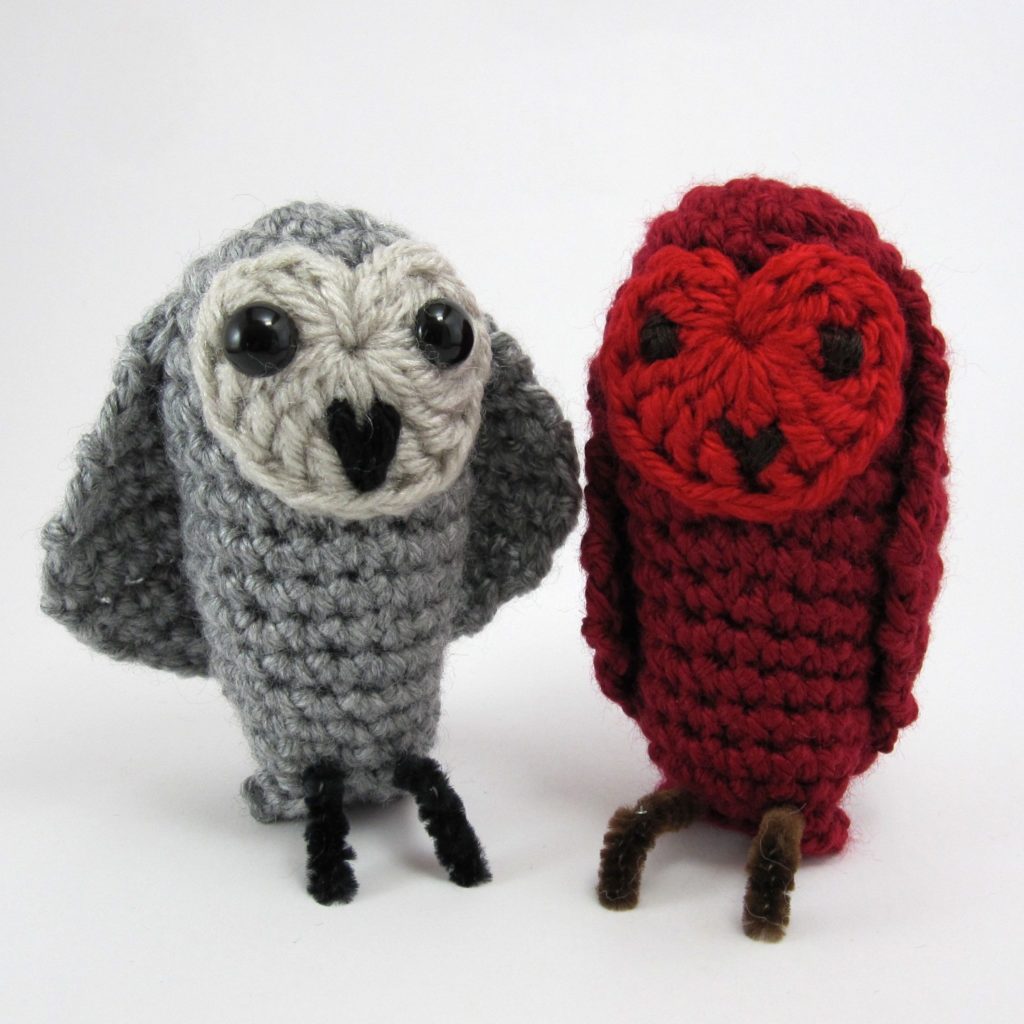
The barn owl has moved from floss to yarn, with instructions to put in pipe cleaner legs so she’ll stand on her own, and without the need to push them through stuffing.
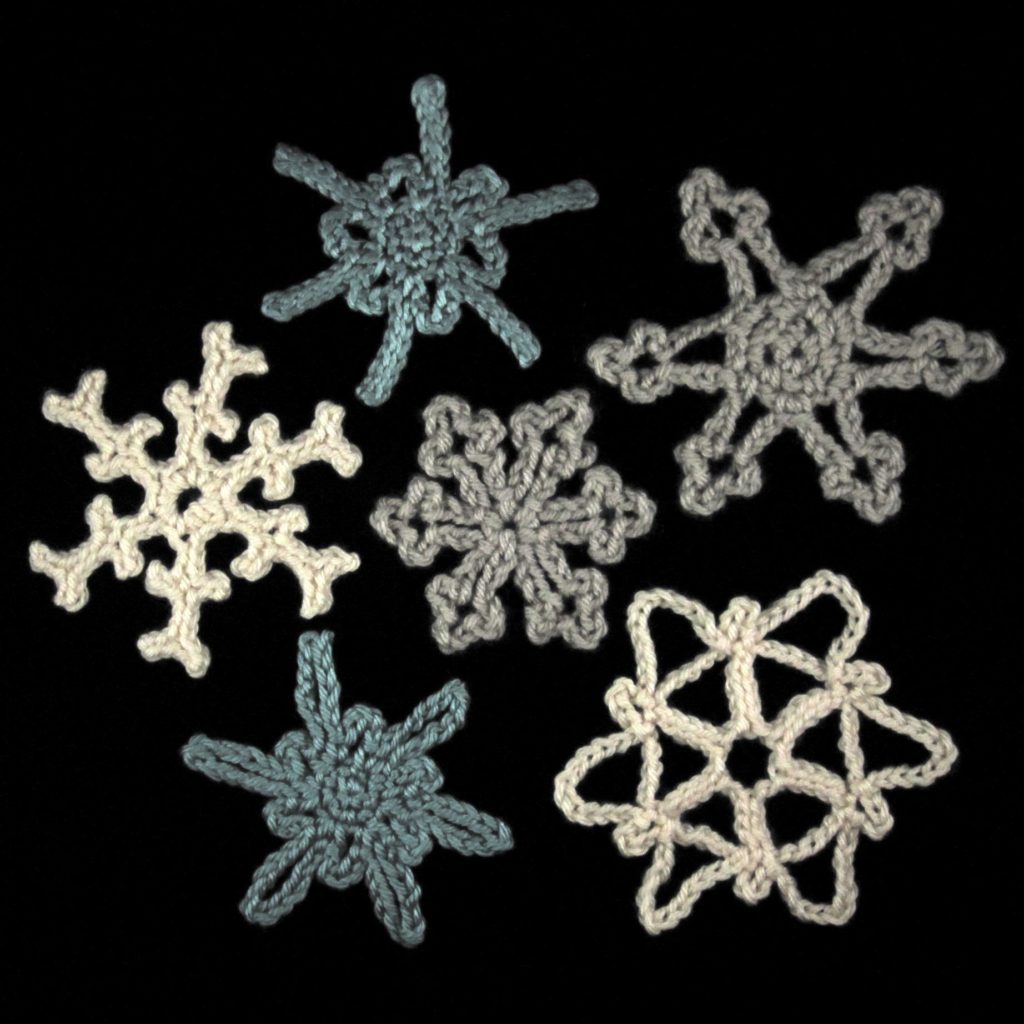
The two snowflakes in this post have been joined by four others, previewed on my grandmother’s scarf but improved from there. All are flat and suitable for yarn; you could also make up tiny ones in thread.
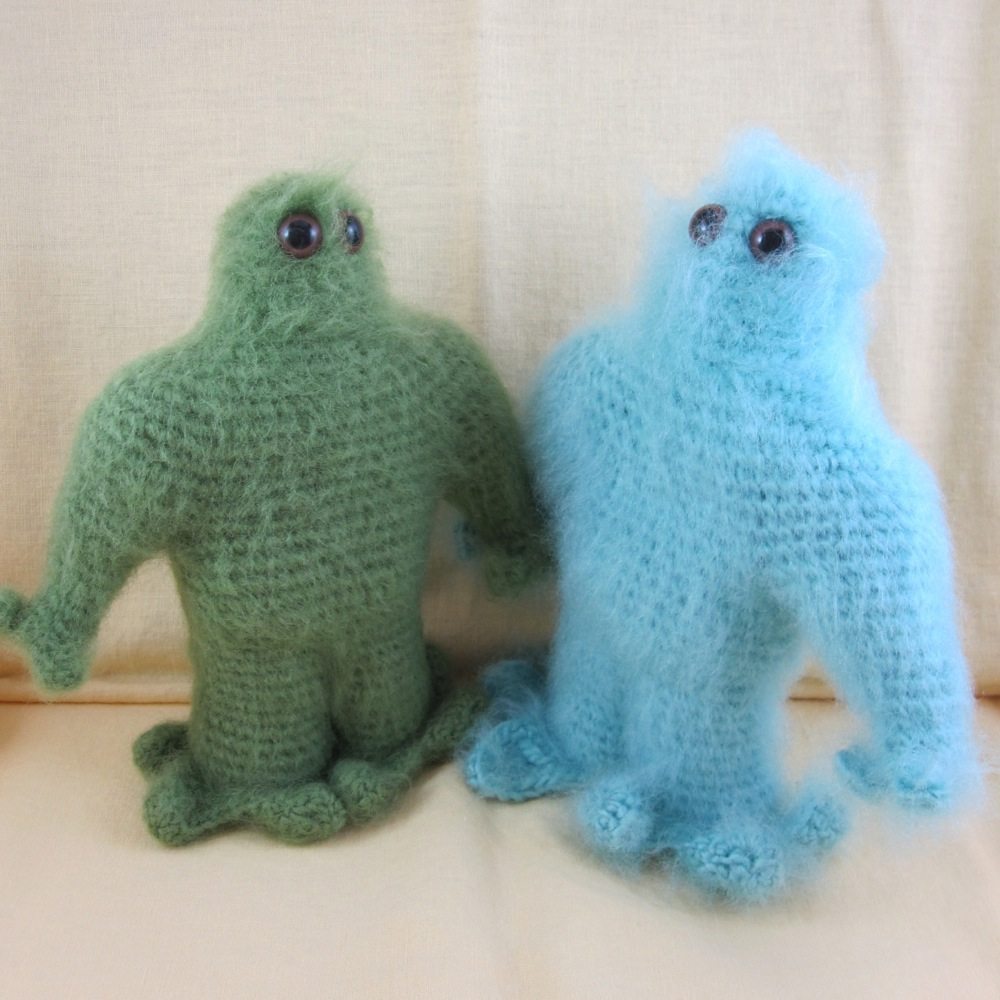
Today is my second blogiversary and I have a big change at ReveDreams.com to announce. Before that, however, I would like to introduce your guest host. Together at last!
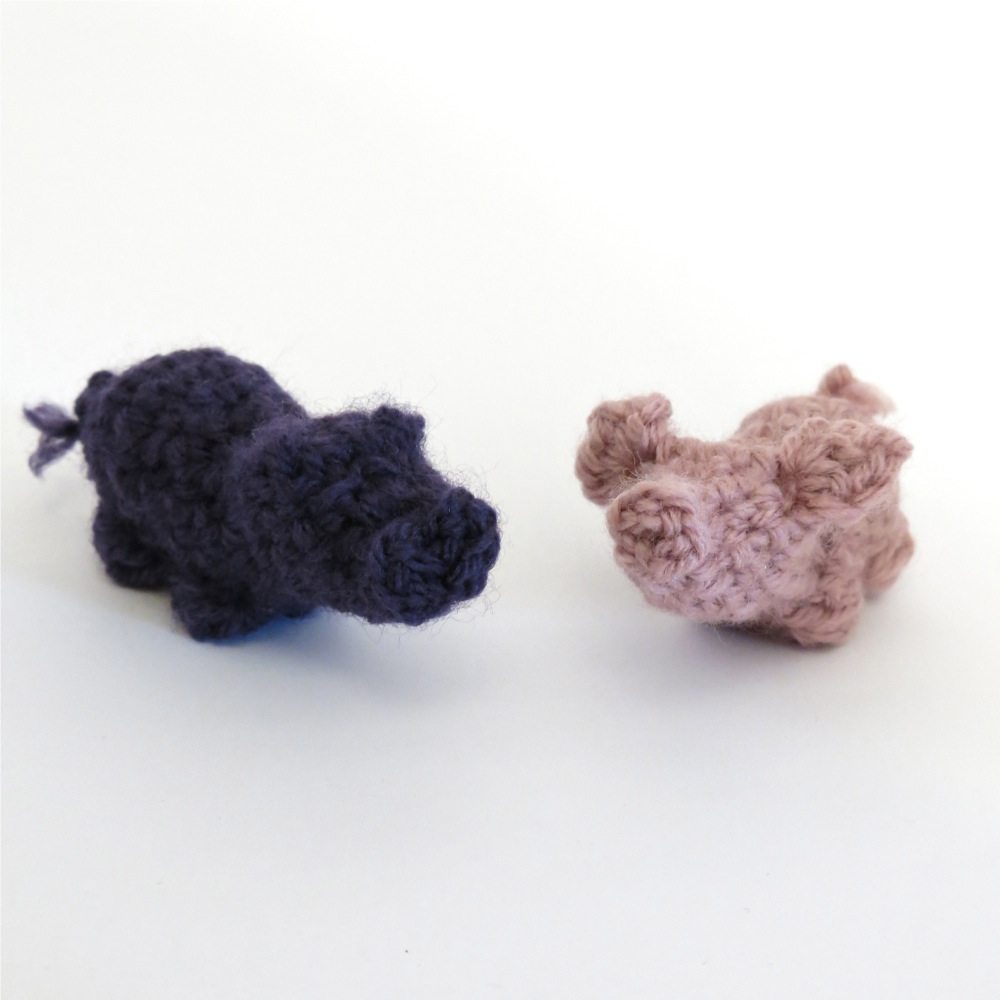
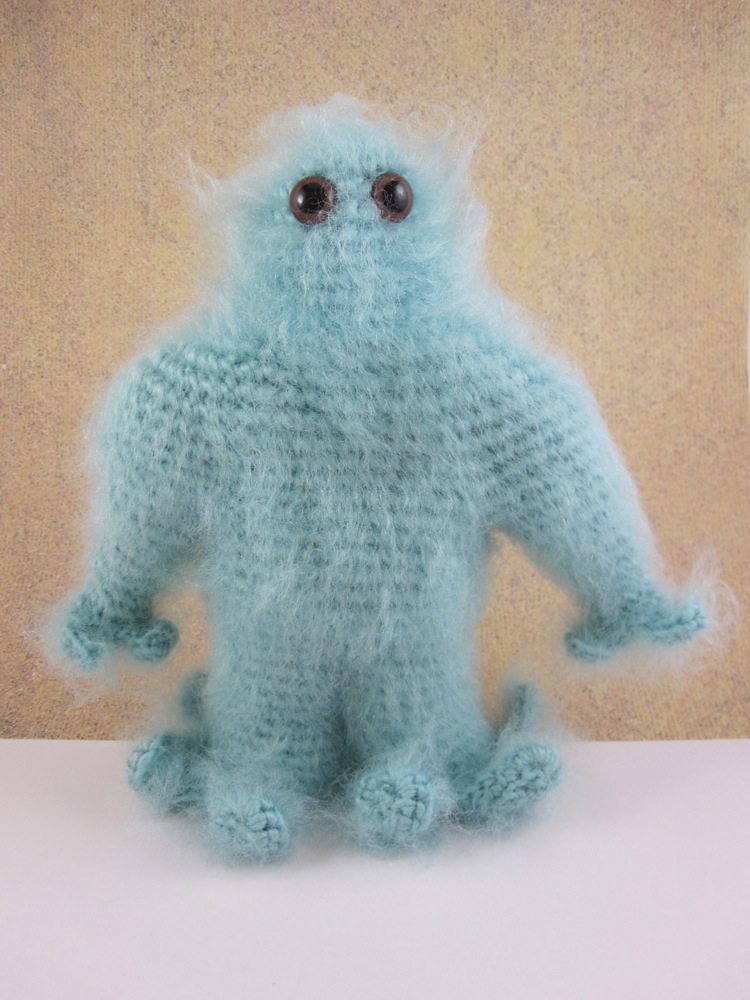
This monster was supposed to have been completed for Halloween… of 2011. However, I made a monster and when I brushed her, she got all stretched and floppy, her toes like the flippers of a walrus. That version was a dark orange. This version was of yarn much more similar to Stumpy (Stumpy is Full O’ Sheep [Stitch Nation for Red Heart]; this is Sheep(ish) by Vickie Howell [Stitch.Rock.Love. for Caron]) and brushed up nicely. Like the Hug Monster did, she will spend some time anonymous, until her name is revealed to me.
Anonymous Light Blue Monster would like to announce the opening of the ReveDreams.com store! Several patterns you’ve seen the results of are there. We’ll survey them in tomorrow’s regular post. I aim to add more patterns steadily through the year, as well as continuing to tweak the look of the store pages.
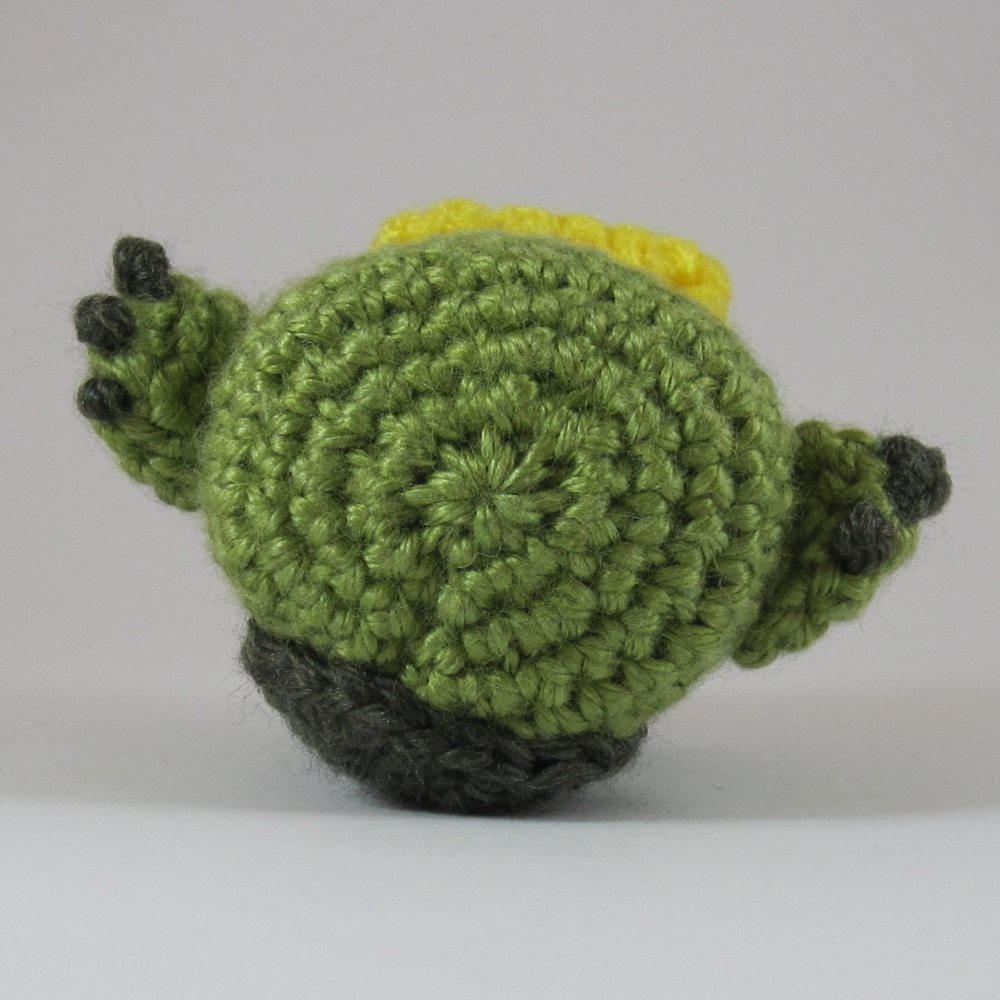
In my kappa post I talked about the photos in the amigurumi books I bought from Japan. This time I want to address the techniques used. The books I got all worked in proper rounds, not in a spiral, which is something I’ve never gotten the hang of but tried hard on with my kappa. He has a visible seam down his back, but it’s largely covered by his shell.
The rounds begin with what I would call the double magic ring, something I didn’t hear about until over a year and a half into my crochet life, despite making amigurumi from the earliest point I was able. This is the only starting method given in any of the three books. The double ring is just like the magic ring you might already be acquainted with, except you wind the yarn twice to start instead of once. When tightened, it has enough friction to hold without weaving in the end at all. Tightening has to be done carefully, though: pull the cut end of the yarn and see which loop of the ring tightens. Stop pulling as soon as you determine that, grab that loop, and use it to tighten the other loop. Finish the job by pulling on the end of the yarn. The books say to put the cut end through the second loop before tightening it, which would lock it in place, but even without that I have never had a double ring work open on me later.
Here’s a video!
My second ever, and the reason this post is so long after the kappa post.
To close, the recommendation is a running stitch through the front loops of the last round. I was astonished to see how well this worked — there were fifteen stitches in the final round of the kappa, and he closed up neat as a pin. There is a certain ripple to his bottom end from the opening being gathered substantially, but even with that he looks nicer than a lot of my other amis which were closed after decreasing to only six or seven stitches.
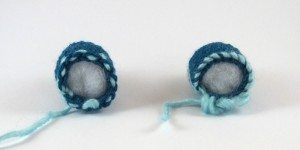
Now, I went to look at June Gilbank’s blog post on amigurumi closure comparisons, because she recommends a different method: drawstring, yes, but after whipstitching outward through the front loop of each stitch in the final round. I decided to do my own comparison, on pieces with larger and smaller final rounds.
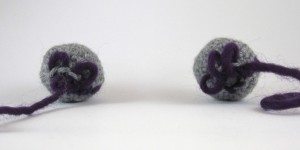
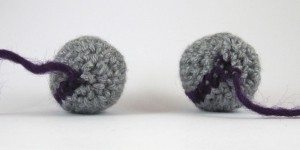
Here’s the result. The contrasting stitch is just to secure the contrasting yarn for the drawstring, so you can see how it was stitched. The running stitch (Japanese books) is on the left, and the outward whipstitch (perfect finish) is on the right. In the first picture I left some of the stitching loose so you can see how it goes. The second picture is tightened but not finished off, and the third is finished off.
Large opening (18 stitches in final round):
Small opening (7 stitches in final round):
As you can see, I couldn’t even get the 18-stitch opening completely closed with the whipstitch technique – it has more friction due to the looped shape. Whipstitching lets the final round blend in better in the 7-stitch opening, but the score is close. I’m a running stitch convert – though I’ll admit part of the reason is that I’ve had trouble remembering which direction to whipstitch for the perfect finish!