Peacock pen case

At last! I finished the pencil case for my dear husband, with the embroideries of his comics adorning the outside.

pen case shut pen case open

I’ll show you how I did it. I thought it out before beginning, but it was the first one I ever made and shows a certain amount of evidence of that fact. It is approximately 3″ by 6.5″ by 1″.

To make one just like this (sans comics) you will need:
1 zipper, 22″ long (a lot of that was cut off but the overhang was convenient in the making; it must be at least 15″)
4 strips of elastic each 4″ long (mine was 3/8″ wide and I colored it purple with a Crayola fabric marker)
2 rectangles of fusible interfacing, 4″ by 7.5″ (I used a medium weight)
and the following five pieces in each of two fabrics, one for the outside and one for the inside:
2 rectangles 4″ by 7.5″ (the faces)
2 strips 2″ by 17.25″ (could be as narrow as 1″ and could be a bit shorter also)
1 rectangle 2″ by just over 4″ (if your zipper is closer to 15″ the 4″ measurement here needs to be longer, up to 6″; my shorter measurement was 2.25″ but that wasn’t a good idea)

Continue reading Peacock pen case

Color conundrum

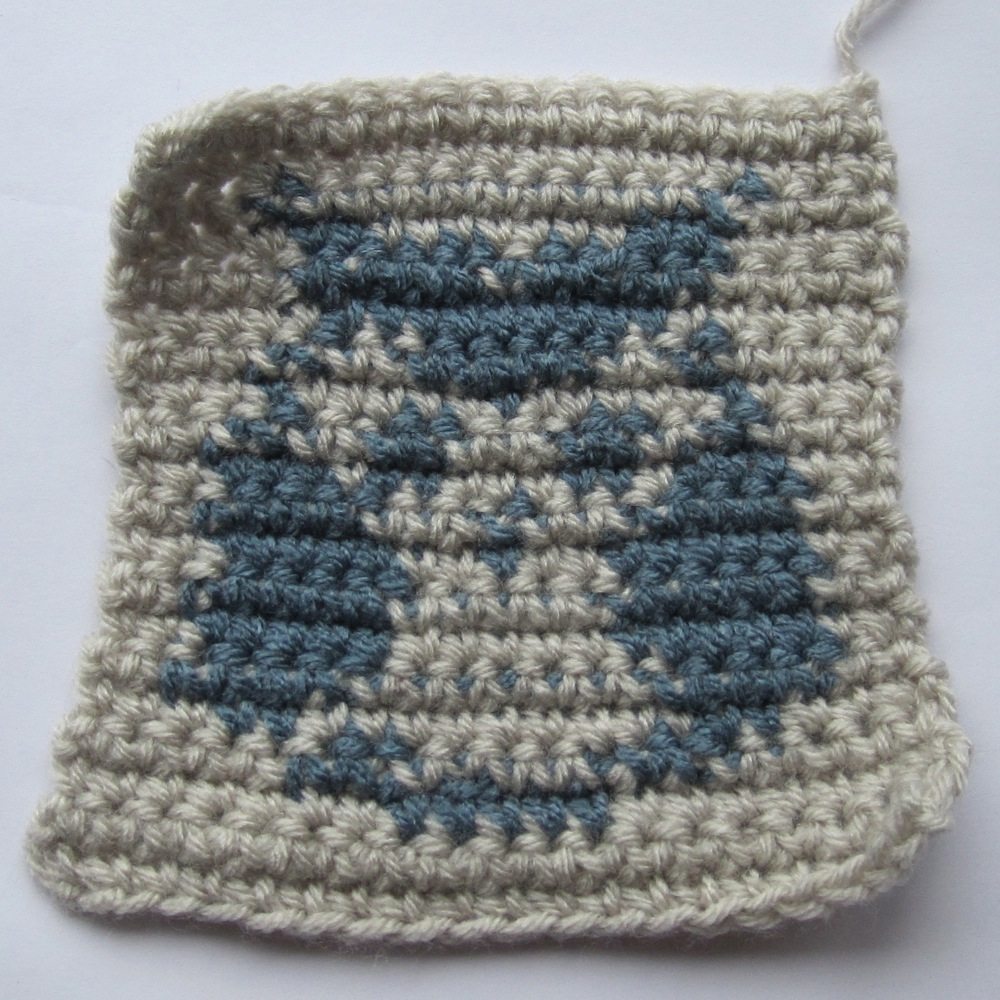
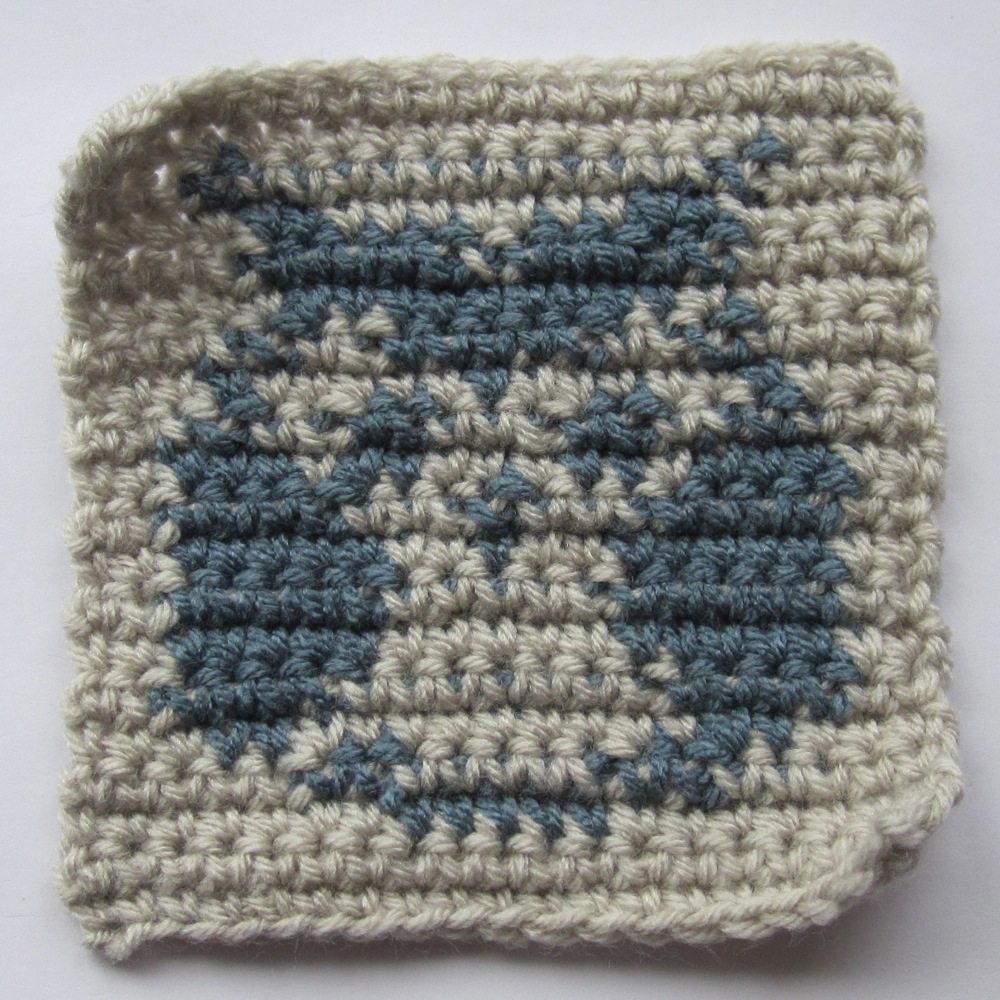
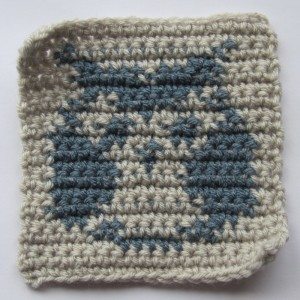
In part 2 of beginning crochet, I teach basic color work. I don’t do a lot of color work, and when I do it’s typically in a case where the unused color can hang out loose behind the work, so it’s based on less experience than pretty much the entire remainder of the course. I was practicing before the most recent iteration, and made the following from a cross-stitch pattern:

owl A front owl A back

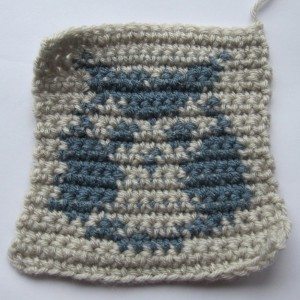
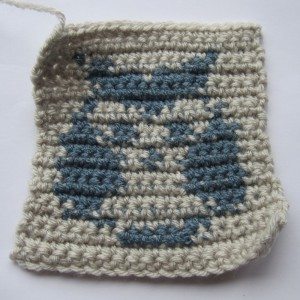
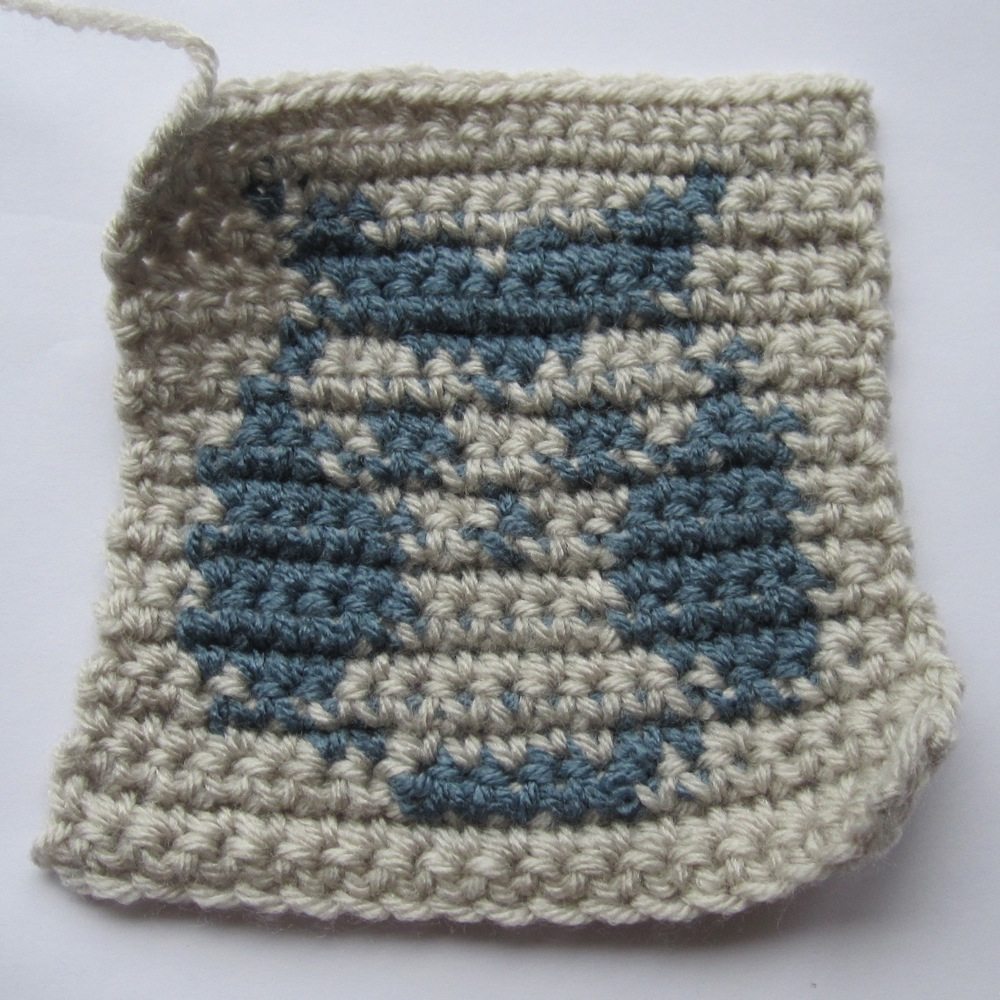
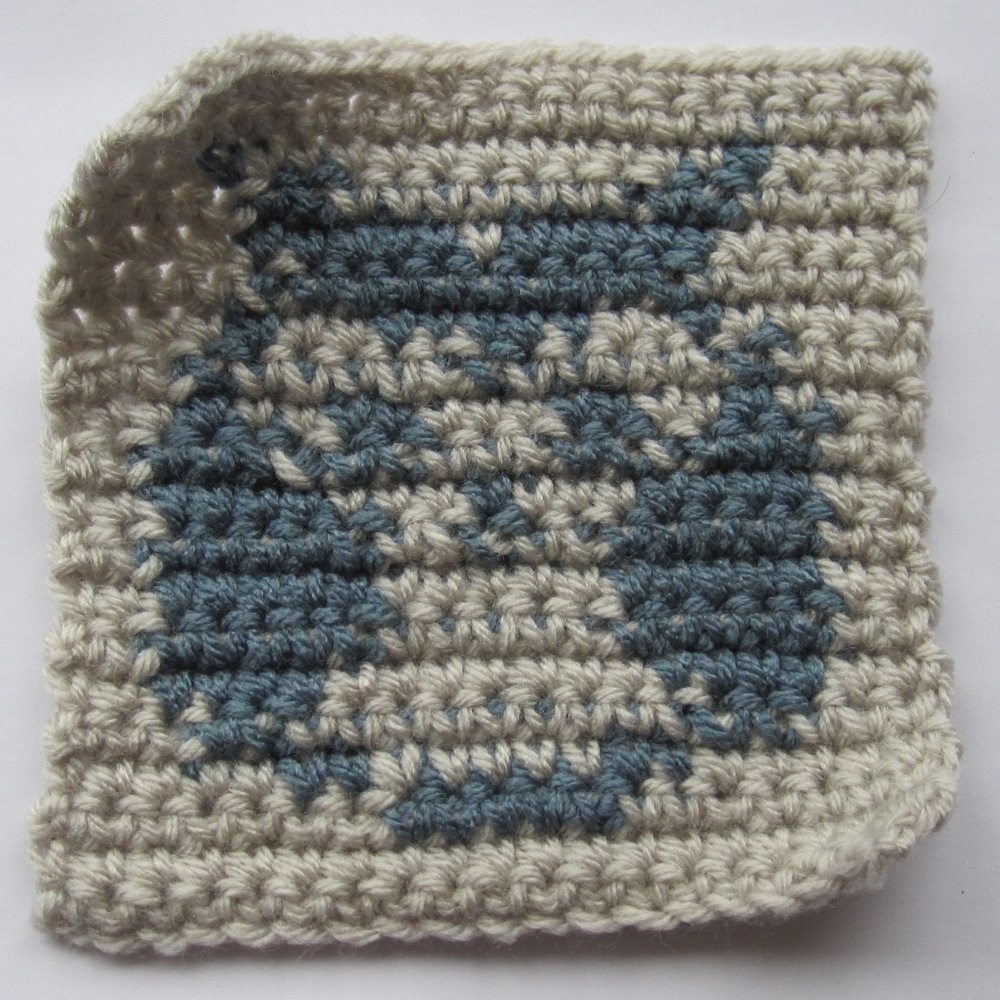
Holy tension problems, Batman! As a note, this was made with worsted-weight yarn and an H hook (5mm). I tried again, resisting with all my might the urge to tug the yarn down when I switched colors:

owl B front owl B back

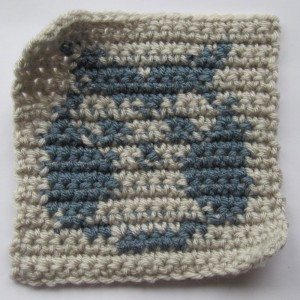
Immediately after I finished the piece some of the carried yarn was peeking out between the strands of the yarn in use, but I stretched the finished piece vertically and then horizontally and they all disappeared. Apparently for me the key is to hang loose.

So, then, that’s all about practice, but what can be done about the exploded mess that is the back side of the stitch? It seemed perhaps I’d found the reason that well over half the fancy color work I’d seen online was on pieces worked in the round.

There is either surprisingly little to be found online about colorwork, or I have not found the right search terms. I mostly got pages with what I have always seen as simply the correct way to change colors in crochet, presented as though it is a special technique.

However, Carol Ventura’s blog about tapestry crochet includes a tutorial category, and there I found a post about the mess wrong sides make. Her solution? Crochet in such a way that all the stitches’ fronts are on the same side of the work. She either switches hands between rows or works the “wrong side” rows with a backwards crochet technique.

The comments section of that post includes another tip: if you’re making something with a larger hook (J/6mm or K/6.5mm, say), it will look better if the carried colors are uniform, since they will show through a bit. That is, if there are stretches where you are carrying white inside yellow, you should carry white inside all the yellow stitches.

As a bonus, as someone who crochets with always at least two and often several more colors, she has a solution to the twisting-strands problem: don’t untwist, just make sure the twist is right up against the back of the work. You can see in the example in her post about this that it does not produce any bump or peek of color, at least when done right.

I can see I have some practicing to do!

Stitching vistas

Through the Sew-Op, I had the chance to take a two-part course from one of my fellow teachers, Sally Munro, on landscape quilting. We used the method in the book Accidental Landscapes, by Karen Eckmeier. I chose a photo of sunset as seen from my grandparent’s backyard when I was growing up (appearing in speckly scan form below). See what you think of the interpretation:

Williams Bay sunset finished landscape quilt

I took a few progress photos to give you a sense of how it went together.

landscape materials

The sky and water were made from pieced fabric, through a technique called texturing where you cut a slightly wavy edge, press it down a quarter inch, and topstitch it to the layer above. After trimming the lower layer to a quarter inch below the stitching, you can add the next one. Cutting a wavy edge rather than a straight one gives a more organic feeling to the piece. The perfect colors miraculously came out of Sally’s fabric stash.

The tree was black fabric on Steam-A-Seam cut out by hand with a previous copy of the photo on top of the fabric. It is on top of the sky but extends below the top edge of the water, for extra security.

landscape unbound

The binding is one continuous strip, joined into a loop after being sewn on three sides and a couple of inches into the fourth on each side. It is turned to the back and hand-sewn down. I used corner pockets for a hanging rod; the binding is what’s called a French twist and is supposed to create its own rod casing, but the fabric I used was too narrow to accommodate anything but the tiniest of dowels, with virtually no overhang at the ends.

landscape quilt back

Unfortunately I basted by machine, which was not Sally’s intent, and couldn’t get the needle marks out. It’s a good thing I had basted with the direction of the design! I will know better next time. It was a wonderful learning experience, though, and I am more than happy with the way it came out.