Little pumpkins

I was really hoping to show you a monster today, but there were technical difficulties. So here are some emergency pumpkins.
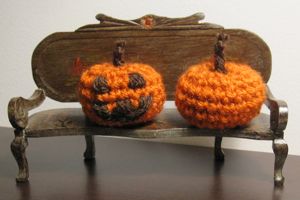
pumpkins

And here’s the pattern! (conventions and abbreviations here)

1. Form magic ring, ch 1, and sc 5 in ring. Tighten.
2. Sc, *2sc, sc* twice (7 sc). Finish off beginning yarn end.
3. 2sc around (14 sc).
4. *2sc, sc* around (21 sc).
5-8. Sc around (4 rnds).
9. *Dec, sc* around (14 sc).
10. Dec around (7 sc). Stuff!
11. Sc, *dec, sc* twice (5 sc).
Use the perfect finish and thread the yarn through the middle of the pumpkin and out through the magic ring before you tighten; stitch back and forth between rounds 1 and 11 to pull the middle of the pumpkin top and bottom together. FO.

Add a stem or a face as desired. I threaded two pieces of brown yarn into the top of the pumpkin, crosswise, and interleaved square knots (right over left for each pair followed by left over right for each, etc) and then made an overhand knot to finish off.

Happy Halloween!
Sketchbook update

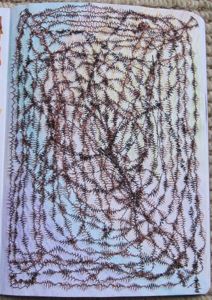
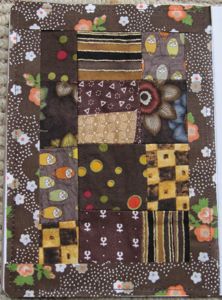
This time around I have a page and a half to show you. I finally finished the back side of the very first page I stitched:

brown quilt

Since I have a lot of crafts with near-term deadlines, I didn’t do any hand embroidery this round. There will be plenty more of that, but I wanted to get something completed without spending several days on it. Hence, more machine embroidery. This time I colored the page before doing the stitching, and made the page pastel and the stitching black, like scratch-off coloring pages that are black over colors. I also switched from regular zigzag to a special diamond-shaped zigzag.

black diamonds

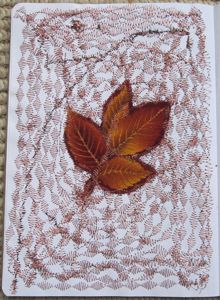
That was actually the underside while I was stitching. You can tell the kind of thread I had in the needle: copper metallic. Metallic thread is hateful stuff, but I am continually drawn to it despite that. Here’s the upper side:

copper and leaves

I worked it out and if the cover is included, I have to do a page a week from now on to finish the book on time. I’m not going to do exactly that; I’ll leave more for Thanksgiving and winter breaks. However, it was a boot to the rear to see those numbers! Starting in late November you can expect sketchbook updates to come slightly more than monthly.

Finished sampler and class

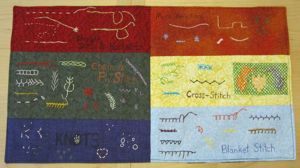
Tonight is my embroidery class! I am all set. I have my sampler:

sampler

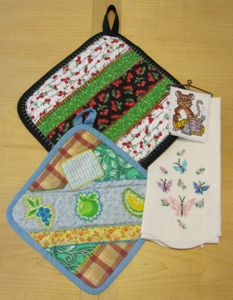
I have other examples of embroidery to show them:

examples

(not shown: Children’s Book Quilt embroideries, Saturation, a couple more cross-stitch pieces, as well as some pictures of pieces I found online)

All but one of the pieces above are by me; the tea towel was a flea market find.

I have a blog post on the Sew-Op’s blog with informative and inspiring links.

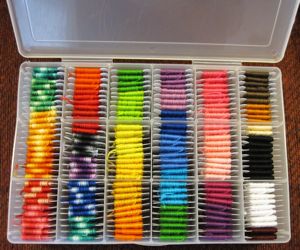
I have a box of floss:

floss for class

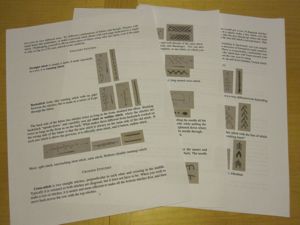
I have handouts!

handout

(not shown: a few hand-drawn rub-on patterns of simple things)

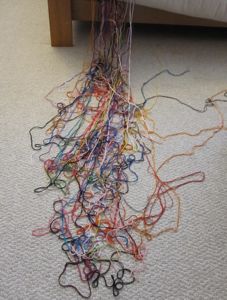
Incidentally, I wound all that floss by hand, half a skein per bobbin. At some point I decided to unwind and halve a whole bunch of skeins at once, thinking I might like it better if I could just wind and wind and wind. I almost didn’t want to wind any of it because it was such a pretty installation art piece:

floss waterfall

Wish me luck!

P.S. Happy birthday, Mom!