Potholders

My mother made a request for crochet potholders for Christmas, as I have mentioned. I made her four, two single layered and two double layered. I pulled four patterns from Crochet Pattern Central, but only made two of them after all.

The first potholder I made was a kaleidoscope hot pad. This pattern was very mysterious, because until you get to the last round there are just a billion big loops sticking out everywhere. Then, you weave them through each other, and it all makes sense. One modification I made was to go back afterward and stitch around between rounds 2 and 3, because until the weaving gets going, the potholder is very full of holes.
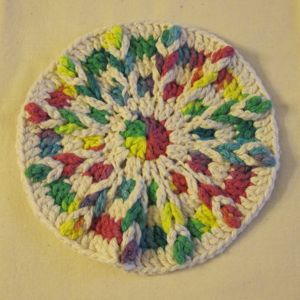
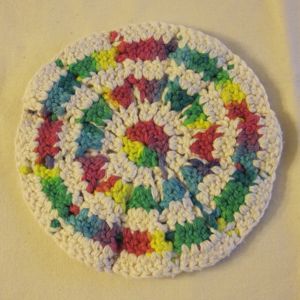
kaleidoscope hot pad kaleidoscope hot pad

The second was the double-sided ric rac potholder. If you make it yourself, note that mine didn’t look quite like rickrack until I washed it.
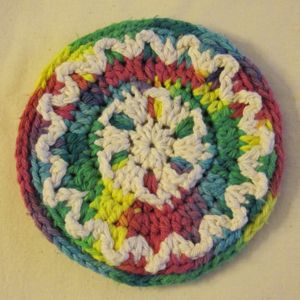
ric rac potholder

Next I made the ill-fated peacock attempt, which was inspired by the sea shell potholder pattern. While I was pondering where to go with that, I decided not to make the jewel heptagonal potholder, partially because it seemed like it might be awfully thick in the center, and partially because I couldn’t settle on colors.

Instead, I freehanded a potholder that started out pentagonal and ended up as a ten-petaled flower.
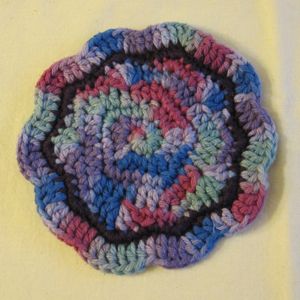
pentagon flower

After that I decided to table the peacock idea and freehanded a second potholder. This one started out as a disk, 7 sc in the first round and an additional 7 sc per round until I got to 28, and then became a square by concentrating the increases in the corners. I intended to add each new color with a ch 2, hdc, sc in the first stitch, but halfway through I realized I was actually doing ch 2, dc, sc in the same stitch. Oh well. The next color put an sc in the ch and then 2sc in the dc, and after that I just spiraled around, going as far as I could with each color when it was innermost before going to the next, and putting 3sc in each corner. I made a very large square, finished each color at the corner where it had started, and folded the corners to the center back. I added one more sc, catching a loop from the other side of the potholder, ch 3, and sl st down the opposite line from where each color ended. To get the chains in the center to each be over one other and under one other, I worked around in a circle and with the last one I passed the ch 3 under the appropriate other ch and pulled through the yarn needed to complete the sl st line.
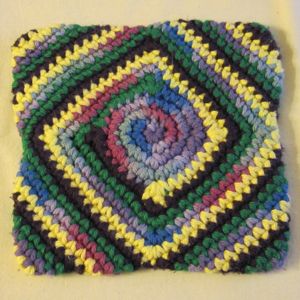
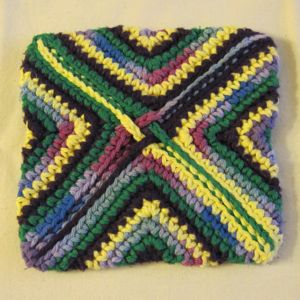
spiral potholder spiral potholder

Potholders are a good project – you can do them in one or two sittings, and they’re a nice manageable way to try out interesting stitches and patterns. Highly recommended.
Tidbits, Supplemental

I have for you another installment of material related to the Sewing Tidbits page. Mostly a few pictures.

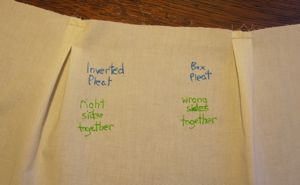
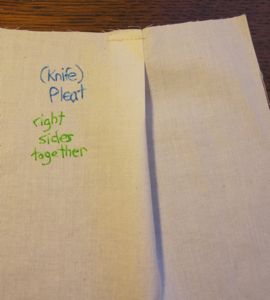
I love box pleats. And inverted pleats, which are box pleats on the back. I think it is because I like symmetry. Below we also have a picture of a standard, or knife, pleat, for comparison.

box pleats knife pleat

Box pleats appear in the center back of dress shirts and where the lining of a coat meets the coat in the top center back. I use inverted pleats in many places where I need to take width out, because I think the way the fabric spreads is pretty. For example, if I were making a bag that was to be fuller on the inside than at the top opening, I would probably use a box pleat on the side to bring it down to the top dimension.

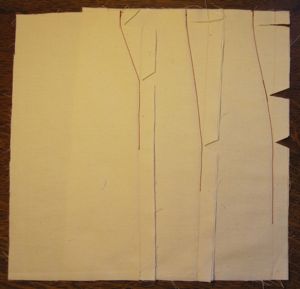
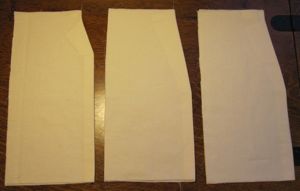
The following is my attempt to show the results of different approaches to meeting a new seam and an old one, for example when you take in pants at the waist. You can see that a very obtuse corner is not much different from an actual curve, because the fabric is inclined against having sharp folds, but a sharper angle (though still obtuse!) gives a decided corner to the fabric. The pictures below also illustrate clipping curves in seams. [I would also trim the allowance in real life so it was all in the 5/8″ range.] If the seam line is closest to the raw edge at the middle of the curve, clip a notch out; if the ends of the curve are toward the raw edge you can notch or just snip. In the former case when you turn the piece right-side-out the seam allowance has less room and in the latter case it has more room.

seam tapering seam tapering results

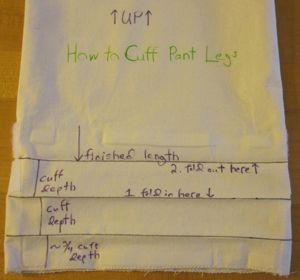
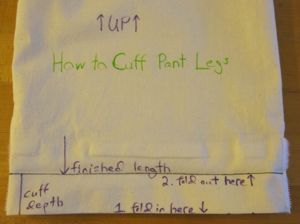
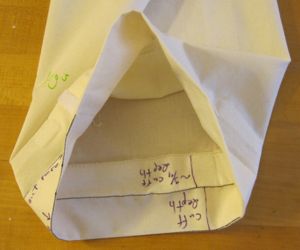
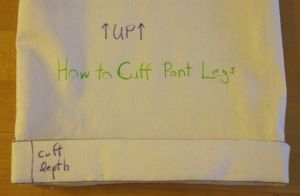
Finally, I have action shots of the pants cuff manipulative from class.

cuff making cuff making

cuff making cuff making

Just a few things of use…

Half-hour reversible drawstring bag

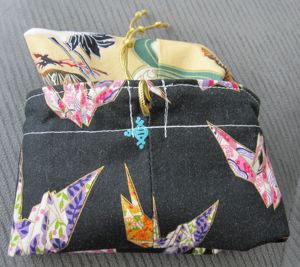
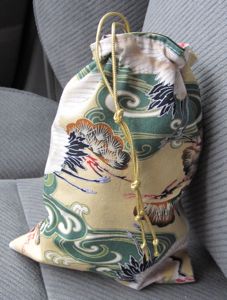
Last Tuesday afternoon I had a haircut. As often happens, I completely forgot that it was the holiday season, and I would like to give my stylist a gift, until a couple of hours before. Or, really, about an hour and fifteen minutes before. I thought I would cut a piece of nice fabric, get cookies, and wrap them in the fabric.

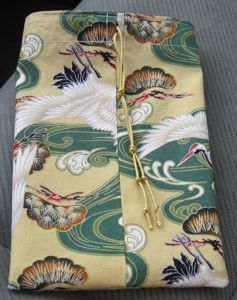
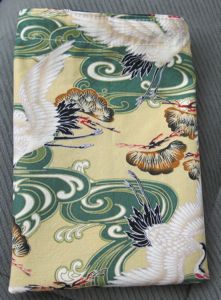
In about twenty minutes I made a reversible drawstring gift bag, and then I stopped by the nice grocery store en route for some gluten free cookies. That is why these pictures are all in my car.

crane bag crane bag

crane bag crane bag
It wasn’t until I was writing this post that it occurred to me the other fabric is also cranes.

Later I made some more bags of the same sort, so I could share the method with you.

Continue reading Half-hour reversible drawstring bag