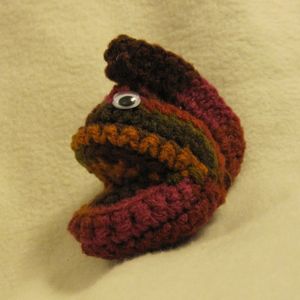
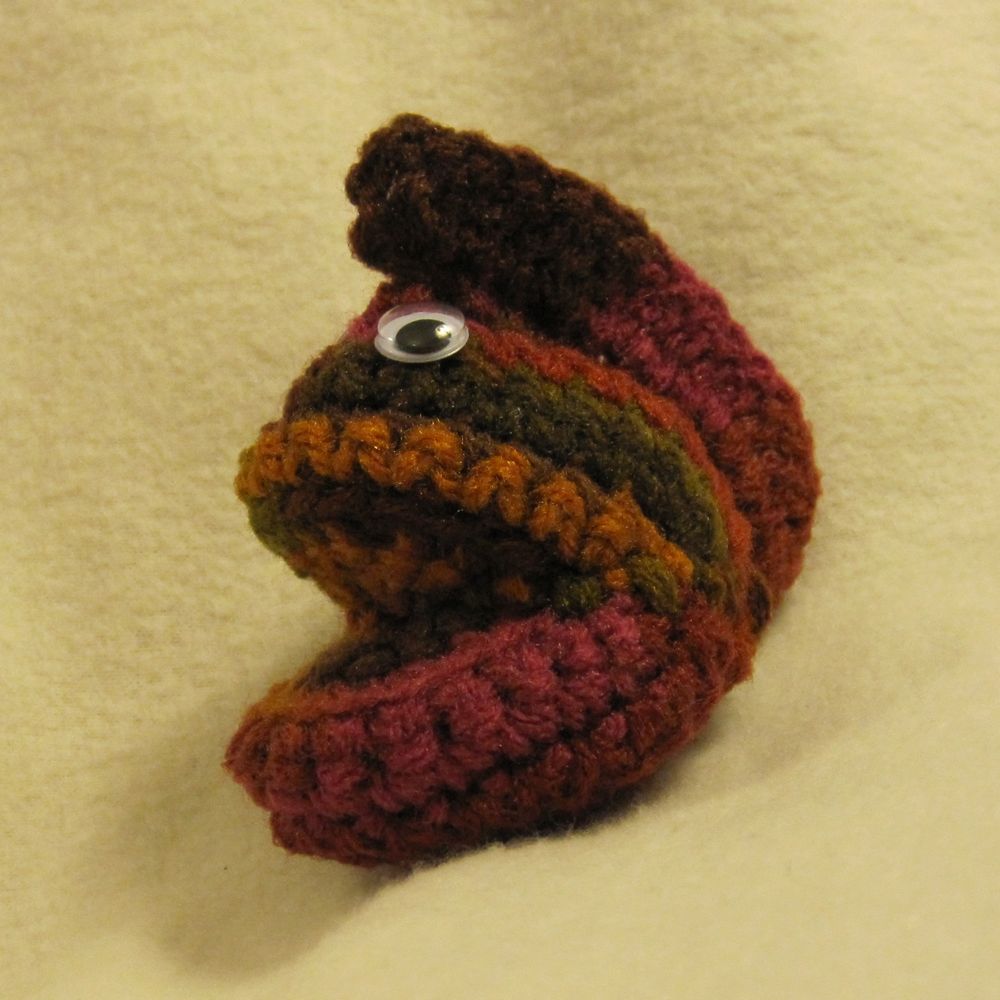
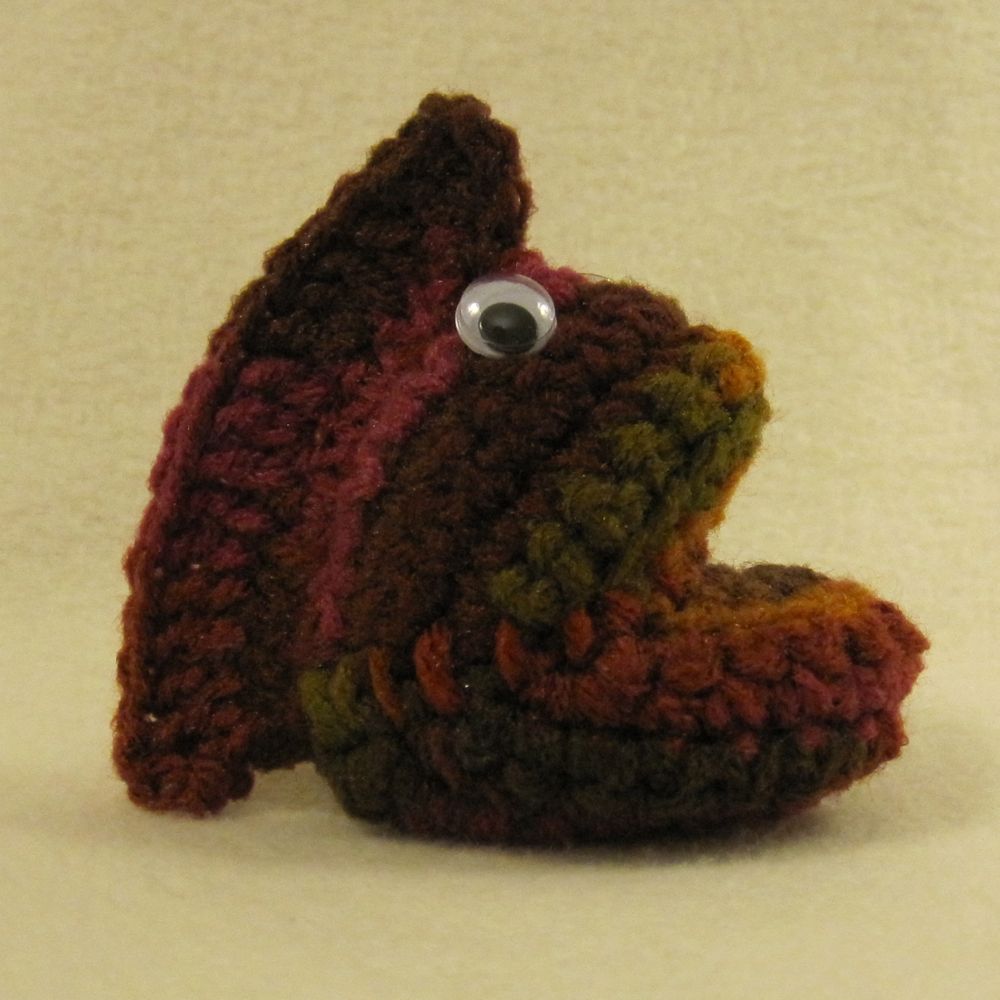
Escaping my work last night with a bit of crochet I decided to try to make a little Fizzgig kind of beast, but as I worked on it the design asked to be a punk with a mohawk. I’m not sure that would be anyone’s first guess on seeing it, but I am experimenting with new construction techniques and it was definitely useful for that endeavor. The pattern is below, anyway; apologies for the terrible pictures. My pattern conventions are here, and all decreases are made on right-side rows so you may use whatever technique you like, including invisible decrease. My guy is in scratchy acrylic worsted weight with an E hook; gauge is not important.
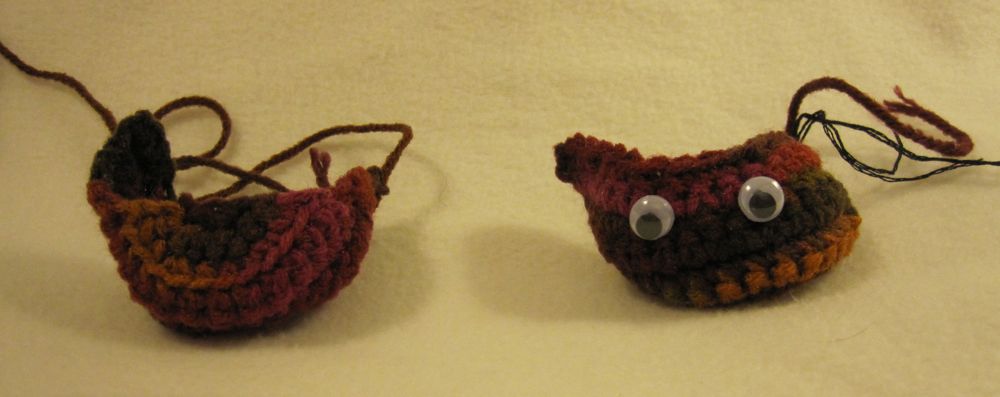
Part A. Make 2.
1. Magic ring, ch 1, sc 4.
2. Ch 1, turn; 2sc across (8 sc).
3. Ch 1, turn; *2sc, sc, 2sc*, sc 2, repeat *…* (12 sc).
4. Ch 1, turn; in FL only: 2sc, sc 10, 2sc (14 sc). [rem lps will be on the outside of the piece.]
5. Ch 1, turn; 2sc, sc 12, 2sc (16 sc).
6. Ch 1, turn; 2sc, sc 14, 2sc (18 sc).
7. Ch 1, turn; 2sc, sc 4, dec, sc, dec, sc, dec, sc 4, 2sc (17 sc).
8. Ch 1, turn; 2sc, sc 15, 2sc (19 sc).
9. Ch 1, turn; 2sc, sc, dec, sc 2, dec, sc 3, dec, sc 2, dec, sc, 2sc (17 sc).
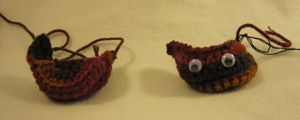
The first one you make, finish off the yarn and attach eyes between rows 7 and 8, centered and about 3 stitches (of row 8 ) apart. Leave the second half attached to the skein.
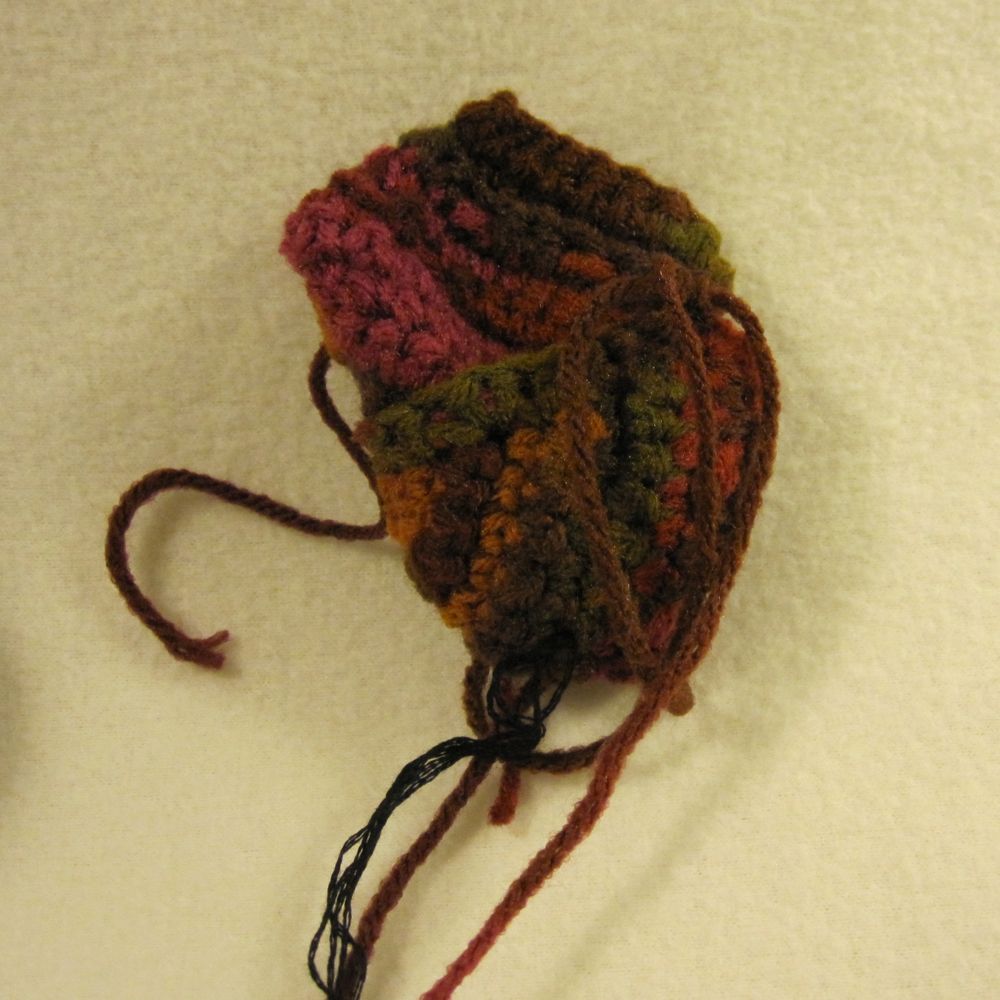
B. Turn the second half inside-out and meet the corners. Sc row 9 to itself. I did this in inner loops only but it occurs to me now it should be outer loops only (FL of near row, BL of far row). This is 8 sc. Ch 1 and sc back again, putting an extra sc in the last st or on the side of the initial sc.
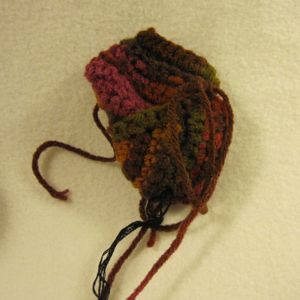
C. Open up the second half a bit and match the first half to it at the corners and magic ring. Sc them together: down the edges of the rows to the magic ring and back up again. In the following picture, step B is along the top right and step C goes around the equator.
D. If you want the mohawk to be a different color, FO. Otherwise ch 2. Turn right-side-out and stuff. Attach new yarn if applicable and sc closed (st row 9 of the first half to itself). Add additional rows with increases as necessary to get a good mohawk look.

In other news, I’m teaching a Sew-Op class on a parent’s birthday again – my second alterations class is tonight. Happy birthday, Dad!