Do you want a yarn Möbius strip? Of course you do – who doesn’t?
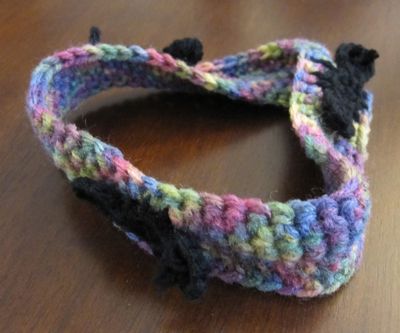
Every Möbius strip needs ants.
One of the crochet techniques I have yet to master is working in the round when the beginning is an open hole instead of a magic circle or a chain that is worked on both sides. I can’t connect the ends of the starting chain to my satisfaction; there is always a big wonky bump at the join.
However, some experimentation has led me to the following discovery: it is easy to make a crochet Möbius strip that requires no sewing. This is hardly news, as the internet will tell you, but I think my instructions are easier, or at least more specific, than the ones I’ve seen online.
Crochet Möbius Strip: Make a chain as long as you want. There will be a natural way for the chain to come off the hook to the left with the back bumps facing up and the front teardrops facing down. With the back bumps facing up the whole length of the chain, bring the slipknot end toward you and to the hook to make the chain into a loop. Insert the hook from outside the loop to inside the loop through the back bump closest to the slipknot, and slip stitch to join the ends.
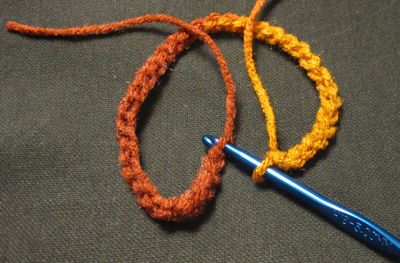
The back bumps go around the top when it’s set down like this.
Now, crochet around, using the back bumps, until you get back to the slipknot. Crochet into your initial slip stitch. It should be natural to make your next stitch in the front teardrop of the chain closest to the slipknot. Now the next time you get back to your slipknot it should be natural to crochet into the first stitch you made after slip-knotting the chain into a loop. Keep going until the Möbius strip is as wide as you want, making sure when you end, the rows are aligned on each side of the slipknot.
I found that my yarn tail was a useful indicator – if it faced toward me after I had put crochets on each side of the starting chain, then I needed to finish with it facing toward me.
Of course, this method makes the Möbius strip curl a bit into an S cross-section, since stitch rows tend to lean forward or back. I tried to change direction for the last row, but as you can see I ended up with a little nub at the turning (bottom center):
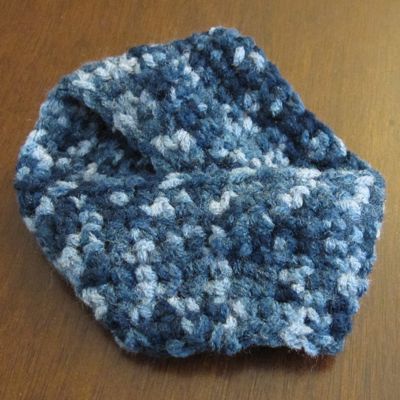
I tried a second time but didn’t come up with a solution that satisfied me.
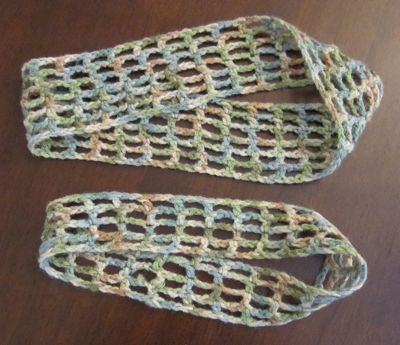
Mesh Crochet Möbius Strip: Looking at the Escher picture made me think of crocheted mesh, so I tried that as well (see the crochet abbreviations). For this you must chain a multiple of 3 – it is better here to use the same size hook throughout. Slip stitch to join as described above, and chain 5. Skip two chains and dc into the next, in the back bump. (ch 2, sk 2 sts, dc in back bump) until you get back to your slip knot. This is a bit wobblier than sc, so make sure it is not twisted, ch 2 and do the next dc into the front teardrop of the first ch you made – it seems like you’re skipping 3 sts, but the joining slip stitch and initial chain are really the same stitch. (ch 2, sk 2 sts, dc in front teardrop) around, until you get to the ch 5. Ch 2 and sl st into the middle ch of the ch 5.
Now, *turn if desired, ch 5, (sk 2 sts, dc, ch 2) around (i.e., twice around initial chain), sl st in middle ch of ch 5; repeat from * until the Möbius strip is as wide as you like.
I washed these to see if the mesh would even itself out a little; the ch-5 squares and the squares on the starting chain didn’t really match the others. Of course, they crumpled up.
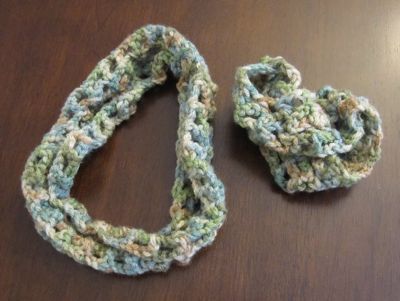
Q. How does one block a Möbius strip? A. With an iron. They smoothed out nicely. And are very decorative on my lampshade.
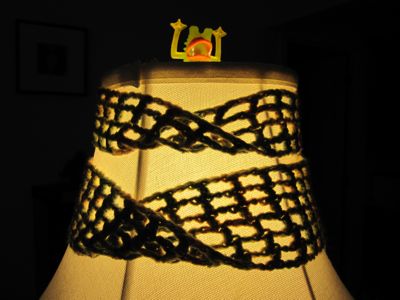
The finger puppet is really what makes that last photo.
They also look like the would be really beautiful headbands.
Ooh! I could make one to fit my ginormous head!