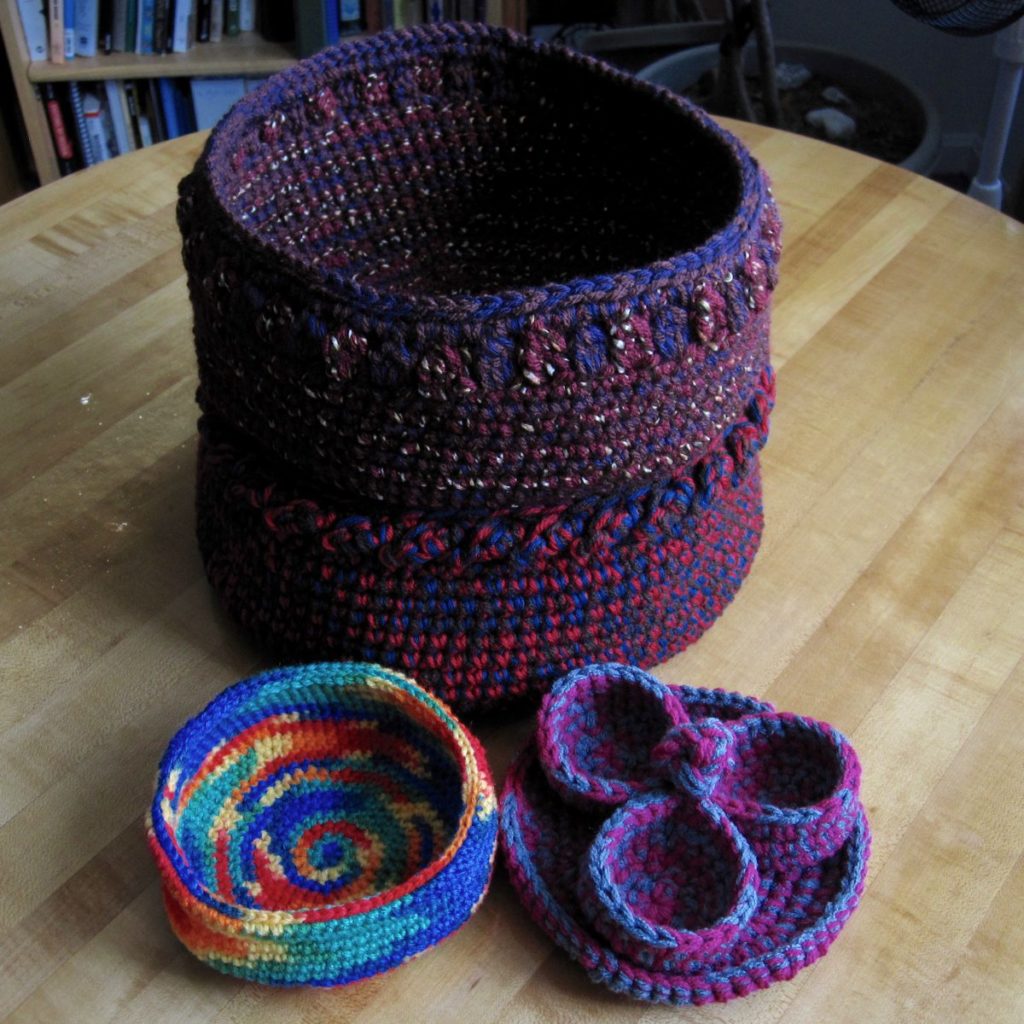
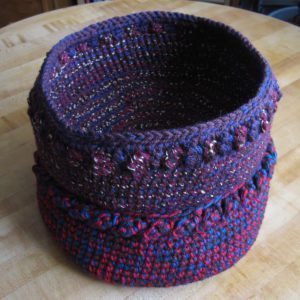
For whatever reason recently I went on a spree of crocheting baskets, and got their portraits made. I’ve got some edging ideas/instructions and other information for you along with these photos.
All of the baskets are tight-gauged single crochet other than the top edging; the rainbow basket was worked in a simple spiral, and is the only one made with a single strand of yarn.
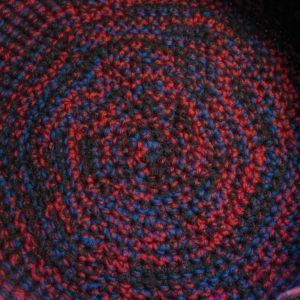
The first picture above is the inside base of the biggest basket, made with 3 strands of worsted acrylic in red, teal, and brown, and worked in joined rounds. I believe I made a few decreases on the sides to give it that pot-like silhouette.
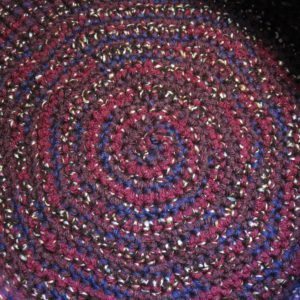
The second photo above is the second-largest basket, made with two pairs of worsted weight yarns: a textured purple/plum paired with a ruddy brown, and a brick red with a dark brown that had a thin shiny strand wound with it to make it tweedy. They are crocheted in a double spiral.
I’m really pleased with how the colors worked together in both cases.
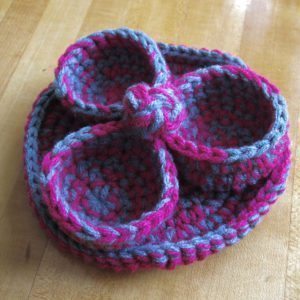
The outlier clearly is what I’ve been referring to as the “trefoil catchall,” in hot pink and gray worsted. This one I actually wrote a pattern down for so I could get all three pieces the same:
1. Sc 7 in magic ring. Sl st to join each round; chain up at the beginning of the next.
2. *Sc inc* around (14).
3. *Sc inc, sc* around (21).
4. Sc inc, sc 20 (22).
5. Sc inc, sc 21 (23).
6. Sc inc, sc 22 (24).
I needle joined at the end, though the join spot ends up hidden. Weave in the ends of the first two; use the tail of the third to sew the three together at the increases/joins.
For the “knob” I cut three long pieces of each color of yarn, threaded them through the joining so they ended up doubled, braided the lot (12 strands!) and then tied a Chinese button knot. Tightening it was a process – lots of tugging of loops along the path of the braid. I pulled the whole tail down through the join and wove in the yarn ends individually (phew!).
The tray is just a disk in joined rounds; I would have made it larger but I ran out of yarn.
How about edgings?
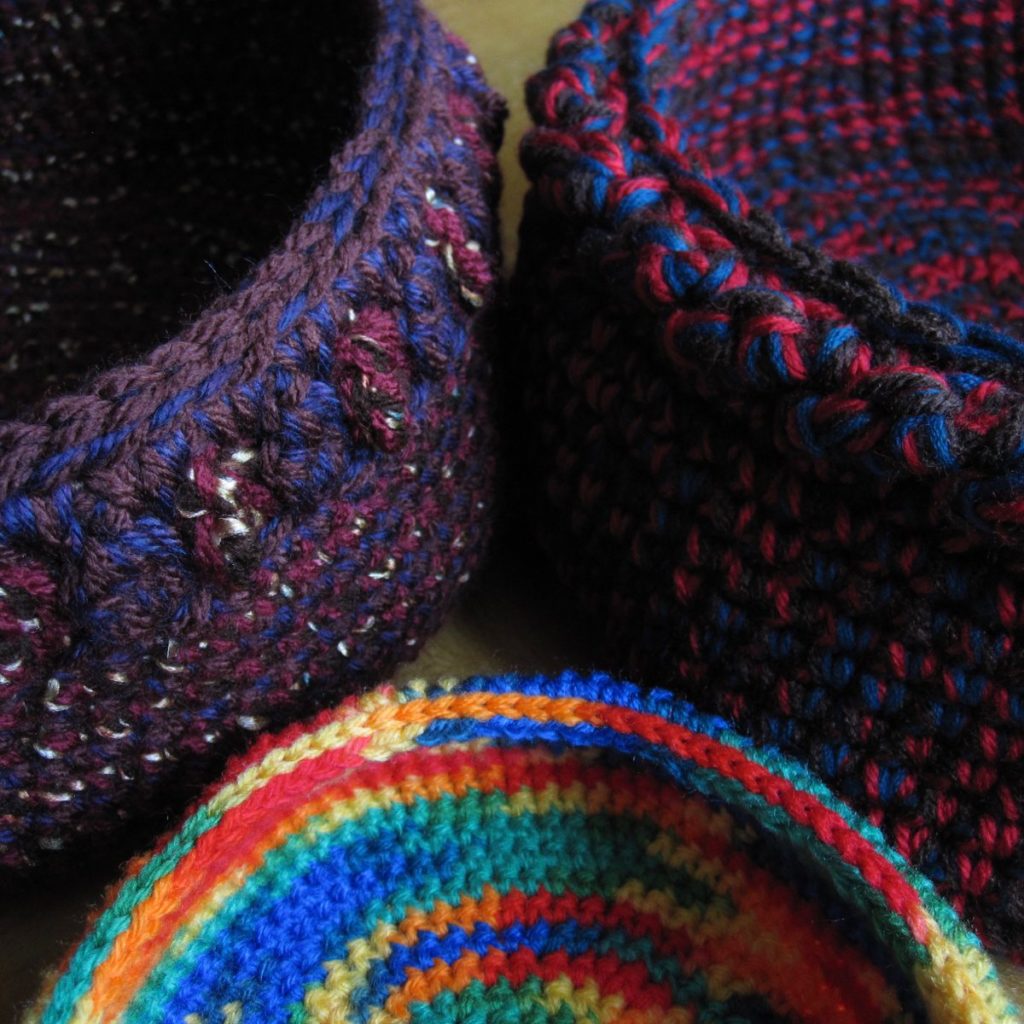
On the left, a bobble stitch edging separating out the two doubled yarns. I used 4-dc bobbles; 5-dc bobbles would have looked nicer but I was concerned about running out of yarn. That is also the reason the top round is in only one color set. To note before we make bobbles: I had finished the main-body spiral with the two doubled yarns across the basket from each other.
Except for where I had to fudge it because of the count, I spaced the bobbles 1 stitch apart: in one color set, ch 2 and use as the first dc in a bobble (I can’t remember whether I made the bobble in the same st as the sc the ch comes from, or the next st; same would be better), ch 3/sk 3, bobble, and so forth almost halfway around. Stop short of color set two and sc 1-2 sts with it, if needed, to put it halfway between two of the color set one’s bobbles. Go back to color set one and finish the ch 3/sk 3, bobble round; if you don’t have a multiple of 3 stitches make the last two bobbles 2 or 4 apart from each other instead of 3. Sl st to join; finish off if this is not the color for the final round. Repeat the process with color set two; its bobbles will be in the middle of the 3 skipped stitches from the first set (with fudging as needed).
After the bobbles are done, pick up your final-round yarn, chain 1, and sc into the top of each bobble (enclosing the other color’s chain) and between adjacent bobbles (around both chains). You could also squish the tops of your bobbles a bit more by making 2 sc between bobbles (around the chains) and none into bobbles.
On all the baskets you want to join the final round with a needle join instead of a slip stitch.
On the right, a portion of the border to Julie Yeager’s Deco’Ghan. Fortunately I had a multiple of 3 stitches around so I didn’t have to fudge here. After joining my last round, I did round 3 of the Deco’Ghan border – as with my previous modification I skipped 3 unworked stitches at the beginning, marking the first one, and made the 2 sc in unworked stitches into the unmarked stitches. At the end I joined my chain into the marked stitch, made only 1 sc, and joined to the beginning of the first chain. After chaining up, I sc’d around in just the “sc 2” sts (i.e. the ones at the beginnings of chains and between, but not at the ends of chains). This tightens up the silhouette even more and poofs out the chains.
And finally, front and center, a simple border without concern for spiral-caused jogs: sc around in FL only; sc around in both loops; sl st around in both loops of last round plus unused BL of two rounds prior. Join last sl st to first with a needle join and weave in end. Makes a nice little lip.
