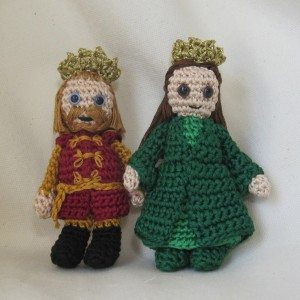
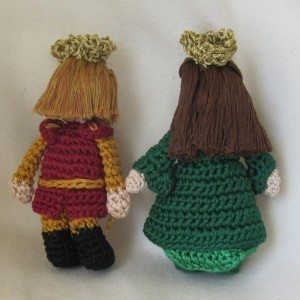
My husband and I had our first anniversary on Saturday (which we celebrated by going to a wedding). My gift to him was a prince and princess stitched in embroidery floss.


What happens when you block and then wrap and then don’t re-block.
The patterns were from Kati Galusz, her free Medieval Fantasy: King and a paid Medieval Fantasy: Lady. I changed their clothing color as well as their ranks, and made an extra crown from the King pattern for the Lady’s promotion. The patterns were easy to follow and almost didn’t require any modification to use for embroidery floss, although the lady’s clothing was shorter than it was supposed to be. There’s still something I haven’t figured out about stitch proportions in floss versus yarn, and flat versus round. I added more hair than called for to avoid bald spots, and I had to extend the top of the lady’s arms because they were also too short.
In case you also want to make these out of embroidery floss, here’s the specs:
I used 6mm safety eyes from Suncatcher Eyes, in brown and country blue.
The dolls were a bit over 2.5 inches tall.
He required 1 skein each of DMC 310 (boots), 945 (skin), 435 (hair), and 680 (also hair – I split the floss in half and recombined to get variegation). He required 2 skeins each of DMC 783 (sleeves, pants, embroidery, belt) and 815 (doublet). One skein of E3821/5282 made both crowns easily. She required 1 skein of 898 (hair) and 2 skeins each of 910 (inner part of dress) and 945 (skin). She needed 3 skeins of 3818 (outer part of dress). I did the “skin” option for her legs. If I’d done the “stockings” option I might have been able to get away with one skein of 945, but it would probably have bumped me up to 3 skeins of 910. For the least invasive strand-changing on the lady, stitch her skirt and coat first.
To lengthen the lady’s arms as I did after they were crocheted but not sewn up, take a new length of floss, pull up a loop in the second-from-end of the 6 stitches across the top of the arm (which end doesn’t matter), chain 1, sc in same stitch, dc in each of next 2 stitches, sc in next stitch, and sl st in same st as sc. You’ll have added to the center 4 stitches of the 6.
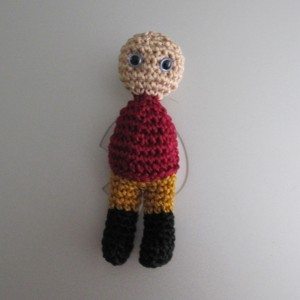
I took only one progress photo, so here you go.

I title this “bald ‘n’ armless.”
It’s such a great likeness of us. Thinking of ways to create little pairs of glasses…
Hee! Jeweler’s wire and a tiny bit of electrical tape?
Good call!