This fourth and final post about crochet embroidery takes us full circle, in a way, going back to backstitching and weaving. If you have any last questions or comments please do leave them. I’m open to a follow-up post in a week or two tying up any loose ends (so to speak).
As always, the photos link to larger versions, and the full post is behind the cut.
| Inside this post: | |
|---|---|
| Whipped and threaded stitches Couching |
Spider’s wheels Detached woven picot |
Whipped and threaded stitches
The first bank of stitches are all built on backstitch, or alternatively double running stitch. In each case, after laying down a base of backstitch, you’ll stitch up at one end, in the same spot as the backstitch. When you finish the row, you’ll stitch down through the same spot as the other end of the backstitch.
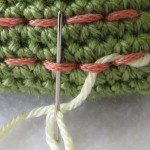
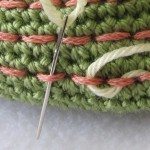
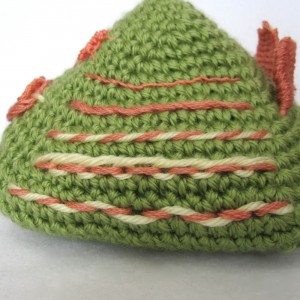
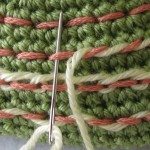
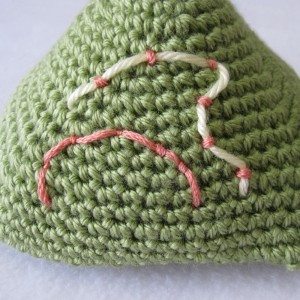
We’ll start at the bottom with threaded backstitch. “Threaded” and “whipped” are very similar, meaning you run a new length of yarn under each stitch of the base in turn, but to thread you stitch down through the first stitch, up through the second, down through the third, and so forth, as shown above. To whip you keep the same direction each time, as we’ll see below.
Depending on how tightly you pull the threading yarn you can get anything from an almost continuous line to a backstitch that appears to be tacking down a wavy line.
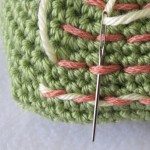
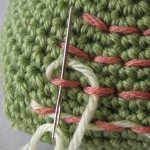
The second stitch, because I wasn’t sensible about ordering, is Pekinese stitch. In this the threading yarn loops around, much like a backstitch laid on its side. You start by inserting your needle down through the second stitch, then back up through the first, keeping your needle on top of the previous threading yarn stitch. Next you go down through the third stitch and up through the second, and continue in the same manner: stitch down through the second stitch from the one you just used, and back up through the prior stitch.
The third and final stitch, used for the top three lines on this face of the pyramid, is whipped backstitch. In this you stitch the same direction through each backstitch (in the picture above, upward), so the whipping yarn coils around the other yarn. My favorite use for this is to make a line of stitching that appears to be a single continuous length of yarn, as in the second line of the photos below, which even works to a certain extent with embroidery floss, as you can see in the top line below.
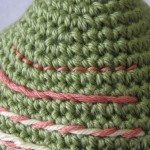
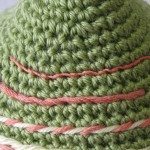
One point I’d like to make now, that you’ve probably noticed along the way, is that regardless of the stitch you’ve made, yarn looks more of a piece with an object crocheted in yarn than embroidery floss does. The fact that floss is smoother and shinier makes more difference than its thinness. Sometimes floss is necessary, because the available yarn is too thick for the desired feature, but I have moved toward using yarn whenever I can and floss only when I must.
You can whip, thread, and weave just about any stitch. Check out the picture dictionary on Sarah’s Hand Embroidery Tutorials to see some examples (click through for instructions).
Couching
Couching is tacking a length of yarn lying completely on the surface of the fabric with small crosswise stitches. It is great for creating contours that don’t match up well with the convenient spots to stitch through your crochet fabric. Traditionally, couching is done with a thin thread tacking down a thick thread, as in Sharon B’s tutorial, but it need not be. I began my couching with a long, loose stitch beginning and ending where I wanted the line to begin and end, and long enough to make my desired contour in between. You could also couch while your surface yarn (the laid thread) is attached at one end only, stitching the opposite end down afterward, to avoid potentially leaving yourself too much or too little of it.
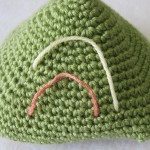
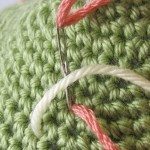
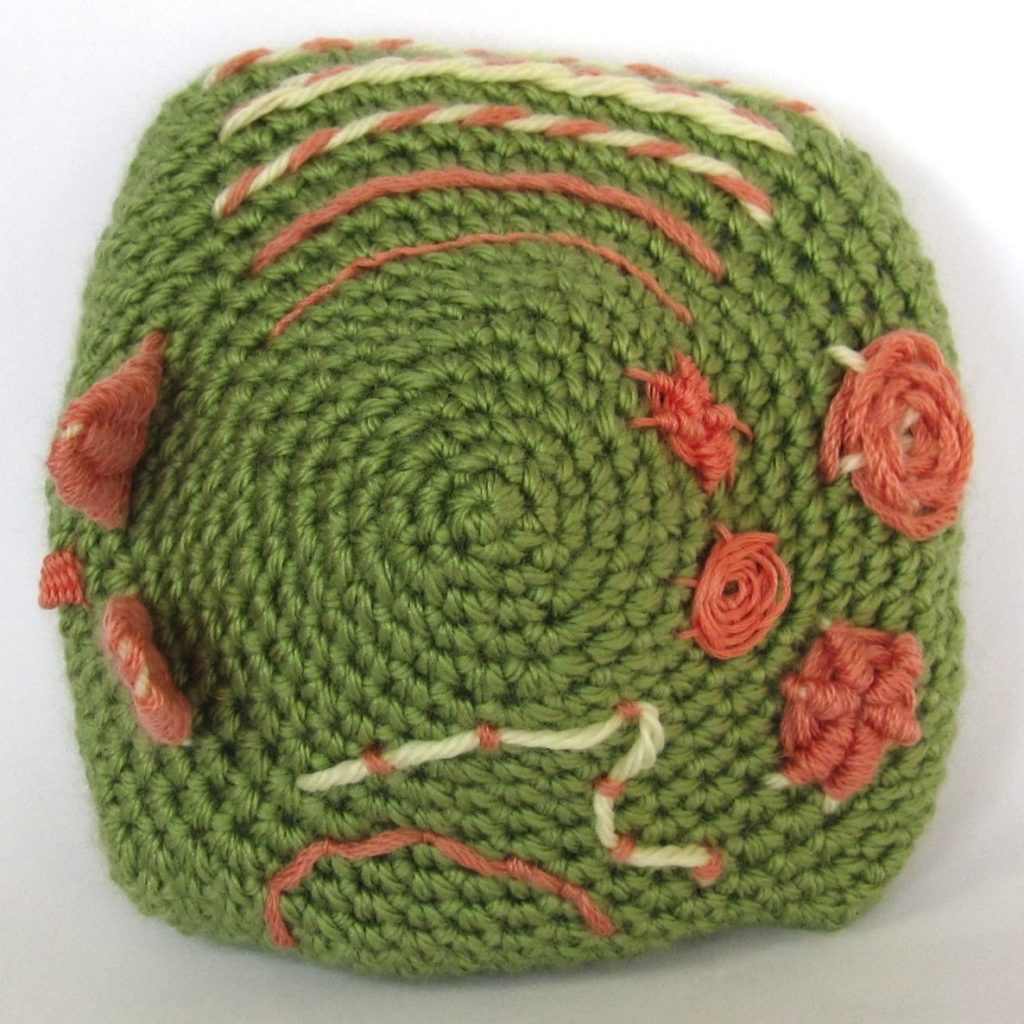
As usual, be careful not to pull your tacking stitches too tightly, since the laid thread can get pulled down into the fabric. In the full couching picture above, the left three pink-on-pink couching stitches were made with embroidery floss, and the right two with yarn, for comparison.
You can couch items other than yarn and floss, too, though you may need to worry about raw edges. For example, here’s a crazy quilt including couched rick-rack, seen best in the fourth picture.
Spider’s wheels
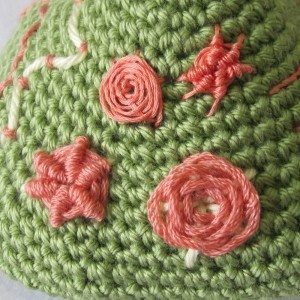
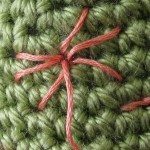
There are two kinds of spider’s wheels, whipped and woven, one of which (woven) is also known as a spider web. They are both built on a spokes of straight stitches, with the whipping/weaving yarn coming up through the middle of the spokes to start. Analogous to the whipped and threaded backstitch, in a whipped spider’s wheel you make the same motion on every spoke, and in a woven spider’s wheel you alternate between two mirrored motions.
A woven spider’s wheel must be made on an odd number of spokes; a whipped spider’s wheel may use any number. You can make your spokes in many ways, but the center must be attached to the fabric so you have something to weave around (a fly stitch with an additional straight stitch to make the fourth and fifth spokes would work).
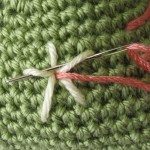
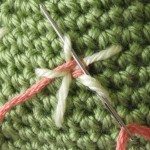
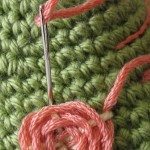
To weave, alternate stitching over and under the spokes in turn. Take care with your tension – it is easy to pull this too tightly, especially in the outer rounds. End by stitching down at the end of a spoke.
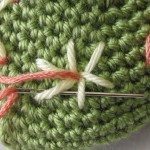
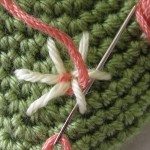
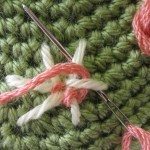
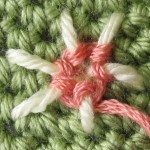
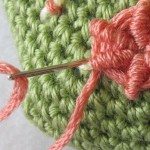
The whipped spider’s wheel is more like Pekinese stitch. Begin by stitching under two spokes. Pull your yarn through and then stitch under the second of the two spokes you just used, plus the next one. Repeat around and around; the fourth photo above shows one completed round. End by stitching under one spoke only, and then stitching down at the end of that spoke.
Be careful not to split the spoke yarn; it’s a danger with all woven stitches but I had the most difficulty with it with the whipped spider wheel.
Of course you don’t have to make these in circles. The upper right embroidery floss wheel in the full picture, above, was made with the base below.
Detached woven picot
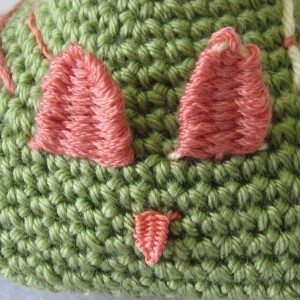
The detached woven picot is a triangular panel that stands off the fabric like a petal (or an ear). You start by making a straight stitch from one end of the attached side to the other. Do not tighten this stitch down, though. Instead, decide how tall you want the picot to be and insert a pin into your fabric at that distance from the base. Catch the straight stitch with the pin so it tightens into a V.
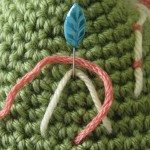
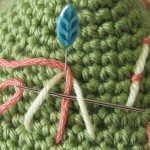
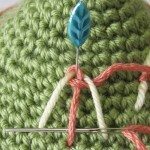
Come up again between the two ends of the base. I made the V with a different color yarn so the construction would be more visible, but typically the picot would be made with a single length of yarn. Wrap the yarn over the pin and start to weave from the point of the V down. Begin by weaving under the V strands and over the middle strand; when you come back the other way, weave over the V strands and under the middle strand. Continue this way, as we saw before with freehand weaving. Be very careful not to catch any strands of your crochet fabric with your weaving stitches. This stitch benefits from some manual tightening/scrunching of the horizontal stitches, toward the point of the V, so that the finished piece is solid. Weave as many rows as you can fit without clumping them up.
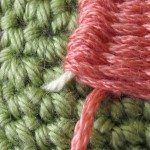
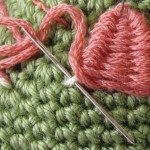
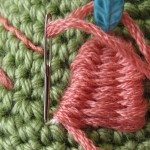
When you get to the open end of the V, loop your yarn once around the outside strand and insert your needle into the same spot the picot frame emerges from. Remove the pin and smooth your picot upward.
For another set of instructions for detached woven picot stitch, visit Pintangle. She also teaches a variation that is attached to the fabric by only one stitch, so it is pointed at both ends, called closed base needlewoven picot or needlewoven picot leaf stitch. You can also make three straight stitches in a fan, attached at both ends, for a fully attached version called woven trellis stitch.
If you like dimensional stitches, check out Brazilian embroidery. The page linked has instructions for several stitches, and in particular I’d call your attention to detached buttonhole stitch. This is a freestanding panel of embroidery like a picot, but allows you to increase and decrease in rows for more control over the shape. I have not tried it but it seems likely to me there will be a conflict between stitches pulled tightly enough that the panel can stand away from the fabric, and stitches loose enough to work into without a struggle. The results could very well be worth a lot of struggle, though.
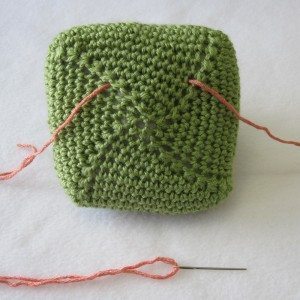
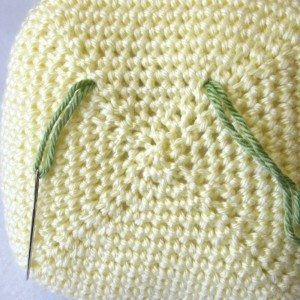
I’ll just point out, while we’re here, that although this crochet piece and the yellow one from the first post in this series are both square-based, I made them differently. This one (above left) was made with an sc3tog in each corner, and the previous one (above right) with two consecutive sc2tog (standard decrease) stitches. Two consecutive standard decreases makes a more solid fabric.
 Visit the table of contents post for this series or all posts labeled “embroidery on crochet.”
LINDISIMO¡ y muy claras las explicaciones, gracias por compartir, es una actitud generosa
.