Jet setting

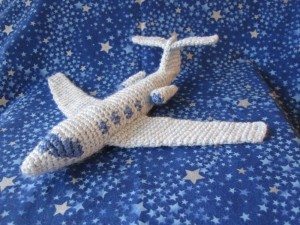
Ready for takeoff!

jetside

A friend had told me about the paucity of airplanes for babies, which she discovered when her daughter and jet pilot son-in-law had their first child (I’m told Disney is planning a Cars-like movie about planes, so that’s likely to change soon), and I thought that was the perfect push for me to design one.
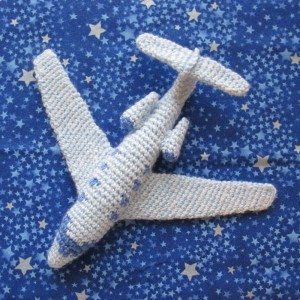
jettop

The pattern is not ready for prime time just yet, but I am very pleased with how this came out. The wings and tailfins are, of course, kind of floppy, but I think that just gives the plane personality.

I washed it the night before giving it to her and it was, unfortunately, not dry by morning (despite over a half hour in the dryer before sitting out overnight). However, that was not the worst thing, because I was able to blow-dry out the marks left by my overnight shaping method:
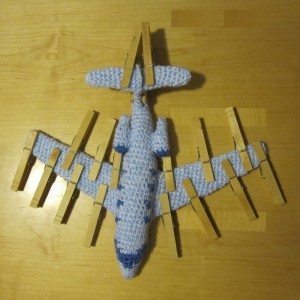
jetblocking

That photo just amuses me. The plane is about 10 inches long in sport weight yarn (100% acrylic, with 95% polyester/5% silk fiberfill), made with an E hook (3.5mm), and while the engines and base of the tailfins are sewn to the jet body, the wings are crocheted directly onto the body, the base of the tailfins is crocheted directly onto the fins, and the fins are then crocheted together across the top.

Incidentally, I’m pretty sure one of my design drafts looks like a comic book character – a specific one – but I can’t for the life of me figure out which. Any identification out there? The darker color is purple.
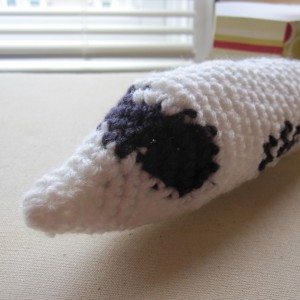
superhero?

Peacock pen case

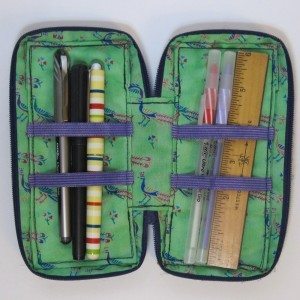
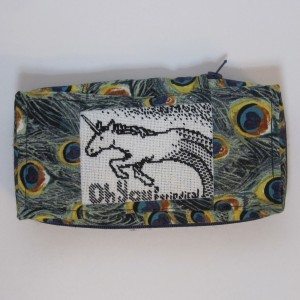
At last! I finished the pencil case for my dear husband, with the embroideries of his comics adorning the outside.

pen case shut pen case open

I’ll show you how I did it. I thought it out before beginning, but it was the first one I ever made and shows a certain amount of evidence of that fact. It is approximately 3″ by 6.5″ by 1″.

To make one just like this (sans comics) you will need:
1 zipper, 22″ long (a lot of that was cut off but the overhang was convenient in the making; it must be at least 15″)
4 strips of elastic each 4″ long (mine was 3/8″ wide and I colored it purple with a Crayola fabric marker)
2 rectangles of fusible interfacing, 4″ by 7.5″ (I used a medium weight)
and the following five pieces in each of two fabrics, one for the outside and one for the inside:
2 rectangles 4″ by 7.5″ (the faces)
2 strips 2″ by 17.25″ (could be as narrow as 1″ and could be a bit shorter also)
1 rectangle 2″ by just over 4″ (if your zipper is closer to 15″ the 4″ measurement here needs to be longer, up to 6″; my shorter measurement was 2.25″ but that wasn’t a good idea)

Continue reading Peacock pen case

Stitching vistas

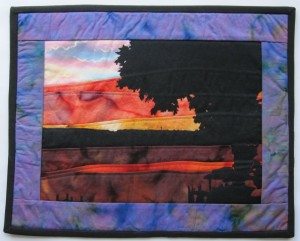
Through the Sew-Op, I had the chance to take a two-part course from one of my fellow teachers, Sally Munro, on landscape quilting. We used the method in the book Accidental Landscapes, by Karen Eckmeier. I chose a photo of sunset as seen from my grandparent’s backyard when I was growing up (appearing in speckly scan form below). See what you think of the interpretation:

Williams Bay sunset finished landscape quilt

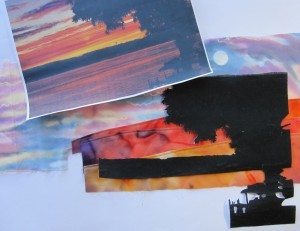
I took a few progress photos to give you a sense of how it went together.

landscape materials

The sky and water were made from pieced fabric, through a technique called texturing where you cut a slightly wavy edge, press it down a quarter inch, and topstitch it to the layer above. After trimming the lower layer to a quarter inch below the stitching, you can add the next one. Cutting a wavy edge rather than a straight one gives a more organic feeling to the piece. The perfect colors miraculously came out of Sally’s fabric stash.

The tree was black fabric on Steam-A-Seam cut out by hand with a previous copy of the photo on top of the fabric. It is on top of the sky but extends below the top edge of the water, for extra security.

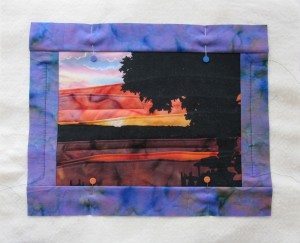
landscape unbound

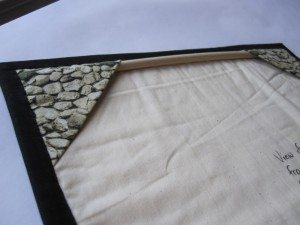
The binding is one continuous strip, joined into a loop after being sewn on three sides and a couple of inches into the fourth on each side. It is turned to the back and hand-sewn down. I used corner pockets for a hanging rod; the binding is what’s called a French twist and is supposed to create its own rod casing, but the fabric I used was too narrow to accommodate anything but the tiniest of dowels, with virtually no overhang at the ends.

landscape quilt back

Unfortunately I basted by machine, which was not Sally’s intent, and couldn’t get the needle marks out. It’s a good thing I had basted with the direction of the design! I will know better next time. It was a wonderful learning experience, though, and I am more than happy with the way it came out.