One-eyed Sluggos

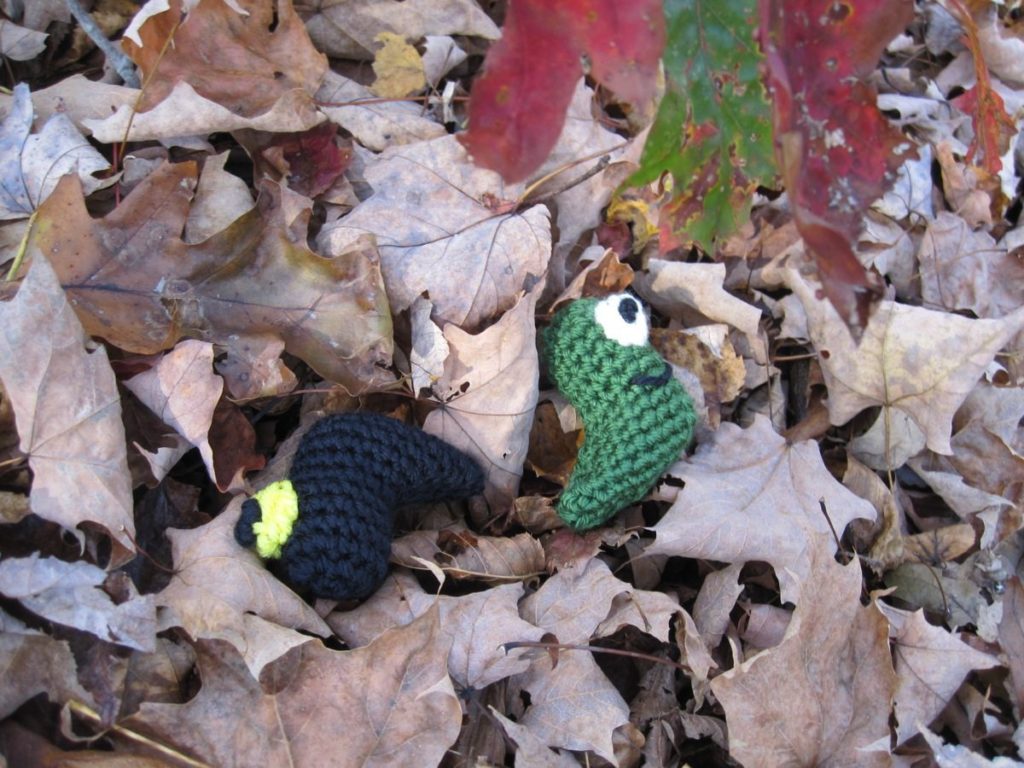
one-eyed sluggos in the leaves

In line to make a purchase the other day, I noticed a set of four monster stampers in the Halloween-themed impulse buy display. One of those monsters looked an awful lot like a Sluggo, only with a single eye, centered and enlarged. I thought I could probably produce a modification of the Sluggo pattern to produce a similar result.
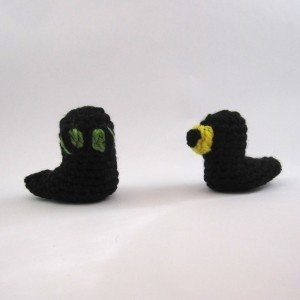
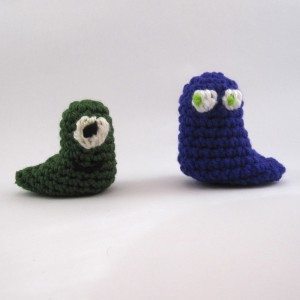
two black sluggos green and purple sluggos

The modification boils down to this: replace the bobbles for the eyes with sc, and the sc between them with an sc in BL only. In the next round, the bobble decreases (decreasing to eliminate the extra loop created by a bobble) will each be a single sc, and you’ll make a 4-tr bobble in the unused loop of the stitch two rows below. Then in the row after you’ll have to bobble decrease.

To wit:
4. Sc 13, sc in BL only, sc (15).
5. Sc 13, 4-tr bobble in unused FL of rnd 4, sc (14 sc, 1 bobble).
6. Sc 13, bobble dec, sc (15).

Instructions for a 4-tr bobble: This is four partial triple crochets looped together.
**YO twice and pull up lp in prev st. *YO, pull through 2 lps on hk* twice.**
Repeat **…** three more times for a total of 4 partial tr and 5 lps on hk.
YO, pull through all 5 lps on hk; ch 1.

Make sure to insert your hook the correct direction for the bobble! Front to back will be more like bottom to top, and will be pretty awkward. Let the bobble fold down toward you during the making and all will be well.
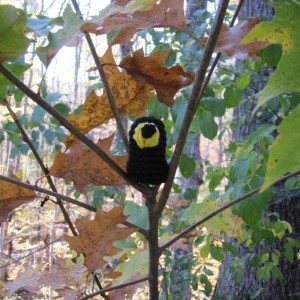
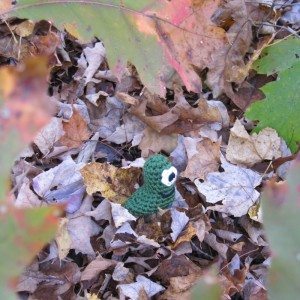
black sluggo in tree green sluggo in leaves

Get the Sluggo pattern in the shop.
Garland necklace

Another in the series of beading patterns from my distant past.

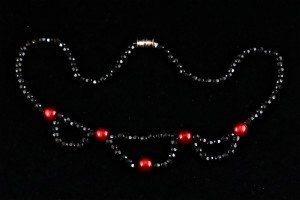
black/red necklace

I was in love with some cranberry-colored beads, smooth and gleaming, with some internal shimmer like opals. I had only a few. This is what I came up with to display them, calling them “focus beads.” They are 8mm in diameter and the necklace is about 17 1/2 inches long. If your facet beads are light, you’ll want heavy focus beads to get the necklace to lie nicely.

Materials:
at least 45″ beading thread
123 5mm facet beads (black in sample)
5 focus beads (cranberry in sample)
clasp

Tie one half of the clasp to the middle of the beading thread. On both strands, thread
36 facet beads
focus bead

On one strand, continue as follows:
6 facet beads
focus bead
9 facet beads
focus bead
6 facet beads
focus bead
36 facet beads

Attach other half of clasp to this strand but leave the loose end dangling.

The second strand will share the focus beads and the final 36 facets with the first, but have more facets in between the focus beads to form the drops. It is threaded as follows:
9 facet beads
second focus bead above
6 facet beads
unused focus bead
6 facet beads
third focus bead above
9 facet beads
fourth focus bead above
final 36 facet beads above

Tie second strand to second side of clasp and run both strands back through final line of facet beads. Trim.

Mini saddlebags

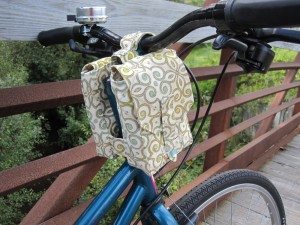
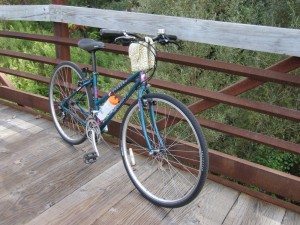
I am really excited to show you today’s project, now that a flat tire and wet weather have gotten out of the way of my photos. Look what I made for my bicycle!

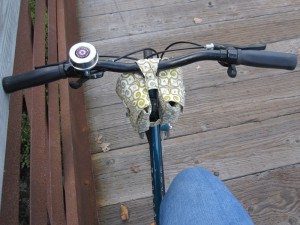
mini saddlebags 1 mini saddlebags 2 mini saddlebags 3

I’m a little obsessed. I only ride on bike paths, and so far, in fact, on only one path that begins really close to where I live, so I didn’t really need carrying capacity – I can put my keys and phone in my jeans pockets and it’s not too uncomfortable – except that I neeeeeeeeeeeded something. Those looping gearshift and brake cables disqualify a basket, I think, not that it stopped me from mentally designing one crocheted from nylon mason’s twine. I also have extensive notes on a seatpost bag, that hangs from the back of the seat and secures to the seatpost to keep it from swinging around, but I couldn’t get the logistics of assembly to work out, so it’s tabled indefinitely.

Meanwhile I went riding and noticed I had a decent amount of space behind the handlebars. Certainly enough for keys and a phone. It’s a little time consuming and a little awkward to sew, but should you want to make your own, here’s how.

[and incidentally, I have decided to try to balance the inconvenience of scrolling past something you’re not interested in with the annoyance of clicking through to read something you are interested in by cutting long tutorial/pattern posts so the pattern itself is past the cut. Other posts will remain in one piece.]

Continue reading Mini saddlebags