Drawstring Sachets

My sister wrote to brainstorm remedies for a stale closet, and in that conversation I offered to make some muslin bags for baking soda, dry rice, or scented materials. They are simple but not boring so I wanted to share the instructions.

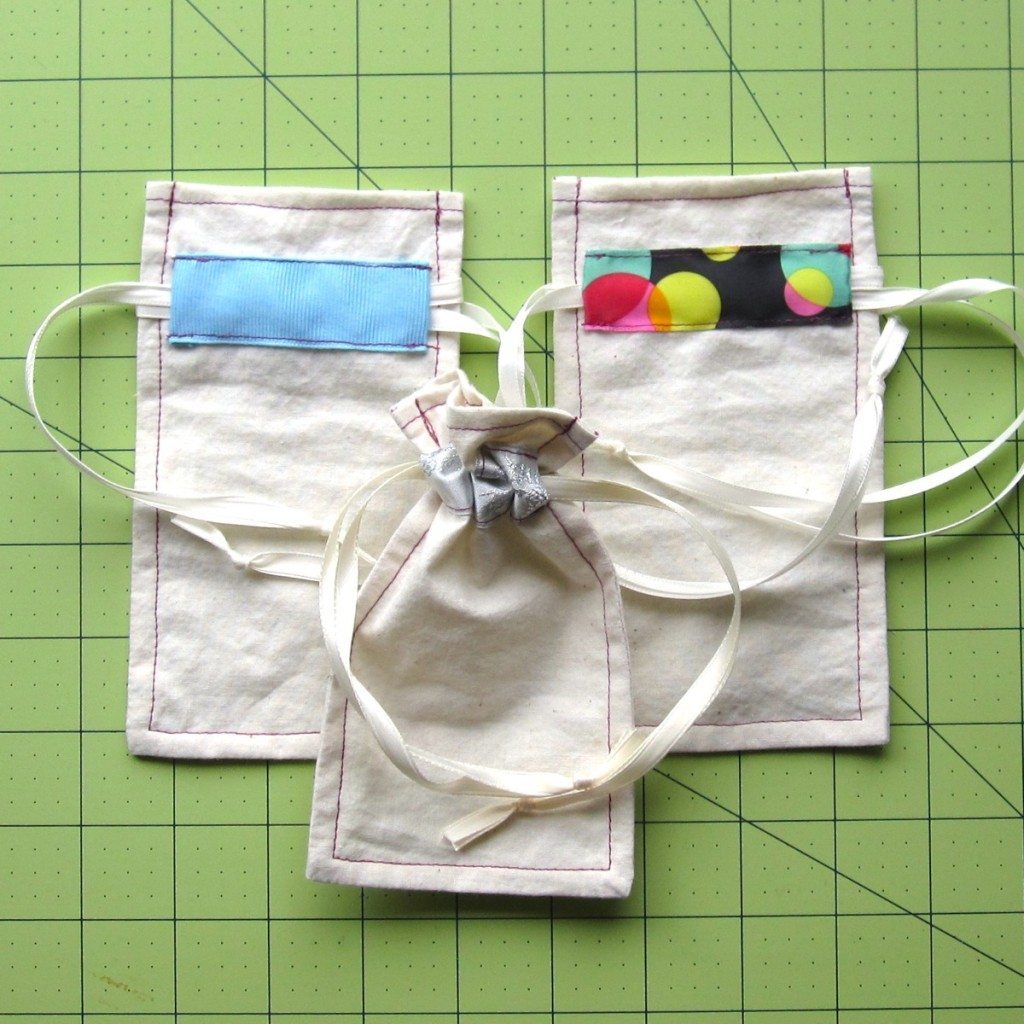
small muslin drawstring bags

For each bag you’ll need two 4″x7″ pieces of muslin and two 4″ lengths of 3/4″ to 1″ wide ribbon. You’ll also need two matching lengths of narrower ribbon (1/4″ is appropriate) to form the drawstring. This is a matter of taste, but mine ranged from 16″ to 25″ long – the closed bag in the photo is the shortest drawstring.

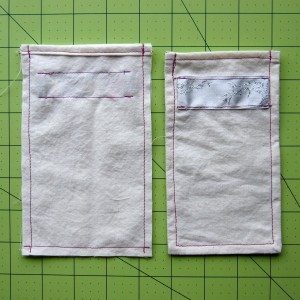
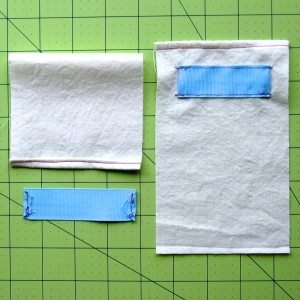
drawstring bags first steps

1. Prep the wide ribbons: Fold the ends to the wrong side by 1/4″ and tuck the corners under; sew to secure (doesn’t have to be pretty because it won’t show).

2. Prep the muslin: Fold the top edge to the wrong side by 1/4″ twice; sew to secure.

3. Attach the wide ribbons: Fold the ends of the ribbon in once more and place the ribbon on the right side of the muslin, 3/4″ down from the folded edge and centered horizontally – for me this put the ribbon ends just under 5/8″ in from the fabric edge. Sew along the ribbons’ long edges.

drawstring bags later steps

4. Attach the halves: Place the muslin right sides together and sew at 1/4″ along the three raw edges. Turn (I have some advice below).

5. Make an “inside-out French seam”: Sew again at 1/4″ along the sides and bottom of the bag. Be sure to avoid catching the ends of the wide ribbons in your stitching! This is for looks, but also to help prevent baking soda or other finer materials from sneaking out through the seam, between the two pieces of fabric.

6. Make the drawstring: Thread one narrow ribbon through both wide ribbons, so that its ends emerge on the same side of the bag; tie an overhand knot to join the ends. Thread the other narrow ribbon likewise, but so its ends emerge on the opposite side.

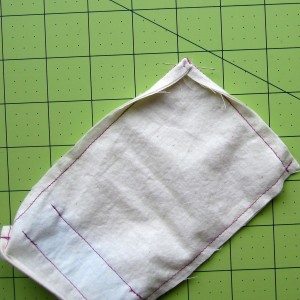
clean corner turning for drawstring bags

Advice on clean corners when you turn the bag at the end of step 4: I tend to clip my corners when I am going to turn boxy shapes, but I worried that it would defeat the purpose of the double seam a bit, so I used a method I read about ages ago.

Fold the seam allowances to the same side, as shown in the photo, and pinch them in place – finger up at the corner between the bag layers, thumb on the seam allowances (probably folding the top bag layer down to reach). Rotate the corner outward. If all goes well you should even find the extra bulk helps push the corner out cleanly without much effort from you.

Put a pin through the first corner while doing the second one, for safekeeping. I found this easiest to do when the bag was mostly turned, and I had just pulled the relevant corner up a bit.

For the record, my thoughts on stale closets are: baking soda before any scented things, to remove bad smells without also removing good ones; dry rice if moisture might be part of the problem; and then whatever scented things you might like, perhaps still mixed in with rice. The Upper Valley Co-op actually had rosebuds available in their bulk spices, which was pretty nifty, and after smelling a whole lot of jars I also picked out cinnamon chips (not the chocolate-chip-style things, but cinnamon bark in smaller pieces), whole cloves, lavender, and spearmint. I would also consider whole allspice, dried citrus peel (in wide strips, not little grinds), and maybe whole nutmeg broken apart with a hammer. If you wanted to go really simple, Yogi brand tea comes in some strongly-scented flavors — you could just hang some teabags up!
A new family member…

Some people lust after the latest gadgets. I lust after the small appliances of the 1950s.

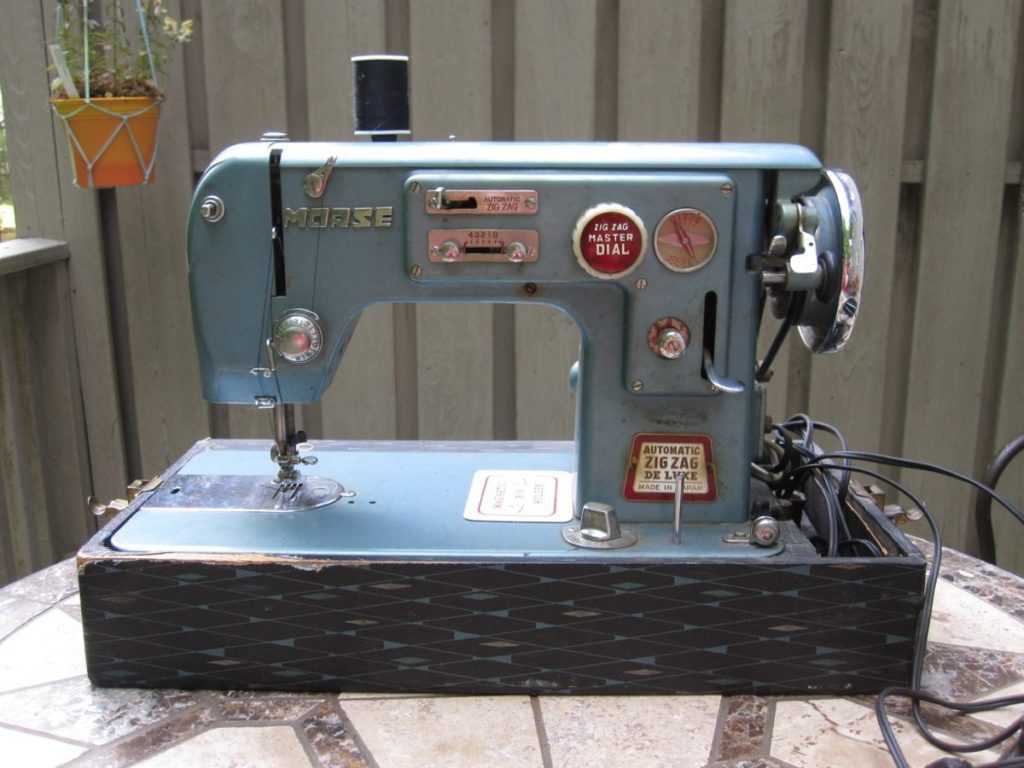
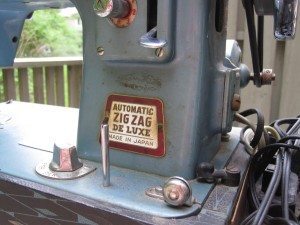
Morse sewing machine before cleaning

I was unable to resist an amazing mid- to late 50s Morse sewing machine at a charity benefit sale – I tested all the machines at set-up late yesterday afternoon, and found it ran well though it needed a thorough cleaning. When it was still there at close of sale this afternoon, I caved. Some money to a good cause, a boat anchor of a sewing machine to my possession.

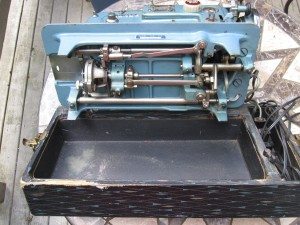
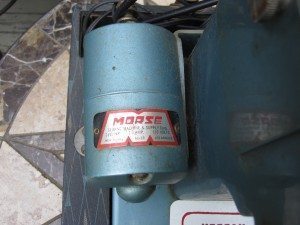
Morse sewing machine underside workings Morse sewing machine motor

I am going to take this machine as the opportunity to restart my education in sewing machine maintenance. I seem to have become the sewing machine expert of the Sew-op, however much or little I may merit that title. Since I am interested in sewing machine mechanics anyway, it seems like the perfect time to start earning the respect I already get in that arena.

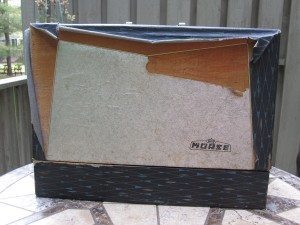
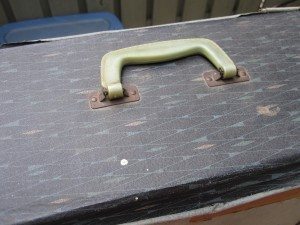
Morse sewing machine cover Morse sewing machine cover

It was tricky to find anything out about this machine. However, I determined Morse was one of many, many brands applied to the same machine bodies made by just a few companies in Japan (one blog post about post-war Japanese sewing machines says somewhere around 15 companies but over 5000 brands). A page about one person’s search for information about an American Beauty branded sewing machine gave me the most information. My machine’s model number is TZ-17, which apparently is shared by many branded machines and originates with Toyota. Toyota’s sewing machine manufacturing history tells us the TZ-3 came out in 1953. It says nothing about the TZ-17, but mentions a 1961 zig-zag sewing machine with a completely different model number, suggesting they’d moved on by then.

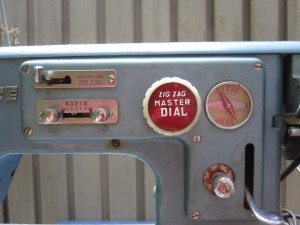
Morse sewing machine levers and dials Morse sewing machine front badge

Before finding that I had estimated my machine to about 1955, based on it seeming a bit less advanced than the machines in a 1957 Morse advertising flyer on the Morse page of the NeedleBar Museum Archive (sewing machines 1829-1960). I found the American Beauty page by doing a Google Image search for my machine, which led me to a forum thread about an Ambassador branded sewing machine that seems identical to mine but for branding. Comments along the way suggest that these are great machines that sew beautifully and will run forever.

It will be a while before I get this lovely back into shape (for one thing, I have to clear space to work on it), but I’ll surely show it off when I do, and if there are any interesting spots along the way.

On the uses of tracing paper

silver-valley-275289_640 Early this year I used tracing paper in two different ways in short order, so I thought I’d write a little post about it.

The main way was for patterns to stitch through, whether by machine or by hand. For the sample embroidered seam block I made for my second crazy quilting class, I used strips of tracing paper to make evenly-spaced repeating stitch patterns from my graph paper sketches. It was a mixed blessing – the stitching creates the perforations to tear along to remove the paper, so shorter stitches = easier removal. Mine were long and tearing the paper without stressing the stitches was a challenge. I also had trouble with the stitches getting loose when I tore away the paper and had to consciously stitch more tightly than I normally would to accommodate it. One piece of advice unrelated to my block: don’t fill areas while the tracing paper is still attached because you will never get it out.

Advice from elsewhere: Susan at Plays with Needles recommends Bienfang brand tracing paper in particular. I’ve only tried what I have – Strathmore – and it’s fine, but takes a little effort to sew through. I’ll test out Bienfang when I need a refill. If it’s easier to tear that will help a lot with avoiding stitch distortion.

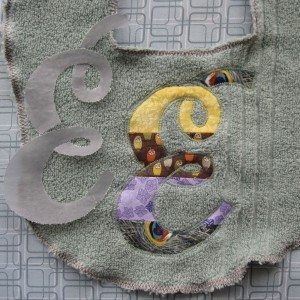
monogram applique and its pattern I also printed a large letter to be used as an applique pattern. I put tracing paper through the printer by trimming it to about 8″x10.5″ and taping it across the top to a standard sheet of letter paper, an idea I got from a tutorial for decorating candles with printed tissue paper. I generally use a small piece of tape at each end of the short edge and two more equally spaced in between.

Advice here: if you’re printing large solid letters and don’t have a way to convert them to outline, change them to a nice medium gray. Then you use less ink, which means less time to dry and less distortion from soaking the paper. For my applique I straight-stitched by machine around the outline of the letter, removed the paper and trimmed the applique fabric as close as possible to the stitch line, and then made a tight, narrow zigzag all the way around. In one spot my trimming was a little too close and I had to recapture the fabric with the zigzag, but most of it went as planned.

[This pattern was for a gift for friends we see very infrequently, and in fact we passed it to a mutual friend and it may not even have made it to them yet, but I am tired of holding on to this post until the gift is given!]

Incidentally, the letter shown is Oleo Script Swash Caps, a font that’s free for commercial use. The designer also has the plainer Oleo Script, but I specifically wanted an E with loops in it. Both are thick enough that at a large size you don’t even need boldface to make a good applique letter.

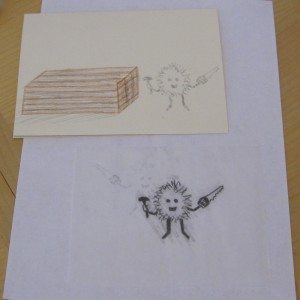
tracing paper rub-on My second recent use for tracing paper was to make my own rub-on transfer. I was drawing a greeting card and had a little fuzzball character that I didn’t trust to come out as well in future versions, so I traced him with a soft pencil (4B), turned the tracing over, and rubbed with the (eraserless) back end of the pencil to transfer graphite. Then I went back with a colored pencil to finish the drawing. It worked really well, and I was even able to face him in opposite directions by turning the tracing paper over, using the first trace as an image to trace again, and rubbing the second version onto the page. In the photo, where I’ve transferred but not drawn over the image, you can see where the first version rubbed onto the scratch paper a bit, ghostly under the tracing paper (which itself is not easy to see).

By the way, as I focus less on blogging I’ve found myself using Facebook a bit more, mostly for random crafty links I come across (though the Fun With Vintage Patterns album gradually grows). I’m not regular with it, but moreso than here.