New Tote

Ever since downsizing my purse to a wristlet in July I’ve intended to sew a tote-style purse it would fit inside for when I need to carry a bit more – for travel or shopping, say. I finally got around to that on Friday.

view of tote bag outside

I have measurements and instructions should you want to make one like it (as well as for my own reference later). I’ve used it once so far and am quite pleased.

Mine is made from what feels like a very lightweight canvas-type fabric. It was a scrounge from the Sew-op so I don’t actually know what it is, but a lightweight home dec option would be fine. I didn’t line or interface it at all.

Outer piece: 11″ x 25″, short sides parallel to selvedge. Sew short sides together at 1/2″ to make a wide tube. Press seam allowance open and its raw edges under; stitch down. Press top edge down by 1/2″ twice to hem and stitch down.

Inner piece: 8″ x 24.5″, short sides parallel to selvedge. Zigzag short sides and fold last 1/2″ to wrong side; press and stitch down near zigzagged edge. Press top edge down by 1/2″ twice to hem and stitch down.
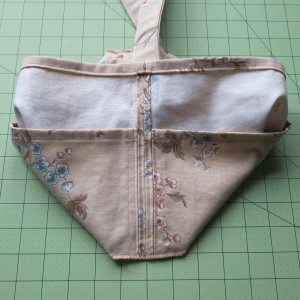
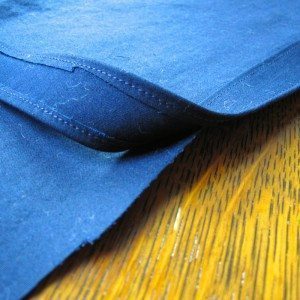
interior view of tote bag side seam
Place inner piece wrong sides together with outer piece, raw bottom edges aligned. At seam, folds of inner piece ends should abut folded edge of seam allowance of outer piece, as pictured. Stitch inner to outer at inner’s ends and halfway around tube. I sewed the latter seam all the way to the top of the bag instead of stopping at the top of the inner layer.

To make base of bag, flatten so seam is at one end and opposite attachment between inner and outer layers is at opposite end. Stitch all four layers together at 1/2″; no need to go all the way to the outside ends. Trim two layers (outer and inner on same side) to 1/4″ and zigzag raw edge of remaining two layers. Press all seam allowances to one side so zigzagged layers cover trimmed layers; stitch down close to zigzagged edge.
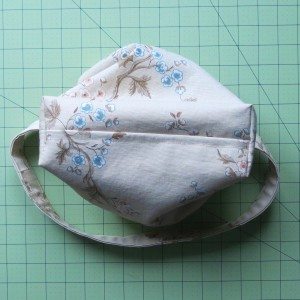
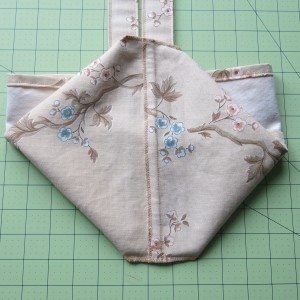
view of tote bag bottom from outside view of tote bag bottom from inside

Shape bag by darting base corners: reflatten bag so bottom corner is the point of a triangle and side seam aligns with bottom seam (second picture above has this configuration). Mark a 3″-long line from fold to fold perpendicular to and centered on base/side seam; it will be 1.5″ up the seam from where the base and side seams intersect. Stitch base and side together along that line and trim to less than 1/4″; zigzag raw edge.

My strap length was dictated by my fabric width; my strap piece was 3.5″ x 55.25″. That turned out to be exactly right to make a strap which allows me to clasp the bag with my elbow when it is on my shoulder. Anything 54″ to 58″ long should work just as well.
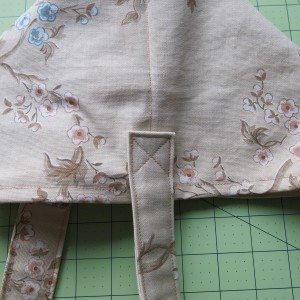
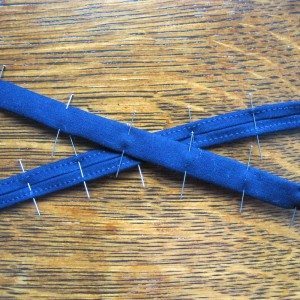
view of tote bag strap attachment point Anyway, construction: press long edges to wrong side by 1″. Open out at ends and sew into ring at 1/2″; press seam open and re-press 1″ folds. Turn so folded ends face each other and flatten into one long strip with a fold at each end. I put the seam from joining the ends 1/4 up from one fold so it would neither produce a lump to sew through when attaching the strap nor a potentially uncomfortable pressure spot on my shoulder (it is visible in the photo showing the bag’s outside bottom view). Press doubled strip and pin layers together; topstitch all the way around 1/8″ from edge (you will be sewing through 4 layers along the long sides and 6 in the center of each end).

Pin strap to bag so ends of strap are 2″ down from top of bag and straps are centered on sides of bag. Stitch a bow tie shape to join: down along topstitching, across and up at a 45-degree angle, repeat.
Easy Belt-Looping

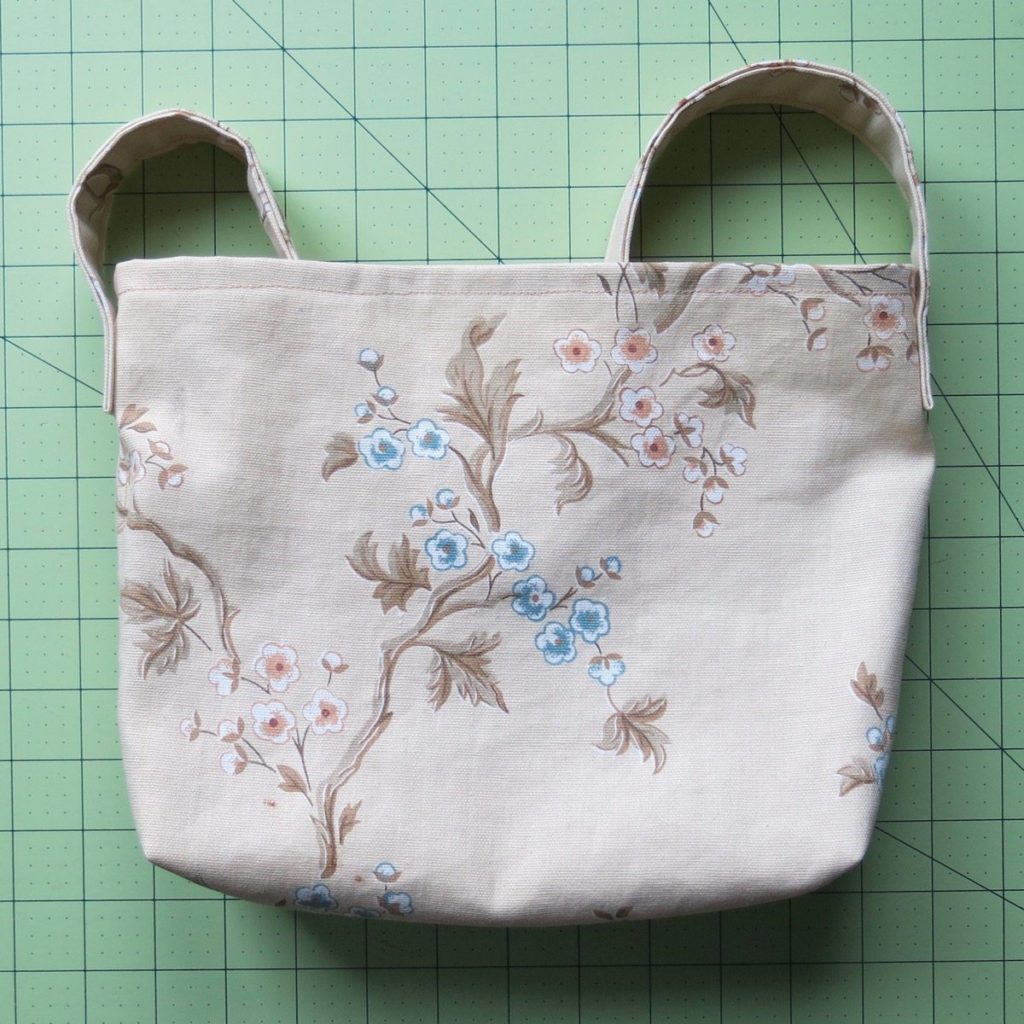
My sister wanted me to retrofit some pants with belt loops, which meant constructing the belt loops from scratch. Always efficiency-minded (hahaHAHAHAHAHA), I tried to determine how to create them in as few steps as possible. What made sense was a long strip to be cut apart into individual belt loops.

I used my entire piece of fabric, selvedge to selvedge, and only cut the belt loop strip off after a few steps (none of my fabrics were much bigger than half a yard, though). This was nearly enough for two pairs of pants (it was 58″ including the selvedges and I needed a usable 60″), and would have been more than enough had I not been on the “lots” end of typical belt loop numbers per pair. Four inches per belt loop is more than enough, even counting a wide unusable selvedge.

Fold the edge of the fabric to the wrong side, if there is one, and press. I just folded over about an inch and eyeballed the straightness. Pin and stitch an eighth of an inch away from the fold. Trim off the folded-over fabric close to the stitching.

belt loops, step 1 belt loops, step 2

Fold your new finished edge to the wrong side of the fabric by exactly an inch. Press, pin, and stitch as before, trimming the bulk of the fabric away this time so you have an inch-wide strip with two finished edges.

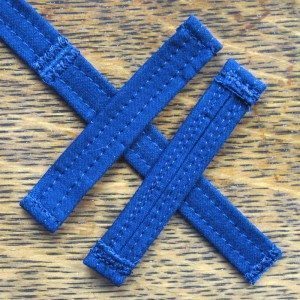
Now fold both finished edges to the wrong side of the fabric so they meet in (approximately) the center. This step requires lots of pins, and I like to pin from the smooth side so that I can capture both folds in one swoop. Press well, and stitch twice down the strip, 1/8″ or a bit more away from each outside edge. I did this by centering the strip under my presser foot and stitching with the needle to one side. There’s your strip of belt loops!

belt loops, step 3 belt loops, step 4

There are basically two ways belt loops are applied to pants. Dress pants typically have the bottom end sewn into the waistband seam; they may go downward from there before folding up to reach the top of the waistband with a finished end, which is topstitched on. Jeans typically have belt loops that are finished and topstitched at both ends. I did a little of both, though I didn’t tuck the ends of the belt loops into the waistband seam so I don’t think I benefited from it looks-wise.

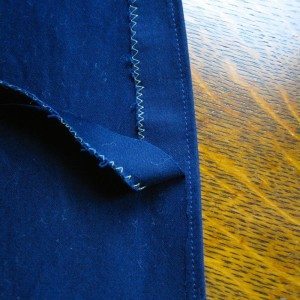
For the jeans version you want to add 3/4″ to the desired finished length of your belt loop to determine how long to cut them. Make chalk marks that far apart down your strip and make a medium-width tight zigzag on either side of each mark (well, not outside the outermost marks). Cut on the marks and you have your loops. Now fold each end down by a generous 1/4″ (the allowance is 3/8″ because you will lose a little to the u-turn since these are thick) and baste to hold. Pin the belt loops in your desired locations and topstitch with a tight narrow zigzag along your basting at each end. My sewing machine doesn’t give me any measurement/units for zigzag, but I used the same width for topstitch that I use for the sides of buttonholes, and for the zigzagging previous to cutting, I used a zigzag between the widths I use for sides and ends of buttonholes. Hope that helps. For both I set stitch length to 1.5mm.

For the dress pants version you have two measurements to add. If your desired finished length is more than the width of your waistband (and if it’s not I recommend the jeans style), you have to add the difference. For example, if your waistband was 1.5″ and your desired belt loop length was 2″ you would need to add a half inch at this step, coming to 2.5″. Then you need either 3/8″ for the top turn-down or 3/4″ if you are going to tuck the bottom end into the waistband seam. For our example that would bring the total to either 2 7/8″ or 3 1/4″. Fold down and baste one end of each belt loop as for the jeans. For the less-tidy version, butt the other end against the waistband seam in the desired location, right sides together with the loop extending down the pant leg. Zigzag in place, fold the folded end up to the top of the waistband, and topstitch in place. For the more tidy version, pop open the stitching of the waistband in the vicinity of the loop, tuck it in by 3/8″, re-stitch the waistband, and then fold the loop up as before.

(Incidentally I chose my desired finished length by measuring some jeans belt loops. You can measure the widest belt you would ever want to wear with the pants and then add, say, 3/4 inch for the “nice” version or 1 1/4 inch for the jeans version.)

Let’s 80s this up!

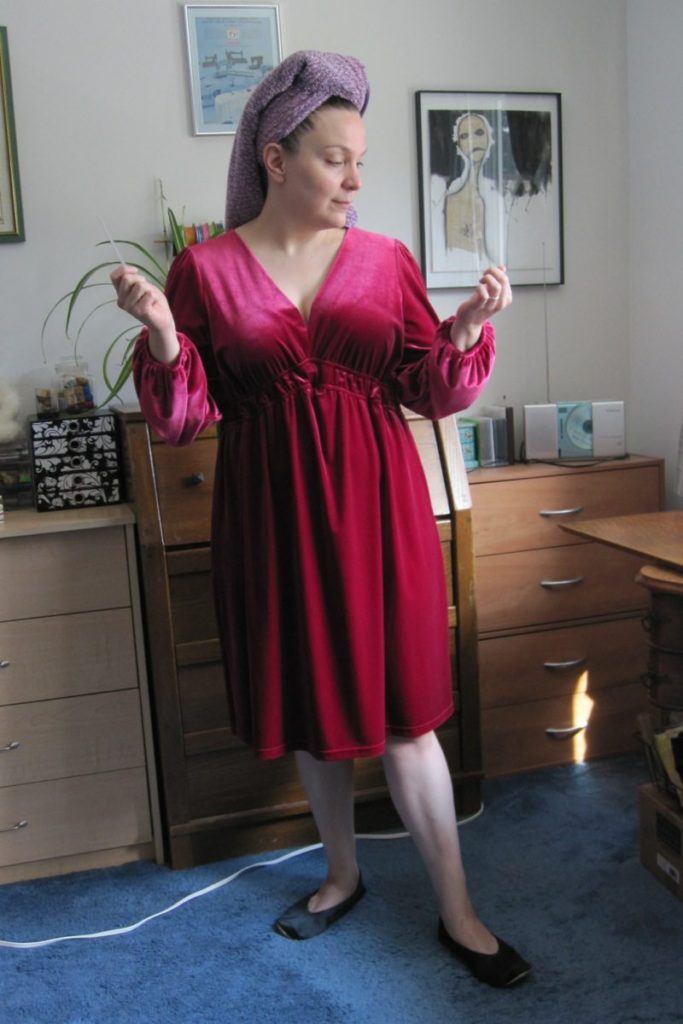
I retrieved a red stretch-velvet dress from my parents’ garage sale pile. Such promise!

dress: original

But look at that grody symmetry and those heinous sagging shoulders. This dress needed some help.

A probably-unreasonable amount of time later….

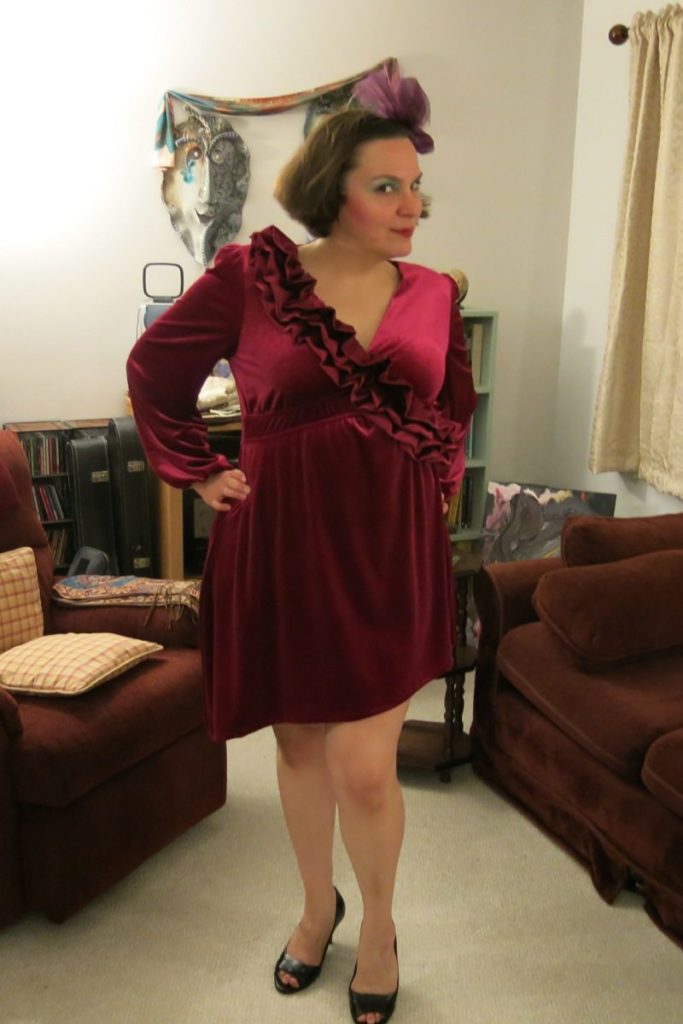
dress: 80s

Yes! Savory.

What I did:
Installed a strip of gathered tulle into each sleeve cap to puff it up (sewn to the armhole seam allowance facing into the sleeve).
Added large shoulder pads VERY loosely based on Sew Retro Rose’s shoulder-pad-making tutorial. I tacked them at the shoulder seam on each end.
Undid my mother’s hacky size adjustment and replaced it with my own hackier size adjustment.
Re-hemmed it to a slant, losing 7+ inches on one side and keeping it as long as possible on the other.
Added ruffles down one side of the neckline and across to the opposite waist, chosen to point at the top of the hem rather than be semi-parallel to it.

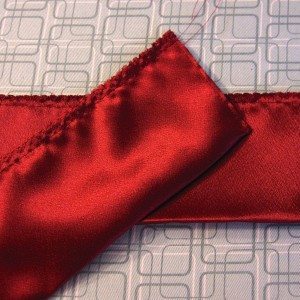
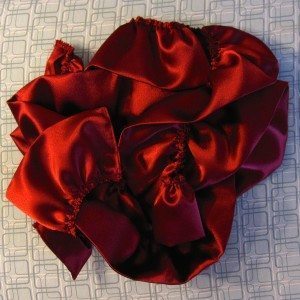
ruffles 1 ruffles 2

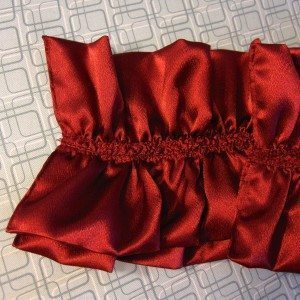
The ruffles don’t hold up to inspection if you look too closely at them – I was running out of time before the night I wanted to wear the dress, so I had to be hacky again. I took three wide strips of crepe-backed satin, folded them lengthwise so the satin was out, pressed, folded the ends in and topstitched, and zig-zagged twice to hold and bind the edge. Then I gathered each about 3/8″ from the edge and secured it with more stitching. I stacked them together starting with the topmost ruffle, seam allowance to the right, then the bottom ruffle (which was slightly wider), seam allowance to the left and barely overlapping the top ruffle, and finally the middle ruffle, seam allowance to the left and mostly overlapping the top ruffle. After they were all together and sewn to the dress, shoulder seam to side seam, I folded the top ruffle over and secured it with hand-stitching.

ruffles 3 only the pinkest of blush

My original design inspiration was the television series Dynasty, with help from my Bangles albums. I had to buy the makeup for this because I don’t think I’ve worn blush in twenty years. Special thanks to my sister for inspiring the slant hem with her aesthetic advice to try to look like “an unstable stack of geometric shapes” and to my mother for suggesting the ruffles.