Quick fixes

I’ve been trying to downsize at home, including in my closet. I hang my sweaters/sweatshirts up at one end of a row, so whatever is at the other end is the item that has gone unworn the longest. I was eyeing that end for possible elimination, and the item hanging there was a lightweight zip-up jacket, kind of a really heavy t-shirt or unfuzzy sweatshirt material, with nice embroidery on it. I like it, but it had migrated from the beginning end after being washed all the way to the far end, without being worn once.

It occurred to me the only reason I don’t wear it more is that the sleeves are way too long, and they don’t stay pushed up. Therefore, even if I just wash my hands quickly they are likely to get wet and annoying.
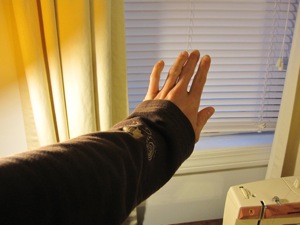
yikes

That’s an easy fix, though – I checked, and two inches would do the trick. The embroidery on one sleeve would still be completely above the new line of stitching, so it wouldn’t complicate things. I even happened to have a perfect spool of thread!
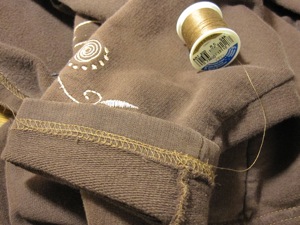
perfect

While I was at it, I thought I’d fix some damaged parts of the bottom hem in the back, as well. I took my sewing machine repairman’s advice and lowered the tension as well as shortening the stitch. Shortening the stitch was not the best plan, but I did note many fewer dropped stitches than last time I did this, so lowering the tension was a good move.
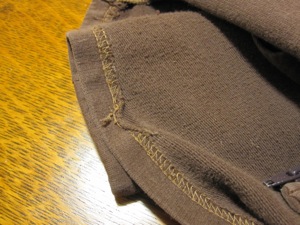
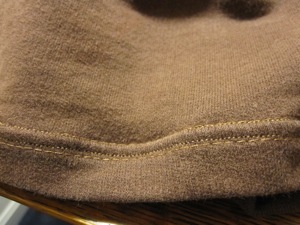
worn out could be better

Oh well. I think the rippled texture will come out in the wash, and it’s the bottom back, so hopefully no one will be looking too hard.

The sleeves worked like magic, though. I moved the stitch length back to my usual setting, folded them up and pressed, and stitched without trimming the extra.
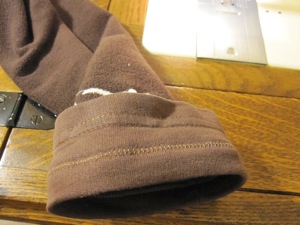
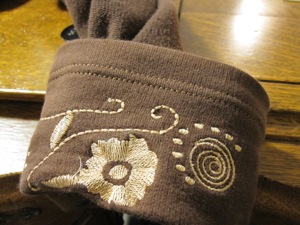
back front

Trimming afterward meant I didn’t have to worry about failing to catch the raw edge while sewing. Nice and smooth and no dropped stitches!
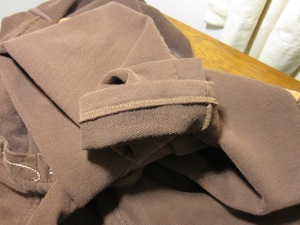
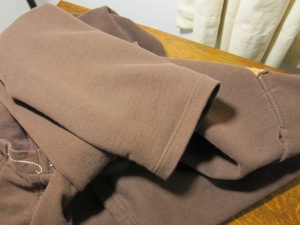
back front

Best of all, when I put my hands out the jacket hits at my wrist instead of my thumb.
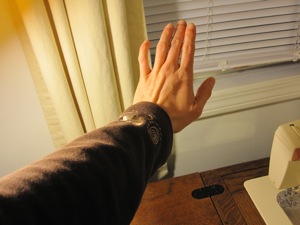
perfect

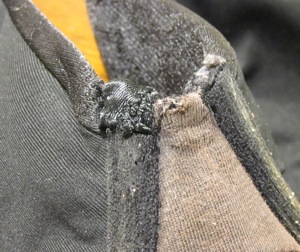
While I was in the mood to finish things, I fixed this problem:
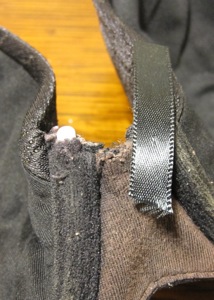
oops

Oh noes! Underwire! It didn’t want to scootch back into the casing completely, so I pushed it as far as I could and covered it over with a double layer of ribbon.
fixed

This bra is nearing the end of its lifespan anyway, so I expect this fix will last as long as the rest of it does.
Civil War quilt project

As part of the Sew-Op I went to a meeting recently about a project for Quechee Library’s participation in Vermont Reads, a statewide community reading project. This time around the theme is the Civil War, because of its 150th anniversary, and since one of the librarians is a quilter, she thought of making a quilt in the style of those made for medic cots during the war. Since there was great need, they were simple so they could be made quickly.

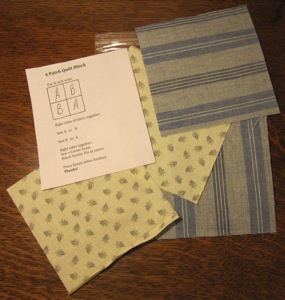
quilt square kit

She (perhaps with assistance) made a whole bunch of four-patch quilt square kits, as shown above. The fabric varies from kit to kit. The ones I chose are a reproduction of a period calico, and a homespun-style fabric. The finished quilt will have squares divided by strips of plain fabric, plus a border, 4 squares by 7 squares for a finished size of 48″ by 84″ – they needed to be long to tuck under the foot of the cot. She cut enough kits for two full quilts.

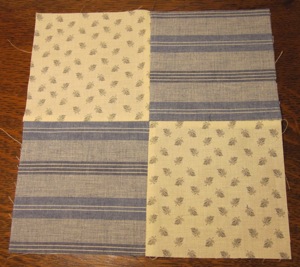
finished square

Even with pressing and photographing it took me less than 10 minutes to sew the square. If you are interested in participating, quilt square kits are available at the front desk of the library and due back by May 29. We’ll have a little bee at the Sew-Op on June second to assemble the quilt faces, which will then go back to the librarian to be batted and backed. Later in the summer there will be a community event to tie the quilts, and then they may be displayed, raffled, or donated.

Champagne gift bag

Tutorial! It’s been a while. I went with my favorite companion to a party this weekend, and had a bottle of champagne to bring. You will not be surprised to know I decided to sew a bag to adorn it, and perhaps also not surprised to learn I started the whole process a little too late to actually complete it before we had to leave. I was so close! I finished it yesterday.

top

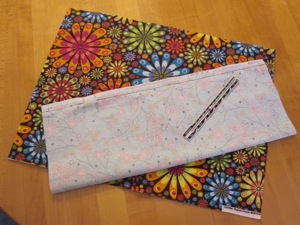
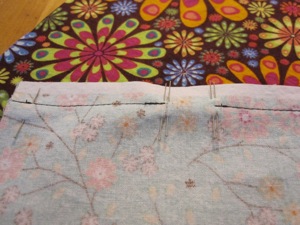
This bag is very similar to the half-hour reversible drawstring bag, though it has more detail and so will take a bit longer. Start with two pieces of fabric each 12.5″ by 16.5″, and fold them long edge to long edge, right sides together. Sew that edge with a 1/2″ seam allowance, leaving an opening between 3″ and 3.75″ away from one end, which will be the top end. Below you can see my technique of doubling my pins on each side of the opening; it’s my special self-signal for “something different happens here.”

starting out leaving an opening

Continue reading Champagne gift bag