I’d rather have a paper doll…

Man, I think I’ve only heard that song as part of a medley, because I just looked up the lyrics and it is way more bitter than I ever knew.

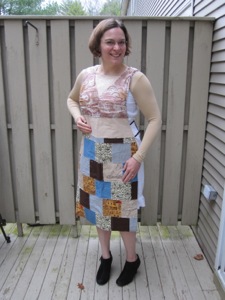
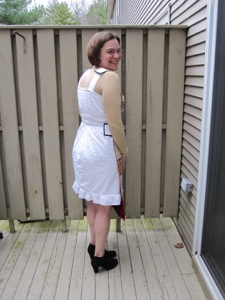
Anyway, here’s my paper doll.
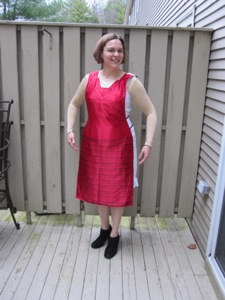
flapper side hippie side back view

And here are some pictures of the making!

I went on a remnant rampage, buying material off the bolt only for the slip. It gave me an excuse to buy the fun cityscape material.
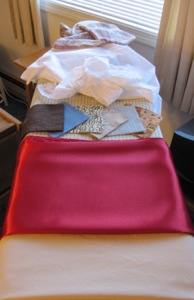
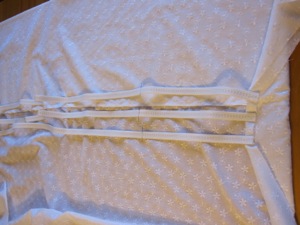
materials slip-making

I basically freehanded everything, using elastic to pull in the slip at the waist and top. You can see above that I was a little overoptimistic about my ability to just stretch the elastic into the correct alignment for sewing. The picture below is the slip finished but for two things: the straps are not sewn at the back, and there is no velcro yet to attach the doll clothes.
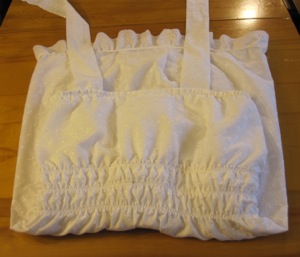
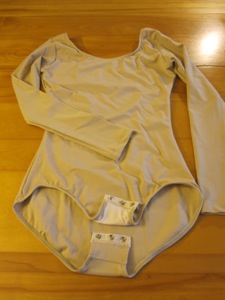
near-finished slip adjusted leotard

So I wouldn’t freeze, and for modesty’s sake, I bought a long-sleeved leotard to wear under the slip (I tried to find similarly-colored heavy tights or leggings, but struck out on anything under $40, so I wore nylons). I didn’t want to have to completely undress to use the restroom, though, so with some snaps that came with my eyelet pliers and some extra “skin-color” fabric, I made the leotard snap-crotch. For the outdoor event we went to I also wore a camisole under my slip.

The final touches were to draw fringe on the flapper dress side, and add velcro tabs to the shoulder straps. I’d added the side tabs before sewing the two halves together (down each side and in the neck opening), but the shoulders were not wide enough to accommodate the remaining tab. I made two small pleats in each and tucked them in, and then topstitched all around the dress, except for a little bit where the “skin” showed through on the hippie side but the flapper side had red fabric.
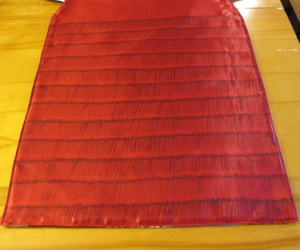
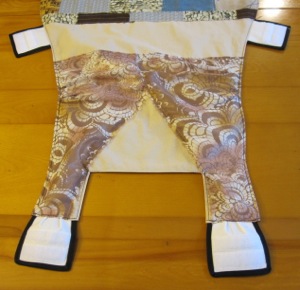
drawn fringe velcro tabs

To my surprise, it was a really difficult costume for people to guess. Next year I’m going to find a less labor-intensive costume to construct!
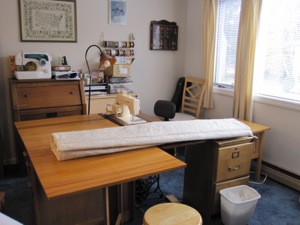
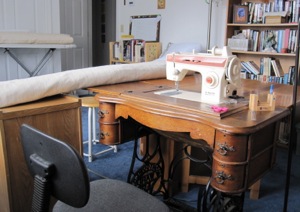
Giant curtains… of doom

I haven’t done much of my own sewing recently, and it’s because (as I have mentioned offhand) I am sewing curtains for a client. Big curtains. Big, thick curtains. They are insulated, with a layer of fabric toward the window, some padding, a layer of mylar, some more padding, and a layer of fabric toward the room. Fortunately all but the last layer of fabric come already attached together, but the whole shebang is still incredibly heavy and awkward. With just my regular machine-in-cabinet, I can’t do them at all. My trusty 1984 Singer can sew them, but there’s no chance of a straight seam with the curtain flopping around dragging itself all crookedly. They’re big enough that rolling them up out of the way on the side only increases the problems fore and aft, and there’s no way to roll them up in both directions simultaneously.

My solution, after crying, was to move a drop-leaf table behind my sewing machine and a filing cabinet to the left in front of it. I also have an end table/plant stand in front of the filing cabinet; it is significantly shorter but still a lot taller than a chair, and while something taller than it would be better, it is still an improvement over just the filing cabinet. The filing cabinet, end table, and I hold the curtain before it goes through the machine, and the table catches it as it comes out the back.

from the door from the machine

This improved the situation immensely. I also had to lower the thread and presser foot tensions to avoid skipped stitches and make the curtains feed more smoothly.

I later talked to a quilter and she told me she has a table behind her machine and a table to the left of her machine. If I hadn’t exhausted all the appropriate-height furniture in the house (well, there’s the dining table, but that won’t fit in the sewing room now), I would be extending my support system more to the left. Which would leave no floor space on which to work, but you can’t have everything. I do feel somewhat like an executive behind a big desk.

Anyway, I’m just sharing in case anyone out there has to sew big, heavy items, and was looking for others’ experience. I’m looking forward to having space in my sewing room again, and catching up on my own sewing projects!

Good morning!

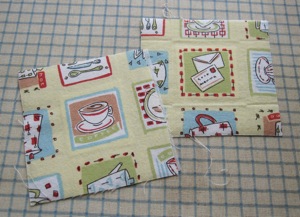
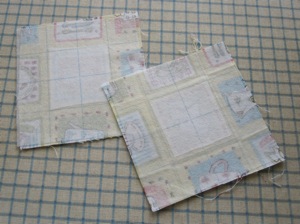
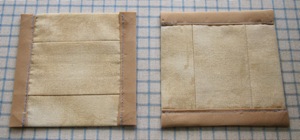
My sewing and crafting room is bursting at the seams – every available horizontal surface has baskets or bags or piles of stuff on it. I don’t like it that way, and as part of a more general downsizing and organizing push I am trying to make a dent in it. One aspect of that is to either complete or declare bankruptcy on all of my “current projects” (some of which have been in a large plastic storage bin labeled as such for several years). While going through piles I found some pieces of fabric that were earmarked to become coasters; some cutting and facing had been done. My first step in completing them was to cut interfacing of the full finished size (4 inches square) and use Wonder Under fusible web to affix it to the back of the fabric.

just fabric with interfacing

You can see the original bit of iron-on interfacing just under the image itself.

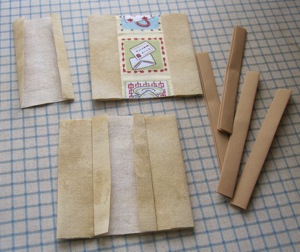
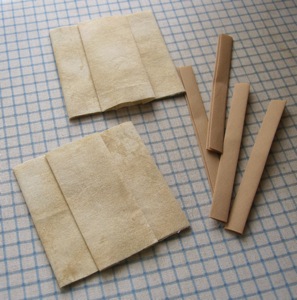
My original plan was to take the coordinating fabric and make a square frame around the center image, but I didn’t really put enough forethought into the process to do that. Instead, I sewed it to cover the partial images on two sides (sides on one coaster and top and bottom on the other), with pieces large enough that the raw edges were close to the center back, and folded another piece to match the uncovered image in front.

one layer sewn covering the raw edges in back

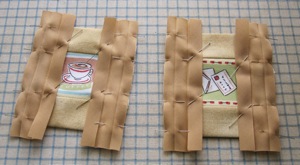
I think I may have swapped the two backings when I put them on, but that’s okay. They were attached with more Wonder Under. Then I found a coordinating color of bias tape (extra wide double fold, my standard kind) to cover the raw edge.

pinned

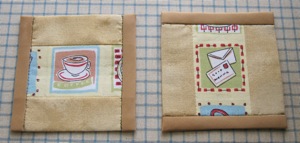
After sewing the hidden seam, I refolded the tape once, wrapped the ends around the edges of the coaster, folded the exposed corners so no raw tape edges would show, and stitched (somewhat sloppily) in the ditch with thread in two colors from the main images.

front back

Then I mailed them to my boyfriend, who was appreciative.