Mesopotamian monsters

So, you know how I said the sewing for my costume was no more than 90 minutes? Well, I made up for that with costumes for Stumpy and Cirrus (formerly known as Anonymous Light Blue Monster). Ta da!
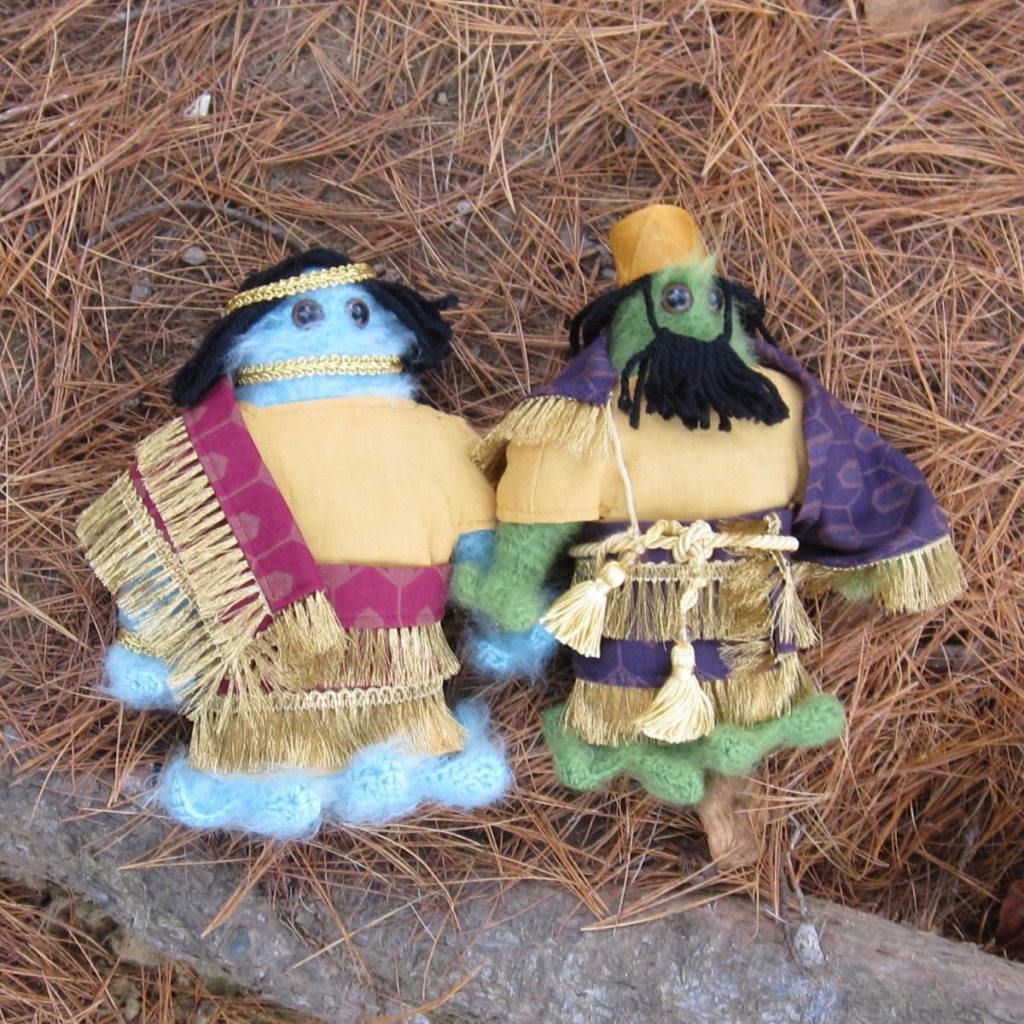
monsters in costume

They were Ashur and Ishtar, important ancient Assyrian deities. Something I read said they were husband and wife, but I never found that piece of trivia again so I suspect it was suspect.
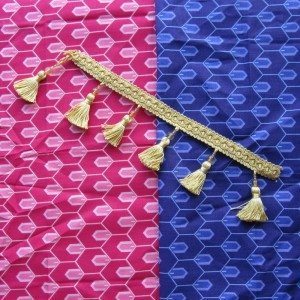
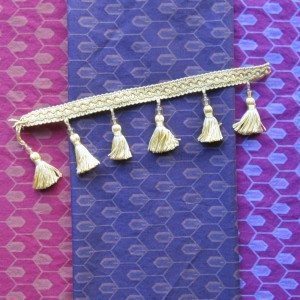
before dye after dye

I got advice from my friend Eleanore (“Fringe. Lots of fringe.”) and a page on Assyrian costumes. Getting an appropriate geometric pattern with (relatively) accurate colors required dyeing fabric (before and after shown above, though unfortunately not in the same lighting – that’s the same fringed trim in each shot). I scaled the shawl measurements in the Fashion Era link by 1/9, cut them from muslin, and then adjusted the proportions, since after all monsters are not humans.
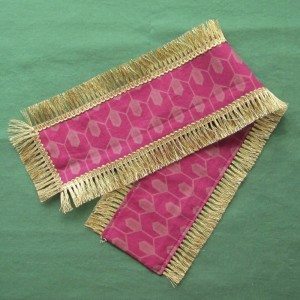
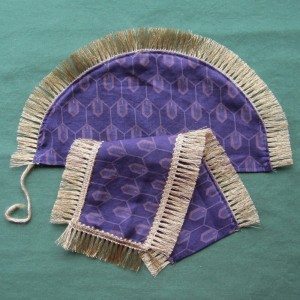
cirrus' shawl stumpy's shawls

Fortunately, monsters are fairly patient and easy-going, because we had some long fitting sessions. The tunics I had to design from scratch and they are far from historically accurate, but I had to adjust for the fact that humans are proportionally smaller front to back and also have necks that are quite a bit smaller front to back than their chests. The tunics have a front and back panel (really two in the back), with insets along the shoulders and down the sides under the arms. I was glad I made a muslin first because it was a wee bit snug.
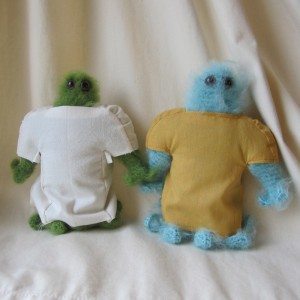
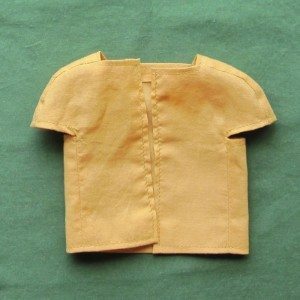
tunic making tunic back

And let’s not forget their accessories! This is unlikely to be the last time you see them in wigs.
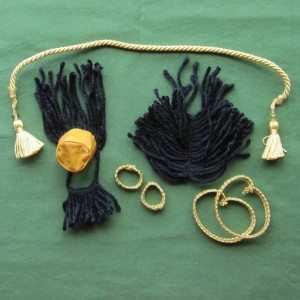
accessories

The picture up top was taken during a long outing by the river. When they got home and out of costume they needed a good brushing, both for fluffiness and for removal of bits of the great outdoors. More photos will shortly be posted on Stumpy’s Facebook page.
Clotheslined

Our Halloween is all but over now, since the parties we typically go to both happened last night, so I thought I’d go ahead and show you my costume.

clothesline costume

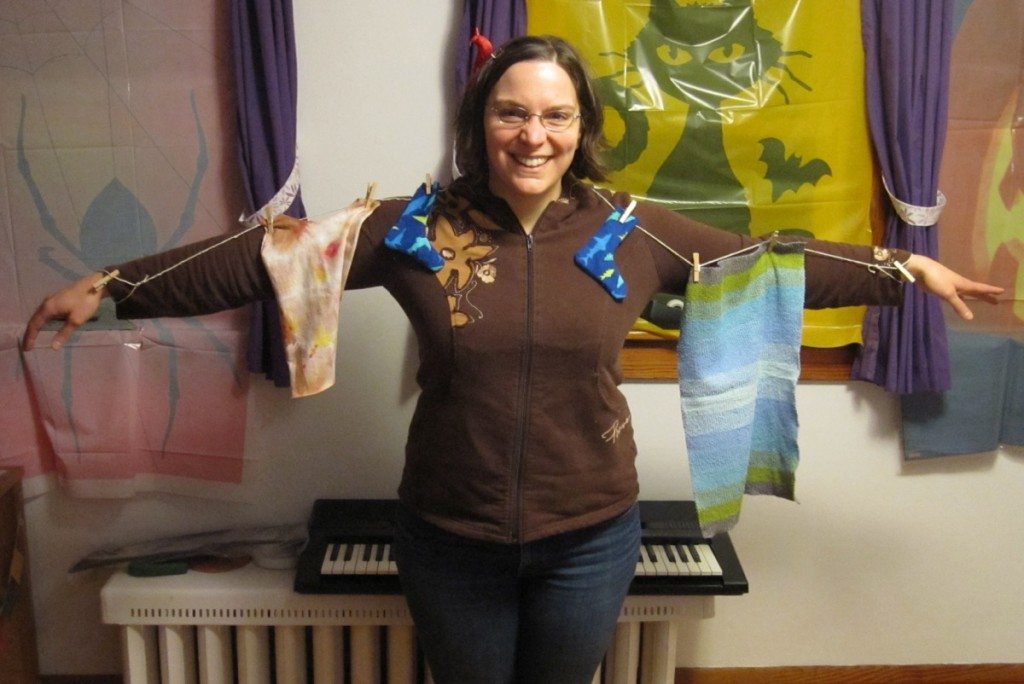
I was a clothesline! It was a lot less elaborate than last year and three years ago. I sewed, but a total of no more than 90 minutes. On me you can see a tank top, towel, and pair of socks (though they would not even fit baby feet; they just look sock-shaped). There’s also a bird clipped into my hair. I made everything from scratch, freehand, though I did use rulers and aim for symmetry. There were two pieces that didn’t make it onto the line in the moment:

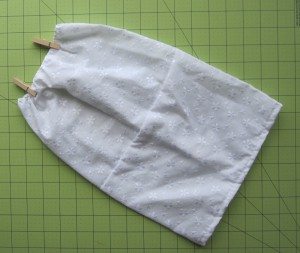
mini pants mini slip

The skirt is out of leftover fabric from the slip of my paper doll costume and the tank top is tie dye left from my bird shirt remodel; the rest is stash fabric that hasn’t been seen here.

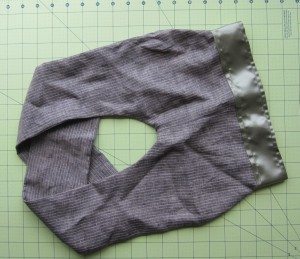
The pictures above also hold a lesson in freehanding: Yes, a pants piece is basically a tapered rectangle with a half a U cut out, curve of the U at the crotch. BUT the half-U has to have its top at the waist. If you cut it with the top of the U at the cuff you get some seriously bandy-legged pants!

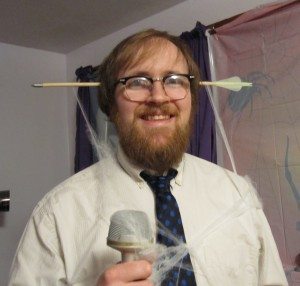
Matt’s costume was hard for people to guess. Imagine him making a goofy face and telling you jokes. (I like to say, he went as himself.)

Matt close-up

Snappy snaps

I learned something making my mini saddlebags that I thought I’d share with you all. Sew-on snaps by machine!

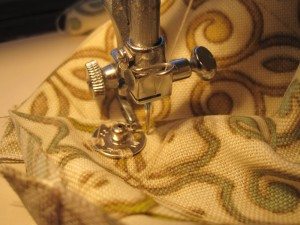
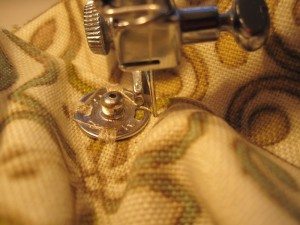
I didn’t want to sew the snaps on by hand, because it takes a long time and is just annoying. So I thought maybe I could do it with a zero-length zigzag stitch on the machine. The only problem was my regular presser foot couldn’t get close enough, and the other foot options (such as the zipper foot) didn’t accommodate zigzag. Solution? Take the foot off entirely!

snap by machine 1 snap by machine 2

Set the stitch length to 0 and the stitch width appropriately (with a size 4 snap for me this was in the middle of the range). The flat side of the snap is much easier than the rounded side; with the flat side, sew on the right side of the snap and the presser foot mount will help hold the snap in place. You’ll have to move the fabric and snap in the midst of your stitching to get good coverage on the stitching hole. The foot mount tries to bounce the rounded side of the snap out of place, so for it sew on the left side of the snap to keep it clear of the mount. You’ll have to hold the snap in place yourself, so be careful the screw that holds your needle in place doesn’t whack you in the finger while you do. I did all the stitching with the hand wheel on the side of the machine.

I don’t know how many snaps will be amenable to this, but certainly whenever it’s okay to stitch all the way through what the snap is attached to I’ll investigate this option.