Finally pillowfied

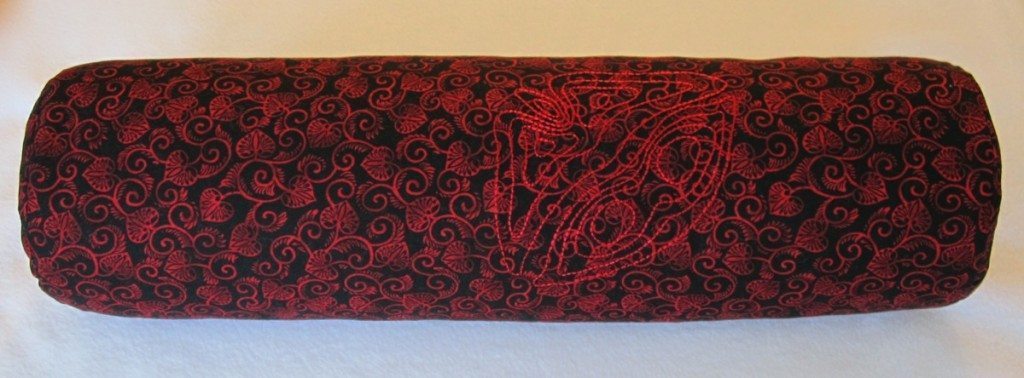
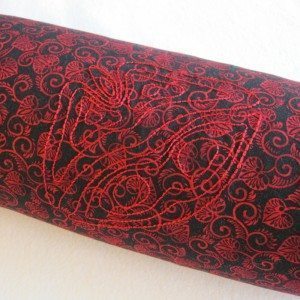
Many moons ago I did an embroidery project for the Iron Craft challenge You Are Here, about maps: a topographical map of lips. I didn’t cut the fabric because I had a vision of a pillow, so I folded it up and it lived in various locations for the last two and a half years. Now it looks like this:

bolster main

A bolster pillow! As well as my first invisible zipper. It’s not so invisible because of the pull on the fabric (or maybe because I don’t own an invisible zipper foot), but it’s still better looking than a standard zipper would be.

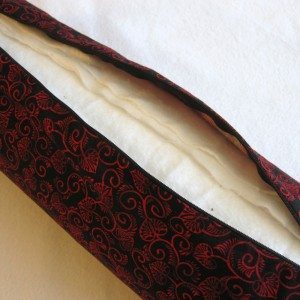
Sneaking a look inside you’ll find this:
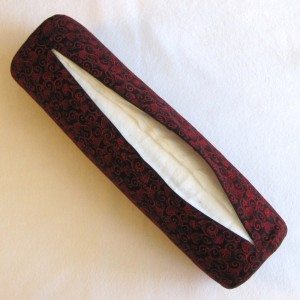
bolster open 1 bolster open 2

A roll of quilt batting, two kinds, that had been sitting on a high closet shelf for nearly as long as the embroidery had been waiting to be made into something. I interleaved the types (the one I had less of, which is completely hidden, was puffier than what you can see), rolled them up, and used an upholstery needle to stitch the edge lightly so it stays put. That made inserting it into the pillowcase easier and means the case can be removed for cleaning if necessary.

The pillow is a bit more than 20 inches long and a bit less than 6 inches across. It will be good for lumbar support or for my husband to put under his knees when he’s napping on his back.

bolster close-up

This was a nice stashbuster! There’s leftover fabric in my fabric stash, but I used about half of the remnant for this, and all of the two pieces of batting. I had to buy a pack of 7 specialty needles to get an upholstery needle, but I’ll have sails to mend soon, right?
Refashioned smock

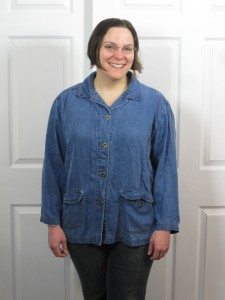
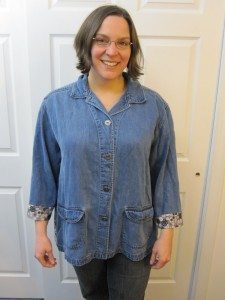
Shopping a ten-cent sale for alterations class props, I came across a denim shirt. Here I am rocking it, wet hair, and a pretty fab head cold, if I do say so myself:

denim shirt before

Something about the artist smock styling drew me in; periodically I decide I want a denim layer, and the price, while not ten cents, was right, so I bought it. However, it’s just not quite…. just not quite. Its sleeves are too short to be full-length and too long to be three-quarter length. It’s not remotely fitted but not loose enough to count as A-line or even just flowy. And there’s just something meh about it style-wise. Bordering on schlumpy, even.

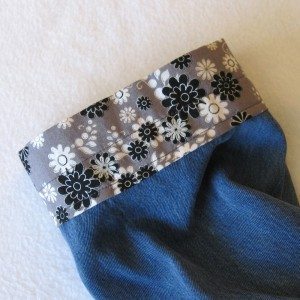
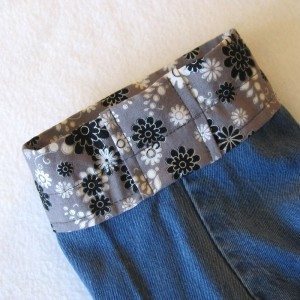
I don’t typically go in for three-quarter-length sleeves, but they are more appropriate for an artist’s smock, so I folded the sleeves up to gauge a good length and cut them off. After picking a fabric out of my stash to make all my adjustments, I covered the cut edge of each sleeve with a band of fabric. Better.

denim shirt cuff 1 denim shirt cuff 2

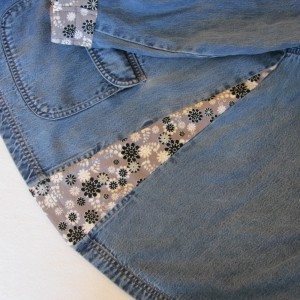
To move the shirt from “awkwardly loose” to “intentionally loose” I remembered the bell-bottom trick of inserting a triangular panel into a seam and did so with each of the side seams. Not too much; hopefully just enough to keep the shirt from hanging up on my behind all the time.

denim shirt side inset

I didn’t plan ahead past this point; I had some ideas for other alterations but figured I would see how it looked before making any decisions. And it looked pretty good! I was much happier with the silhouette.

denim shirt midway

However, something was still missing. I thought about doing something to the pockets, adding a strip of my fabric just outside the button placket on each side, doing something up at the yoke… but I didn’t want it to be too flashy or busy. Then it came to me: buttons!

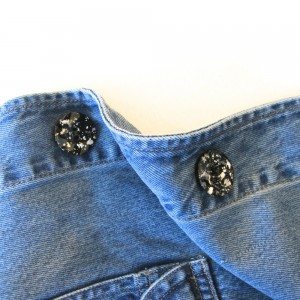
Finding new buttons turned out to be a big job. The hubs came to help and we found a bunch we liked pretty well – but had at most 6 in stock, while I needed 7. I could have made 5 work with different buttons on the pockets, but nothing seemed to go together well enough for that. Finally after going up and down the button aisle repeatedly I pulled a few different styles off the rack and we chose some shiny black ones with silver paint spatters of a sort. Except better and less ’80s than that description makes them sound. Take a look:

denim shirt buttons

And they were just what the doctor ordered. I had to open up the buttonholes a little, but I happened to have matching thread in my stash to finish the edges, so that was straightforward. I did the button sewing by machine, actually; pulled the top threads through to the inside afterward, tied them in a square knot with the bottom threads and wound them around the stitching and between the layers of fabric a ways.

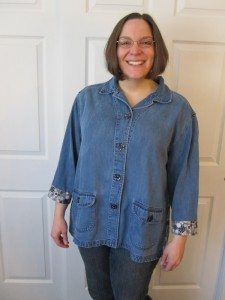
But without further ado, the finished product!

denim shirt done,  closed denim shirt done, open

FYDP Roundup 8

This was a productive week, even more so than it looks below – some upcoming posts won’t be counted yet!

  • Alteration tools post photographed and finished.
  • Last summer, maybe, we got some hand-me-down pajamas from a friend. I altered one pair of pants for the hubs and made some small changes to a top to make it a summer robe for me.
  • I had a bag with 7 pairs of socks and 8 of slippers and slipper-socks in various stages of wear. I recombined six pairs of slippers and slipper-socks into three warmer and cushier pairs, turned the cuffs of one pair of socks into fingerless gloves, cut the motifs out of two other pairs and stashed them in my fabric-embellishment drawer for later, and threw out the rest. This is sort of one item total – they were listed en masse in my FYDP ideas – and sort of four mends, but as a compromise I’m counting this as one elimination and one mend.

Totals:

  1. Mending: 5
  2. Non-mend sewing: 3
  3. Elimination: 10
  4. Website updates: 5
  5. Crochet: 1