Baby shower gifts

I went to a baby shower this weekend for a dear friend and tried to give her something cute and something practical, but also cute.

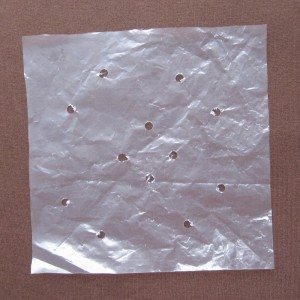
The first was a crinkle square. I don’t actually have a photo. I ruined the one that I made for the occasion, and had to draw on a backup. I do have an innovation to share, though: crinkle squares shouldn’t be a suffocation hazard to begin with, considering their small size and the fabric layer preventing a seal from forming, but for an additional point of reassurance you can hole-punch the plastic.

hole punched plastic for a crinkle square

I tried something new for the rest of the gift: burp cloths made by backing cloth diapers with flannel. The diapers are quite absorbent and the flannel clings to your clothes, preventing the burp cloth from slithering down off your shoulder mid-spit-up. This was not my idea originally but apparently I did not bookmark the site I found it on (which was also not the origin of the idea, so I don’t feel too guilty). I got a package of 10 diapers by Gerber and washed them all twice (the first time their edges were quite crumply and I thought that might indicate they were mid-shrink – sure enough a second wash smoothed them out a bit). They seemed rather thin so I doubled them up.

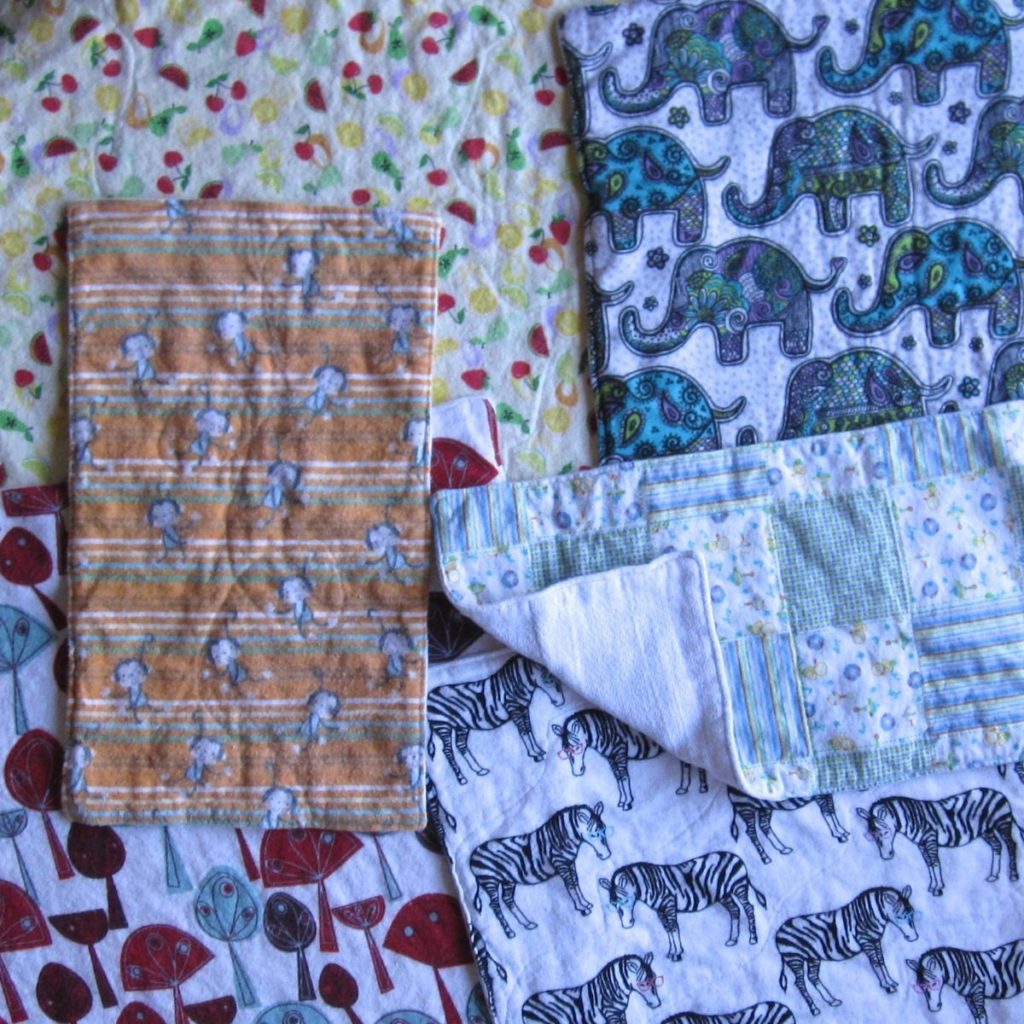
The first three burp cloths were large: fabric cut 16″x18″, sewn face down to a pair of diapers at 3/8″ (i.e., presser foot at the edge of the fabric but needle ticked over to the left) with an opening for turning, then diapers trimmed around the edge and the whole thing turned right-side-out. After a good press I topstitched around the edge and did a little quilting to keep the diapers from sagging on the flannel. For the mushroomy one and the elephants I outlined parts of the design, and for the fruit I made some jagged lines. I had a lot of trouble with catching strands of the diaper cloth and shoving them down into the bobbin housing instead of piercing them, even with a brand new fine needle. Fortunately nothing was ruined.

cloth diaper and flannel burp cloths

After I made those three I put one on my shoulder and found it was rather large for its use (though the parents to be are both taller than I am and might not find them quite as overlarge), so with the remaining four diapers I made smaller cloths. Two of them had shrunk enough in the wash that they didn’t have a 16″x18″ flat region anyway, so theirs would have had to be reduced. I ended up making two with fabric that was 9.5″x16″ (out of the two diapers that hadn’t shrunk as much) and one with 15″x15″ fabric (out of the smaller pair). Their quilting was simple: for the checkerboard one, a sort of zigzag the long way, outlining the boxes, for the zebras wavy diagonal lines, and for the monkeys a single continuous stitch line from top to bottom that looped around the monkeys nearest its path.

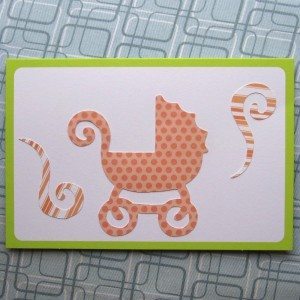
I tried one other new thing as well: making my own card. I have a Cricut die-cutting machine that mostly sits on a shelf, and it was time to start really using it. The card took an unreasonable length of time given its simplicity (three die cuts on a purchased blank card with a colored border), but most of it was set-up. I’m pretty happy with how it came out.
baby shower card

Alterations reminiscences

For two summers, full time before my senior year of college and half time after, I worked at an alterations shop. I learned a lot in general about clothing and construction and fitting, but there were a few specific things we did differently there than I’ve done in my sewing before and since. Every one of them improved efficiency in some way, but two are impractical now and two I simply don’t do any more. Let me tell you and you can see what you think.

Oh, and happy birthday to my mama!

sewing machine foot from Pixabay

1. Our sewing machines had two pedals: one knee and one foot. They were industrial machines that came this way, and I don’t know how easy it would be to retrofit a home sewing machine with such an apparatus, but one pedal lifted the presser foot and one ran the machine. To be honest I don’t remember which was which, but I assume the knee pedal ran the machine since that motion is much less fatiguing over the course of a day than working a foot pedal. Hands-free presser foot manipulation saves a lot of time over the course of a day.

mallet from Pixabay

2. We tenderized jeans. Hemming jeans even on an industrial machine presents its challenges, and we kept a mallet in the shop to flatten the seams before sewing. Nowadays I use a Jean-a-ma-jig (there’s a similar tool called a Hump Jumper), which works well, if slowly.

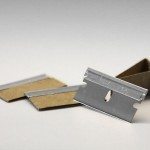
3. We used razor blades instead of seam rippers. They are WAY quicker. You want to make sure you have a sharp one so that it cuts threads without much pressure; that keeps you from accidentally slicing into the garment. razor blades from wikimedia commons Of course you have to use it in a particular way: by pulling the two pieces of fabric apart from each other and slicing the taut threads between. For removing, say, topstitching, a seam ripper is probably still better. You do end up with a lot of loose threads, but they may not matter if the fabric is to be trimmed, and otherwise you can try the lint roller trick (not something we did in the alteration shop. I honestly can’t remember how we dealt with threads).

iron from Pixabay

4. My favorite trick and one I will implement if I ever have a sewing space suited to it (and use my iron enough to warrant it): we had our iron cord hooked up high. I can’t remember whether it was the ceiling or high on the wall, but we had an extension cord, and from the iron the cord went upward before going through a hook and heading back down to the outlet. The cord never gets in the way or hung up on anything, or crumples your fabric by dragging against it. It’s a simple, brilliant move.


Attribution: Razor blade picture by Zephyris via Wikimedia Commons. All others via Pixabay.

Now I know where ecru comes from

My purse is dying and I want the next one to be hands-free, but I haven’t come up with a practical hip bag yet. That leaves a cross-body bag, but those straps tend to cut into me in unappealing ways. Well, a piece of luggage led me to realize I could mitigate that problem with a really wide strap – two and a half inches or so. But how to have such a wide strap? Webbing that wide is hard to come by, especially in natural fibers, and I wanted to be able to dye it to match some fabric I picked up while shopping for my project bag materials.

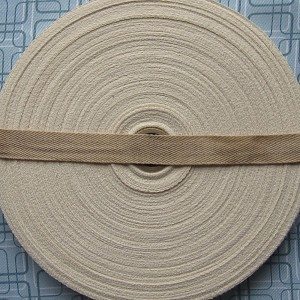
Well, I remembered the wide, flat braids taught on T.J. Potter’s site and found a source for cotton twill tape. I made some test braids with paper strips to check the result of braiding with various widths and ordered some 5/8″ tape. Since the purse probably won’t be laundered, I thought I could stain the strap with tea or coffee. Well, I did that, and here’s the result:

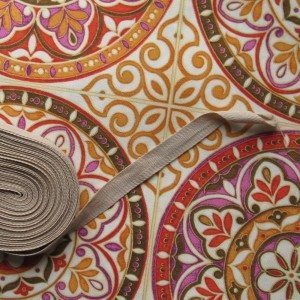
stained twill tape across original natural twill tape stained twill tape against fabric

(That is the stained twill tape in both photos – my white balance is clearly not consistent from photo to photo.) A very effective stain, but not at all an appropriate color. And o ecru, thou art perhaps the least flattering color for my skin tone. [Incidentally, I did this by putting the morning’s used coffee grounds and four Lipton tea bags into a big pot of water with the tape, bringing it to a boil on the stove, and then shutting off the heat and letting it sit until it was cool. I may have let it simmer a little while, but not long.]

So then it was time to bring in the RIT. Dark brown and lemon yellow, because that’s what I had. Close, but no banana.

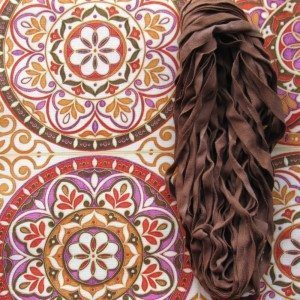
twill tape after one round of dyeing

Looking at it I thought I should probably add more yellow, but a little voice kept nagging me that it needed green. I thought that was maybe crazy and called on my artist in residence for a second opinion. He seconded the green idea, provided it was a dark green. Fortunately I had dark green RIT on the shelf already and could do another round of coloring.

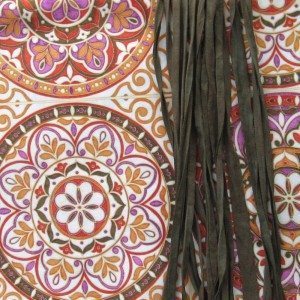
twill tape after two rounds of dyeing

So much better! Now to iron and braid it…