S(h)aving sweaters

A black sweater hung abandoned in my closet for a long, long time (two years? more?) because it was covered in white or off-white pills. It was such a mess that I didn’t want to look at it, much less be seen in public in it. During my wardrobe reset over the holidays I decided to finally fix it.

My first try was a safety razor, having repeatedly seen the “life hack” of using one to remove pills. It didn’t work at all. I then turned to my battery-operated sweater shaver, which works much better, but was going to take probably 8 AA batteries to finish the whole thing. After that realization I thought I’d better give the safety razor another try, and grabbed a different brand. That one worked like a charm!

I didn’t take a full “before” picture, but here’s the front cleared by battery and back half hand-shaved.
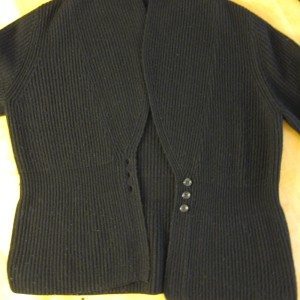
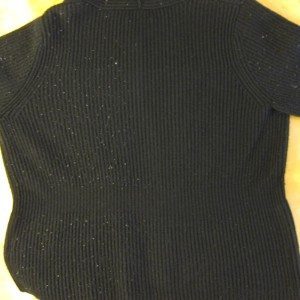
sweater front cleaned by electric pill remover half-shaved sweater back

Some consideration and the testing of yet a third brand of disposable razor has led me to conclude the key is widely-spaced blades. The original razor’s blades were very close together, which for hair is fine, but for large lint balls is not. Now, I did go through a couple of razors as well (my sweater is acrylic; as with all synthetics that probably contributed to speedier dulling of blades than a natural fiber would have), and a bunch of lint roller sheets, but it still seems more environmental than a bunch of batteries, and certainly was more economical.

Here’s a picture comparing the razor that did work to the razor that didn’t. You can hopefully see the difference in blade spacing.
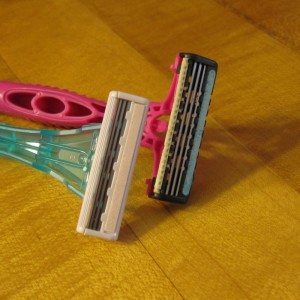
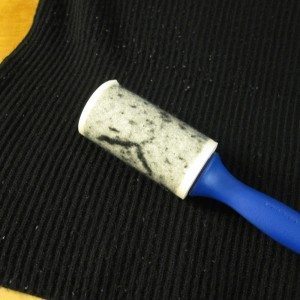
comparison of safety razor blade spacing lint roller in use for sweater cleaning

Some tips:

It doesn’t have to be expensive to have widely set blades. I started with some wide, three-bladed Schick product that probably was at the upper end of disposables, but ended with the narrower, two-bladed, and almost certainly much cheaper Bic Silky Touch. It worked just as well (given the limitations of size and number of blades).

You can reduce the quantity of lint roller sheets or lengths of masking tape you use by picking the large tumbleweeds of fluff off by hand. My picture above was before I thought of that.

Shave with the grain. That is, if your sweater has ridges, ribbing, or cables, shave along them rather than across them. You want the blades as smooth against the fabric as possible to avoid gouging the yarn and creating weak spots that could turn into holes. I made an exception to this for the fuzziest part of the sweater, the bottom of the inside back, where shaving with the ridges didn’t seem to accomplish anything.

Be patient, take breaks, and clean the fluff out of your razor regularly. If the razor just stops working even after cleaning, swap it out. It’s less waste than a sweater!
Other People’s Patterns

My Christmas sewing this year was almost entirely from existing free patterns. I can recommend them, and have a few notes to share.

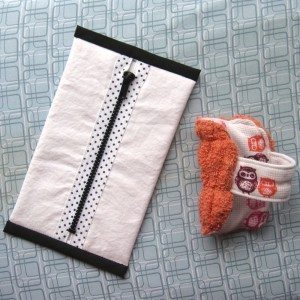
pencil pouch and spa scrubbie I made two pencil bags using a tutorial from craftlog.org, with some changes: I was using zippers with decorative tape, so I wanted them entirely on the outside, and I was limited to 7″ instead of 9″ length. I cut the fabrics (and lightweight interfacing because they were quilting cottons) 9″ by 11″ instead of 10″x12″ and sewed them down the 9″ sides, right sides together with interfacing on the wrong side of one, and with a half inch seam allowance. After pressing, I turned it right side out and pressed flat, with the lining fabric peeking just a tiny bit to the outside at each seam. The zipper took up the length of the seam – make sure you space the teeth a bit away from the fabric – and I ran two lines of topstitching down each tape. The second side is awkward, of course. From then on it’s just as in the original tutorial (well, without needing to trim the zipper tape), though you have to pin the open ends of the zipper tape close to each other on the backside of the pouch, and I attached my binding differently from hers. That’s a matter of taste and familiarity. I like to unfold the tape and line the smaller side up with the edge of the fabric, then stitch in the fold, and after wrapping the tape over the edge with the ends inside appropriately, stitch in the ditch on the front to secure the back of the binding.

The other item up there is a “spa scrubbie” from Flamingo Toes. I didn’t change the pattern at all, but doing the final topstitching I wish I would have hand-basted the turning opening closed first. I worried that pins would be bent in the sewing of it, but I wasn’t able to keep the edges lined up by hand and so had to go back and hand-sew afterward anyway. The terrycloth was a washcloth, which was just right size-wise (wide enough to gather up, long enough to trim off the smooth “stripes” parallel to one edge, but almost no other extra), and the other fabric was from a thermal shirt I couldn’t resist at the thrift store, but which turned out to be too small even to be a layering piece. Glad to put some of its cute owls to use.

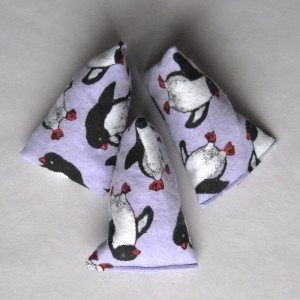
catnip pillow cat toys The Christmas sewing not from a pattern amounted to two other things. First, cat toys: pillows with strips of fabric and lots of fresh catnip from the bulk spice aisle of the local co-op, with the ends closed at 90 degrees to each other, so to speak. One end has the side seam in a crease, and the other has the side seam halfway between creases. I’m told they’re quite popular and the first one was soaking wet a few hours after the kitties were given it.

Finally, with no photo because it’s not mine to share, a friend asked me to make texting gloves for another friend. He had wonderful lined leather gloves and conductive thread from Chica and Jo, and asked me to stitch the Triforce on the index fingers and thumbs. Turns out the Triforce is a terrific motif because it splits out into three regions that are relatively small, which gives you accuracy plus different spots to use for tapping versus pinching. I didn’t worry about making the interior of the stitching “messy” (as you’ll see in various tutorials) – when outlining the large triangle I stitched all the way across on the inside, but due to the fuzzy lining it wasn’t terribly noticeable. When we tested, though, that was ample contact to trigger the screen. Two tools were indispensable for the process: a large marker to act as a “darning egg,” keeping me from sewing through the lining of the opposite side of the finger, and a needle puller (small flower-shaped piece of rubber, like a jar opener), which I used to protect my finger when pushing and to grab the needle for pulling. Nice leather is both tough and grabby.

When next we meet it will be 2015! Enjoy your New Year’s Eve!

Fabric topped towels

The Sew-op is having another sale today, and since the items I made last year didn’t sell too well I’m making different ones. Well, not entirely – I’m supplementing the leftover crinkle squares with a few new ones to freshen the inventory – but no new coasters or drawstring bags. Instead, I received tea towels from another Sew-operator’s late grandmother and topped them with hangers so they can be attached to stove or refrigerator handles. Some hangers were crocheted and some sewn; I’ll show you the sewn ones today and the crocheted ones Monday.

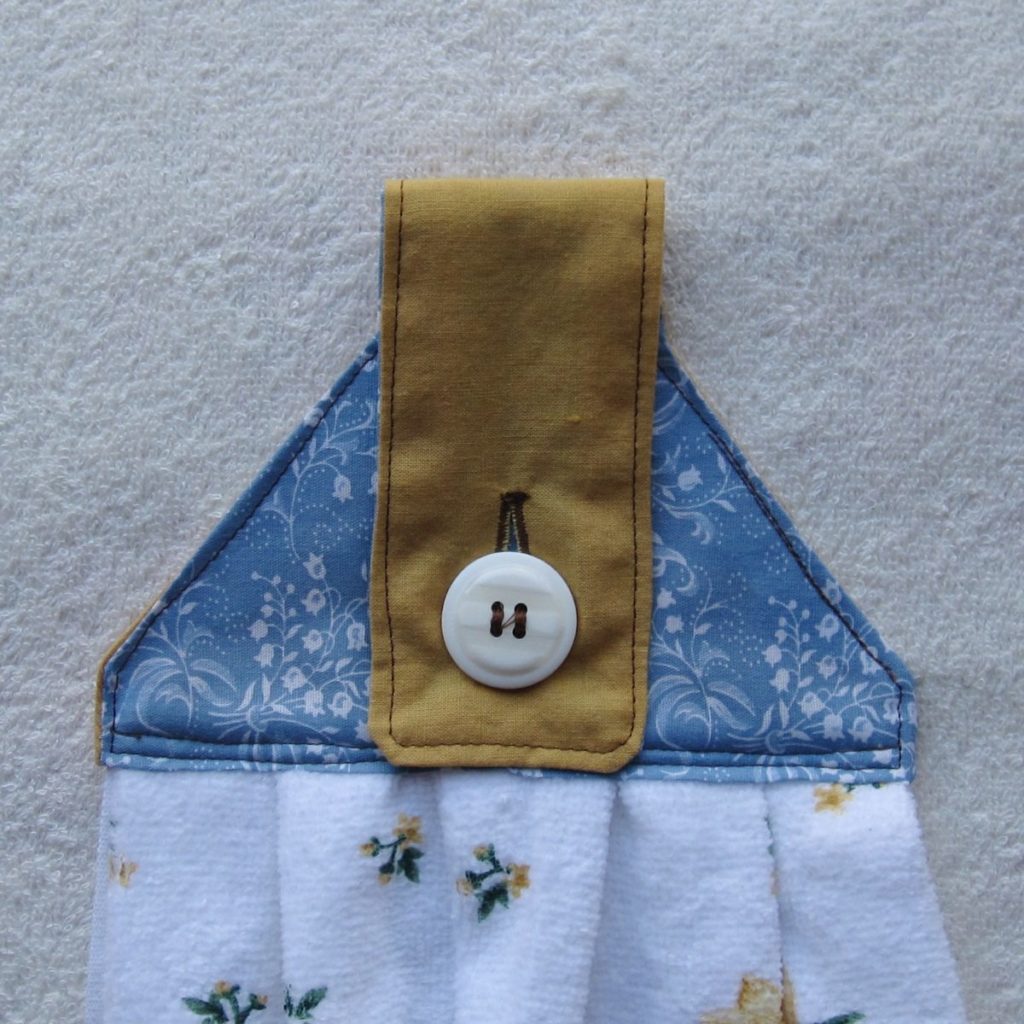
fabric towel topper, finished and buttoned

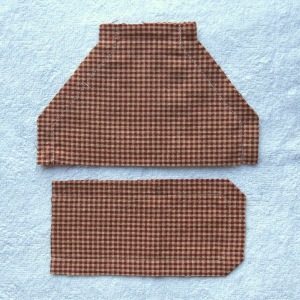
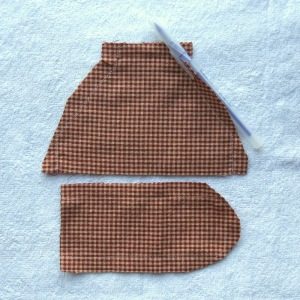
The towels are standard kitchen towels cut in half and zigzagged across the cut edge. Sort of following this tutorial, I topped them with a trapezoidal-ish part ending in a strip that folds over and buttons down. For some reason I thought it would be easier to make my own pattern than to go to the basement and print hers, so I’ll give you measurements.

sewn towel tops part 1 sewn towel tops part 2

Continue reading Fabric topped towels