Excessive adornment

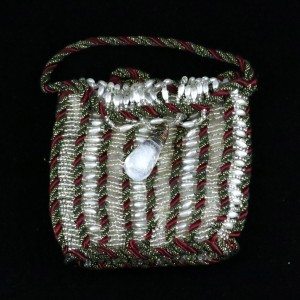
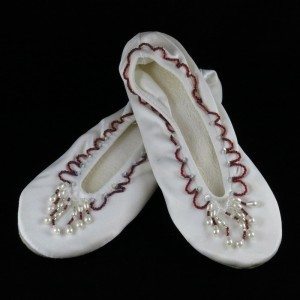
If you’ve ever thought I go over the top with my projects, you should have met me in college. I present as evidence the set of beaded accessories I made for a college dance in February of 1998. This dance was a traditional event at which the third-year women wore white, and I decided to accent with gold and deep red. I had a dark red capelet with my dress, which gave me a bit of a Little Red Riding Hood look, and a little beaded bag. I went all-out with jewelry, making a necklace, earrings, bracelet, and anklet, and beading my white Isotoner slippers. If instead of slippers I’d had furry boots, and a heavy cloak on top of it all, I could have fulfilled all my Snow Queen fantasies!
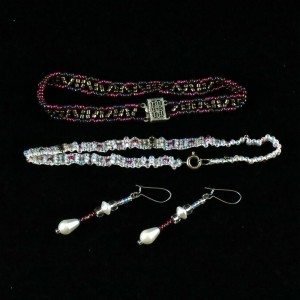
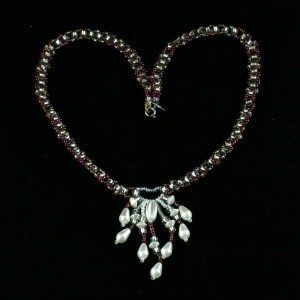
dance jewelry dance necklace

dance purse dance shoes

At the time I was interested in bead weaving, and the necklace, bracelet, and anklet are all more or less woven. The bag is sewn, but with a woven look, short spans of beads connecting zigzags of decorative cord to make a flat face. I lined it with leftover fabric from my dress (of course I made the dress).

My style nowadays is more reserved, even for dressy occasions, though the saying “once a costumer, always a costumer” certainly still applies. Have you even gone over the top decking yourself out?
FYDP Roundup 3

Only one item finished this week. I’m busy with non-craft work, but also, while I may yet dismantle more projects, the obvious abandonments are done now. No project is finished more quickly than the one you just take apart!

  • Diagrams and wire gauge added to beaded bobby pins post so it could finally go up. According to WordPress I began that blog post ten months ago.

Totals:

  1. Mending: 2
  2. Non-mend sewing: 2
  3. Elimination: 7
  4. Website updates: 3

Beaded Bobby Pins

The last in the series of beading patterns from my distant past.

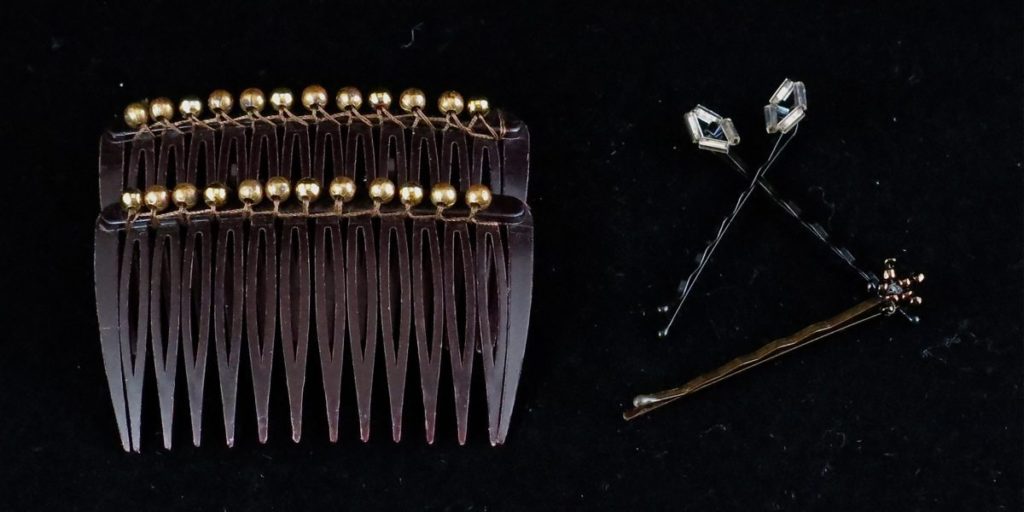
combs and bobby pins

For a while I had a haircut that looked good with bobby pins, and I started collecting interesting pins to wear. It didn’t take long to start coming up with my own. For each pin you need an 8-10″ length of 32-gauge wire (less if you are skilled at working with wire; they don’t take nearly that much, it’s just hard to manipulate much less), a bobby pin, and epoxy. Gorilla glue or similar should work in place of epoxy, although be careful not to use much since it expands as it sets.

For the 5-point star: 10 small seed beads.
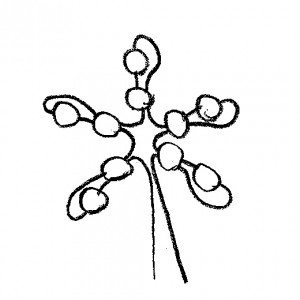
Make a bend in the wire about 1.5″ in from the end. String a bead onto that bend and take both ends of the wire through a second bead. *String two beads onto the longer end and take the wire back through the first of the two* four times for a total of 5 points (see diagram below left). Twist wire ends together. Wire to bobby pin, trim ends, secure with epoxy.

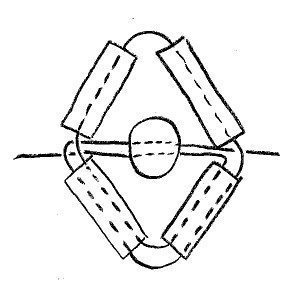
star beading diagram diamond beading diagram

For the diamond: 4 bugle beads, 1 large rocaille.
String 4 bugles on wire and loop one end back through the farthest 2 bugles to form a closed diamond with the wire ends sticking out at opposite points. Pull taut and pass the wire ends through the rocaille from opposite directions (see diagram above right). Wire to bobby pin, trim ends, and secure with epoxy.

With the bobby pins in the photo are two beaded combs; at times my hair is a good length for those. I didn’t wrap the thread in the same way on each, but on both each bead is secured by two separate stitches.