Sculpture class final report

Guess what I forgot to do yesterday?
Well, better late than never. To call this the final report is slightly misleading since the piece has yet to dry and will hopefully subsequently be glazed and fired, but the class is over.

Recall that in the first class we made a lot of little pieces – or at least I made a lot of little pieces. At least one of my classmates came in knowing exactly what she wanted to do, and so she made a small model, a maquette, just to figure out the particulars. I came into the second class still not sure what I wanted to do for my larger piece, but with roosters on the brain. I spent the beginning of that class making a new maquette.
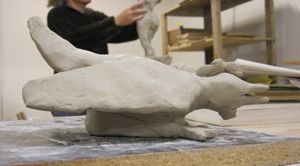
bird

The instructor helped me build an armature of PVC pipe in a T shape, which was excellent for support but did make the crouching position basically impossible – the body really had to be completely horizontal. Oh well, working within constraints is often more interesting than working without them. The first night’s work produced this:
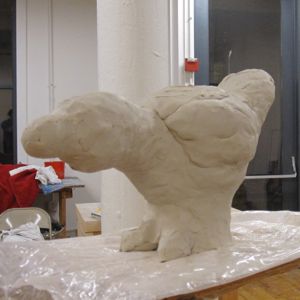
night 1

The next week when I arrived I was not very pleased with my work in progress. Lengthening the beak made an enormous difference in my opinion, all by itself. After I did a little work on it, the instructor helped me take the armature out, but we found the clay inside was too sloppy still for hollowing the bird and expecting it not to collapse. Removing the armature required cutting the bird in half chin to tail and then stitching it back together again. Since the clay was still fairly soft, we had to support the bird’s head. Here’s the end of two nights’ work:
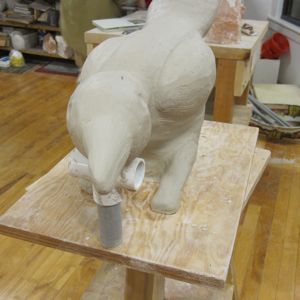
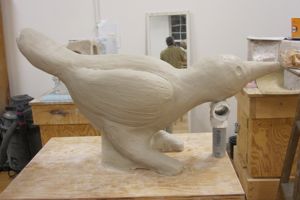
day 2 view a day 2 view b

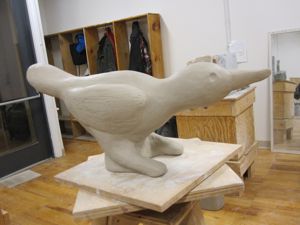
The fourth and final night of class, my third night of work on the bird, he had to be sliced in half again to make room to scoop out a lot of the interior clay. The thicker the clay, the longer it takes to dry and the more likely it is to dry unevenly. Again we violently slashed back and forth across the cut line to make sure the clay was thoroughly stitched together so it wouldn’t crack in the kiln later. I then did the final detailing, filled in low spots, and smoothed over rough patches with the newly available clay. I’ll go back with a piece of sandpaper and some other things probably a week from tomorrow and see if it’s dry enough yet to really smooth the surface.
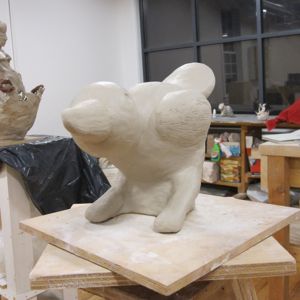
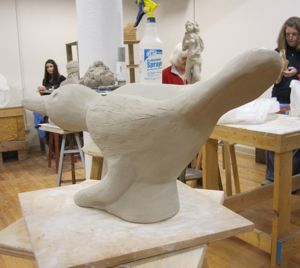
final view a final view b final view c

Dry time is probably a good six weeks, but hopefully I will have a third post about glazing and firing this beastie!
Trio of bookmarks

Craft Countdown #5 was bookmarks. A few years ago I bought a pack of plain bookmark-sized cardstock to make bookmarks for friends as Christmas gifts. That was still bumming around my stash so I thought for variety in the Countdown I would make some bookmarks.

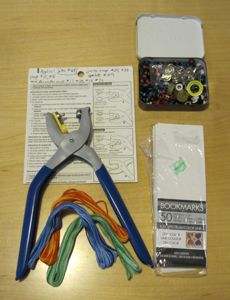
some stuff

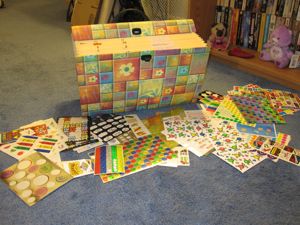
It helps in endeavors like this to have an obscenely large sticker collection.

o the humanity

To be fair, that file also holds greeting cards.

Unfortunately, the eyelets I bought in the scrapbooking section of a store were incompatible with the pliers I bought in the sewing section of the same store! I had to shimmy a few smashed eyelets off the pin of the pliers with another pair of pliers before I gave up. And now I should sort them out of my bin of eyelets so I don’t have this experience again.

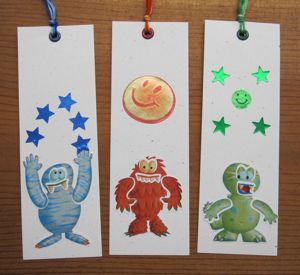
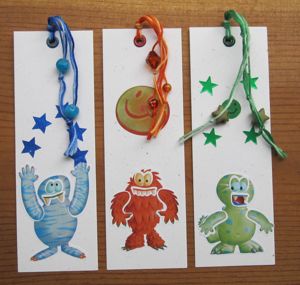
But without further ado, the finished bookmarks:

without tassel with tassel

And, a Happy Birthday to my Aunt Liz!

Paint card notepads

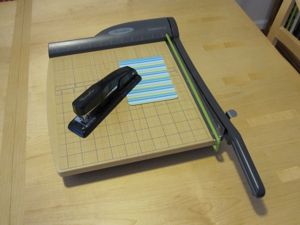
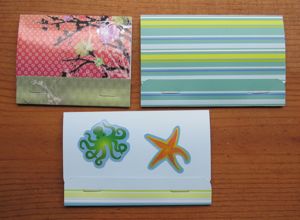
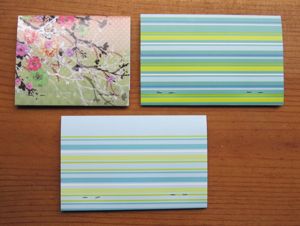
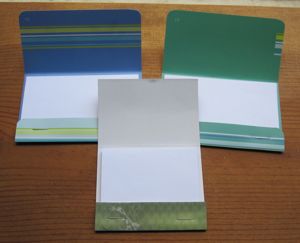
Onward to Craft Countdown #4. I’ve been enamored of this idea since I found the tutorial for it on Whimsy Love a long time ago. The idea is to make little matchbook-like notepads out of paint color cards. My paint cards were all boring colors I’d actually considered using for decor, so I used different heavy paper instead: two cards from the Pilates Body Kit (not ones with exercises on them) and one former notebook cover. You need some things:

materials

The paper trimmer isn’t essential, but it would not have been possible for me to do this as one of my ten-by-midnight crafts without it. The sturdy stapler is definitely a must. I trimmed the notebook cover to remove a strip of black material that had formed the spine, and the opposite side to eliminate the rounded corners so it would be symmetric. To fold the covers, I scored the paper with a mechanical pencil – with the lead out on the bottom (3/4″) fold, and with the lead retracted to fold the top down. As recommended, I used 20 sheets of paper per notepad, cut 1/4″ smaller than the covers in each direction, and centered. That was about right – too much more and stapling would have been very difficult.

I didn’t worry much about getting my staples symmetric, but I definitely felt two would be necessary for notepads this size. Since the one notepad had a large stretch of plain blue, I applied some additional decoration.

front view back view

looking inside