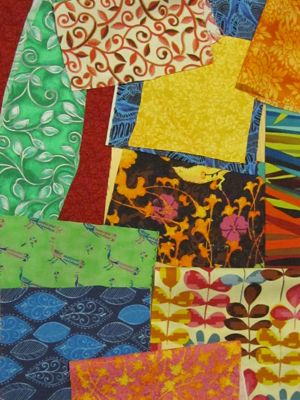
I have eight fabrics in addition to the two I did in time for the Feeling Stitchy August stitchalong deadline, so we’ll have four this week and four in two weeks; in three weeks I’ll show you the finished quilt.
This week’s installment of the embroidery sampler covers running stitch, backstitch, and variations thereon. These stitches somewhat unnecessarily take up two panels of the embroidery sampler.
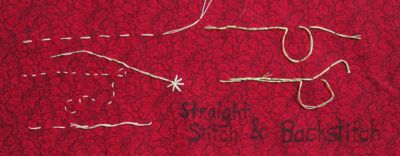
Properly speaking, straight stitch is an isolated stitch. Anything that involves only bringing the thread up at one point and taking it back down at a nearby point, far enough to make a dash. When you do this repeatedly at regular intervals, it is called running stitch. Running stitch looks the same on the front and the back, although offset by one stitch length. The back is shown mostly to give you an idea of securing the loose end of the thread.


Backstitch is slightly more complicated, but not too much so. In backstitch the stitches are worked in the opposite direction from the one in which the line grows: stitching right-handed, the line grows to the left, but the stitches are laid down left to right. The opposite is true when stitching left-handed (though again, take this with a grain of salt, since I make my stitches any which way – I think it is easier to put the needle through pointing from your working hand toward your nonworking hand). Come up through the fabric, back up one stitch length, put the needle through to the back and bring it up to the front two stitch lengths away.

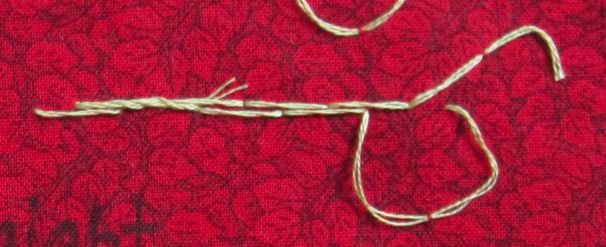
The back side of the fabric has stitches twice as long as the front, doubled but offset. Working backstitch “upside-down” and carefully you get stem stitch. Here, the stitches are twice as long on the front as on the back. What makes this different from backstitch worked on the wrong side of the fabric is that the overlap keeps the new stitch on the same side of the old stitch. Some sources will say it is stem stitch if each new stitch is above the previous and outline stitch if it is below but I can’t imagine that mattering to anyone who wasn’t competing in some esoteric embroidery knowledge contest. These stitches are laid down in the same direction as the growth of the line (as the stitches on the wrong side of the fabric in backstitch are).
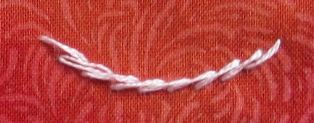
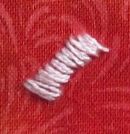
When the stitches become very slanted and overlap more and more, it becomes encroaching stem stitch and finally satin stitch, as on the right above, used to fill areas in embroidered images.
Split stitch is a relative of stem stitch where the overlap of stitches is very short, and the new stitch does not lie above or below the old, but instead comes up through it. Since I was working with two strands of embroidery floss I just came up between them. You make a stitch, backtrack just a little, come up through the old stitch, and repeat.

Holbein stitch is what you get when you double running stitch, offset so they form a continuous line.
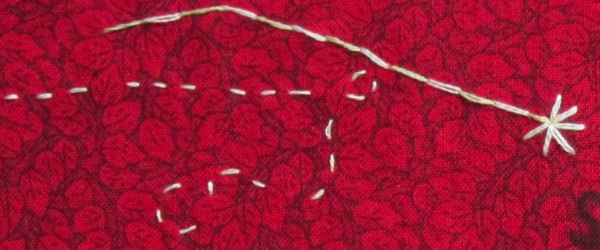
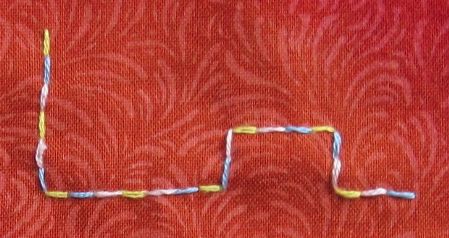
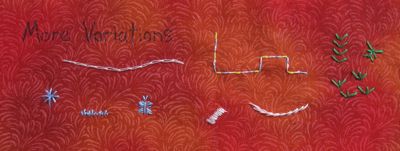
The first picture also has an example of running stitch worked at irregular intervals, and straight stitch used to make a star. The second example uses three different running stitches, a variation on Holbein.
Finally, back to straight stitch proper, as it is the best stitch for drawing. The embroideries for my children’s book quilt use straight stitch as the primary stitch.
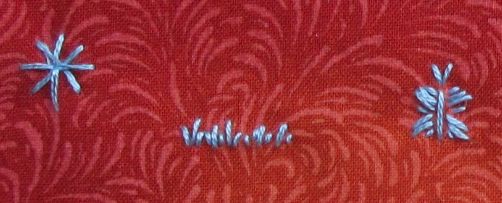
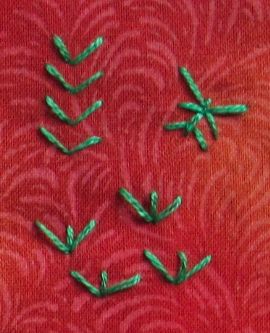
Somewhat unnecessarily, the green V stitches and the green 3-line stitches have names: arrowhead stitch and fern stitch, respectively. The others are just freehand, doodling with stitches.
Feeling Stitchy hosts a stitchalong each month, with different themes. Often it’s a pattern that everyone embroiders in their own way. This month it was about embellishing printed fabric with embroidery. That’s something I’d been wanting to try for a while, so I went to Jo-Ann’s and looked at the fat quarters, picked out a black and white piece on which to embroider colored details, and went to work.
…except that project seemed insurmountably big and didn’t really hold my attention. I had given up hope on participating in the stitchalong until this weekend, when I was pondering the upcoming employee art fair at work. I would like to submit something, but the deadline is a week from today and has to include a photo of the piece. With nothing begun nine days before the deadline, what could I possibly accomplish?
Answer: a small art quilt. By small, I mean six inches square. The thoughts flowed while I ironed prewashed remnants Saturday morning, and while the original idea I pulled fabric for was not the one I settled on, I was decided by that afternoon.
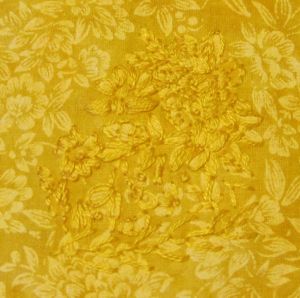
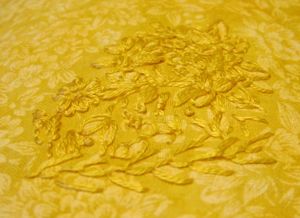
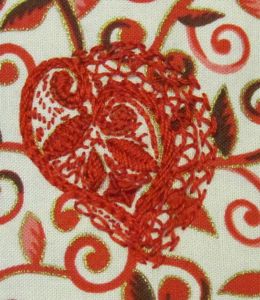
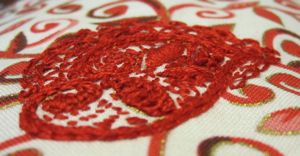
Of course stitching didn’t start until Sunday afternoon. It was a perfect Irene-rain activity. The quilt isn’t done, of course, but here are the first two bits of embroidery.
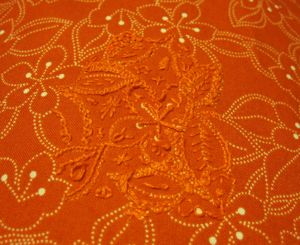
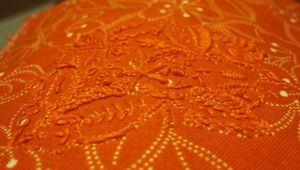
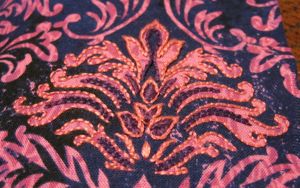
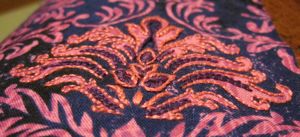
I started with a fun tropical orange fabric with dotted-line drawings and just stitched along the lines and doodled in the open spaces. Next I chose a classic pink and indigo fabric and embossed its design.
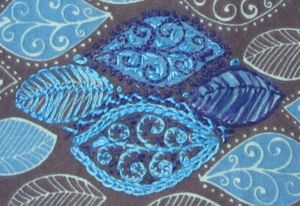
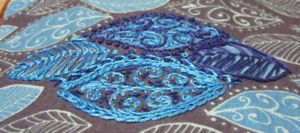
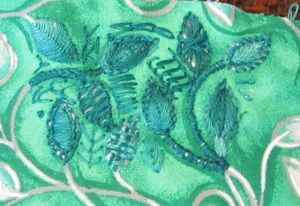
The quilt is likely to include bits from the following fabrics as well:
