Mystery afghan final thoughts (and pictures)

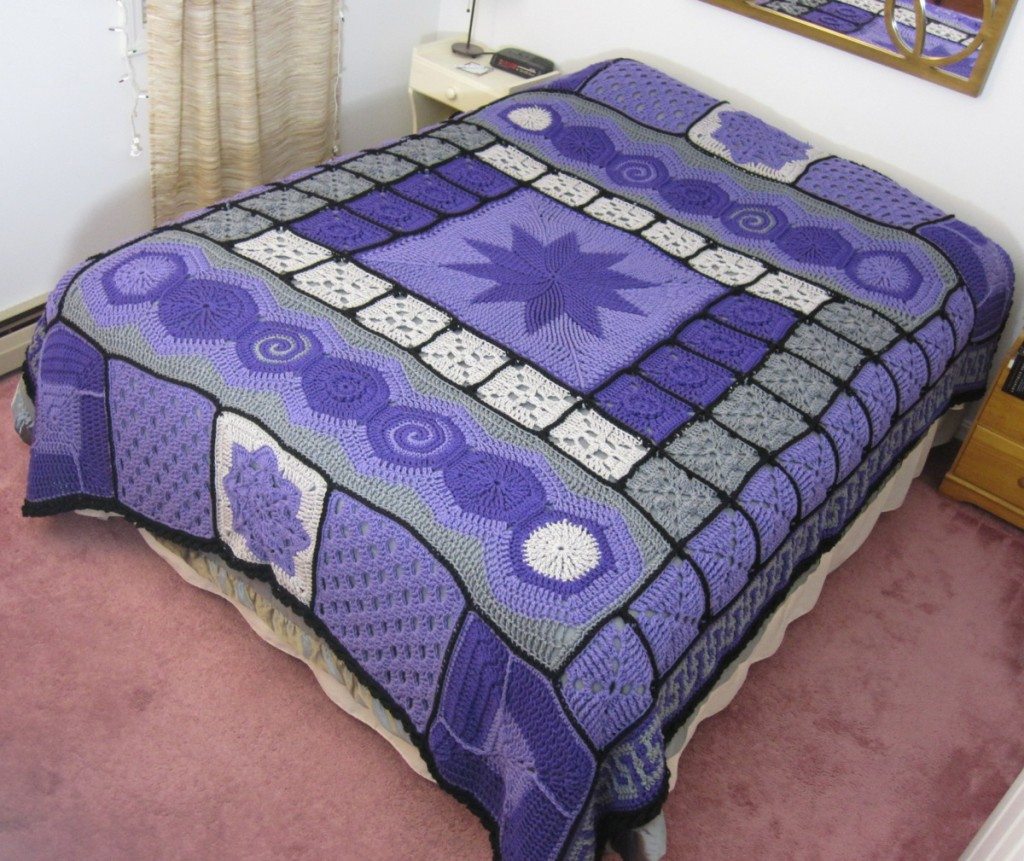
The afghan is washed, all loose ends are trimmed, there’s a gray duvet on the bed (thanks, Mom!) and the afghan is on top! And it only took almost two months. With much contortion to get this photographed in our tiny bedroom, here it is in situ.

finished mysteryghan on bed

And some thoughts….
I have no idea how to make the fuzzy tips of the yarn disappear. In amigurumi, you just hide them inside a stuffed part of the piece. Here, no matter how good my weaving job (and I can’t say it’s that good) I can’t seem to hide the very ends of the yarn.

I’m very pleased with the look and structure of my join. It lends the piece such interest.

I like the feel of Red Heart With Love much better than Classic – some of the Classic was almost crunchy off the skein – but it was unexpectedly difficult to find two coordinating shades of gray. After washing, it’s better, but still clearly not as soft.

I’m in no hurry to make another item this large!

So you can see all of it, I undertook some additional contortions to spread it out on the floor. It doesn’t really fit but you can see it pretty well anyway.
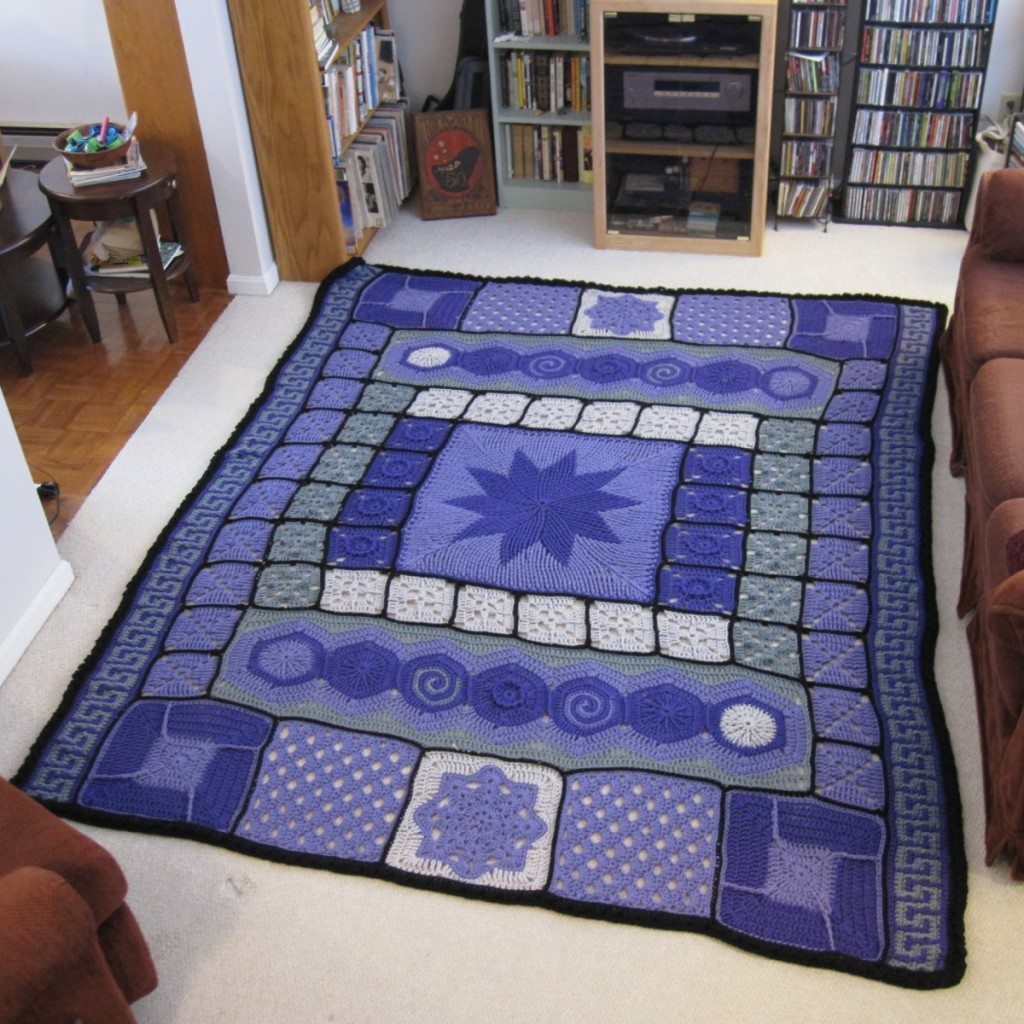
finished mysteryghan laid out in the living room

Miscellaneous March 2

Continued from yesterday

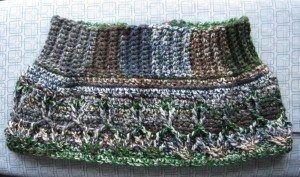
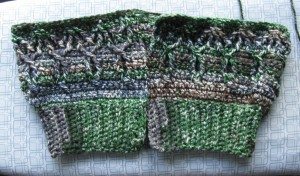
Third! I worked on a shoulder wrap, but this one I actually unraveled. It still has a project page on Ravelry (again, Rav account required for that – at least I’m pretty sure), but the short version is gauge problems. According to my gauge swatch the wrap should have been huge (couldn’t go smaller without making the fabric stiff), but when I actually made it the only thing that was bigger than it ought to be was the neckline ribbing, and that only widthwise. In every other direction it was too small (well, the length would have been fine I think), and I also wasn’t so keen on the way the yarn variegation was playing with the cabling.

frogged shoulder wrap, back frogged shoulder wrap, front

You see, on the Premier Yarns website, the picture for this colorway is green and white with a little bit of brown – there is not a trace of blue or gray to be seen. It was quite a surprise when the yarn arrived! I still like it, but it detracts from the visual unity of the cables. I’ll use this yarn for something else and make the shoulder wrap with more solid colored yarn.

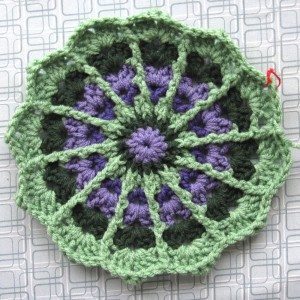
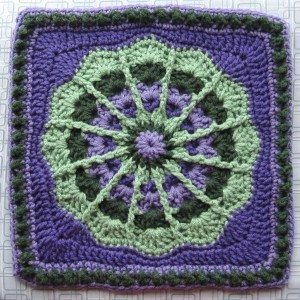
Let’s finish up with another successful project, albeit one that was arguably even more purposeless than the tooth: an afghan square. Julie Yeager – who designed the mysteryghan – ran a free, short mystery crochet-along, and I thought “why not?” Here’s the square, called Fantastic:

afghan square Fantastic, five of 7 clues completed afghan square Fantastic, finished

I used some leftover mysteryghan yarn and some greens from my stash.

Miscellaneous March 1

I did a few projects in March that didn’t merit a post, but for which I have some photos to show. There ended up being 4 so I’ve split them up into two posts. Let’s start with the one that definitely worked out: a tooth!

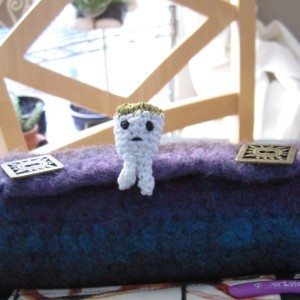
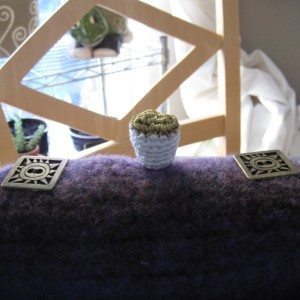
embroidery floss amigurumi tooth from front embroidery floss amigurumi tooth from back

Ages ago I asked on the ReveDreams Facebook page for items I could crochet out of embroidery floss, and my aunt suggested a tooth. There it is at long last. It has only two roots mostly because it’s a pain to work that small, with the reverse-engineered rationale that this way, it can sit on the edge of something.

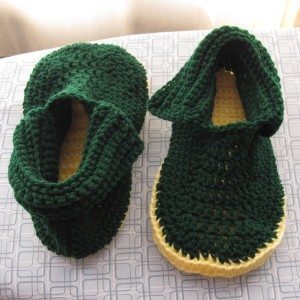
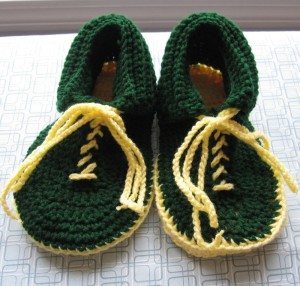
Second, one that I completed but that really didn’t work out so well: a pair of slippers. If you have a Ravelry account you can see more of the saga on my project page for these, but long story short, after a good deal of effort to resize these, they are a bit loose and not at all the same size as each other. Crochet chain shoelaces mitigate the problem but don’t quite fix it.

finished slippers, unlaced finished slippers with laces

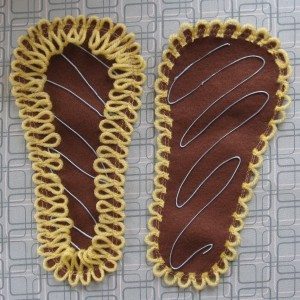
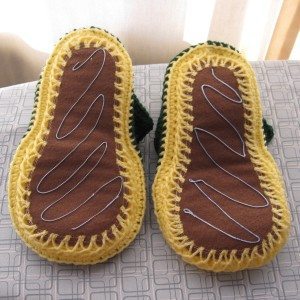
One thing I would consider doing again, though, is adding loops of yarn to the perimeter of a felt sole for ease of sewing it to the bottom of crochet slippers. That way I could use a blunt needle, and should the sole wear out it will be easier to remove and replace than it would be if I’d used a sharp needle to sew it directly on. That’s 3D fabric paint on the bottom, my attempt to add traction. It works better than I expected but we’ll see how well it lasts (likewise the loops of yarn, some of which appear to be pulling out already).

slipper soles showing yarn on edge slipper soles, sewn onto slippers

Bis morgens!