Multiplicity

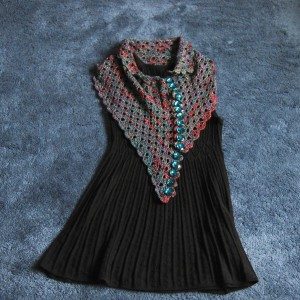
I’ve developed a taste for shawls and scarves to just wear around in the winter, not necessarily with a coat. I’ve also realized I like them better than jewelry to add interest to a plain dress, on the rare occasions that I wear a dress. Somehow I learned about Make My Day Creative’s Multiplicity Buttoned Shawl, a free crochet pattern for a trapezoidal fan stitch shawl that buttons along the non-parallel edges. She called it Multiplicity because there are a lot of options for draping and buttoning it. I thought it would be a nice pattern to make a blingy version of, though that thought was probably helped by the fact that wool-free laceweight yarn is not common, and the kind I found that wouldn’t break the bank, by Premier, came in a self-striping sock version and a metallic-accented lace version. None of the sock colorways thrilled me, so Gypsy Bling it was. I found some buttons to match (though not until the shawl was stitched); they are much larger than the recommended 12mm. Button cameos by me and my avocado tree.
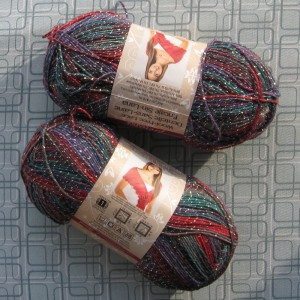
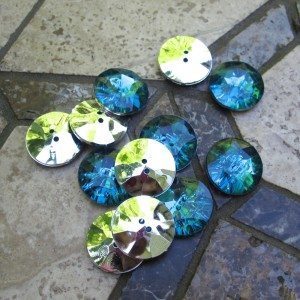
Gypsy Bling Wool-Free Lace yarn by Premier my shiny, shiny buttons

I’ve apparently never written here about my electric toothbrush sander, made from June Gilbank’s tutorial. I used it to take the little molding nub off the sides of the buttons, and it worked terrifically.

Anyway, I have postponed the final images long enough. The shawl itself:
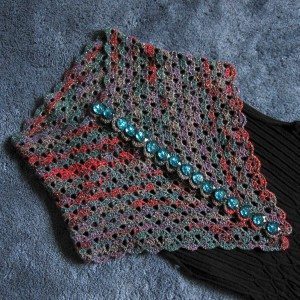
Multiplicity shawl, buttoned straight Multiplicity shawl, buttoned asymmetrically

A few more notes: I ended up with one fewer starting shell and one fewer row-pair than the original pattern; the latter was actually great because it meant I needed 16 of my four-to-a-card buttons instead of 17. I do wish I had a bit more length – my shoulders are broader than average and my options for ways to wear this are somewhat restricted.

I had a hell of a time rewinding the yarn for use. It did not particularly want to unwind from the outside, but I couldn’t get it to pull from the inside. So I went back to the outside, but the first skein sort of exploded, and even with my loving husband’s help, getting it untangled took hours of work and split it into four pieces. I was smarter about the second skein and worked from the outside entirely, but even so it took an hour and a half to get it usable.

Finally, although synthetic fibers don’t really block, I did sort of block it. I machine washed it in a fine mesh bag, laid it out longways over my collapsible wooden drying rack, and clipped clothespins all around it. Every shell on the ends, and every four or five shells on the sides, with a second pin crosswise to the first for weight along the sides and a few extra pins clipped onto existing pins on the ends. It looked hilarious but worked pretty well. Should have gotten a photo!
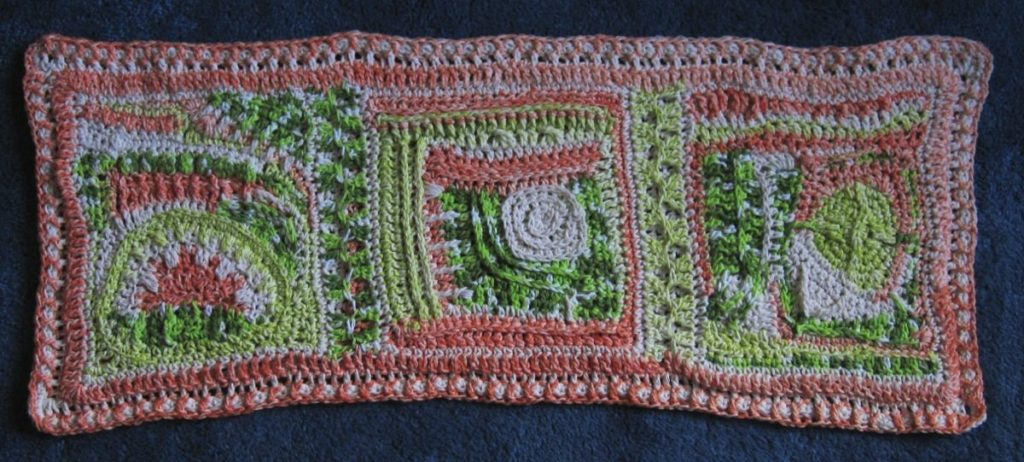
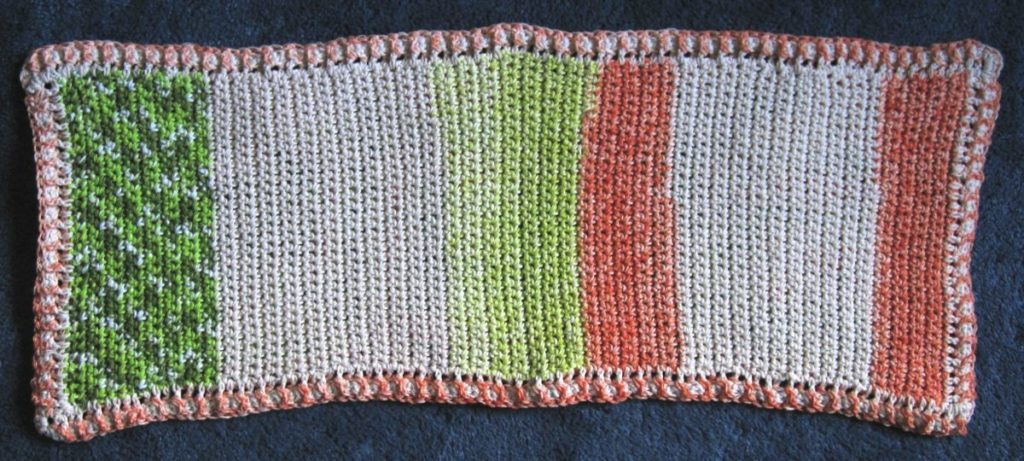
Finished Bathmat

The triptych has been joined and bordered!

bathmat - front

After edging each piece with single crochet, I discovered my eyeballing skills are pretty good – the long side stitch counts were all within 2 of each other. I was able to order the panels so that the paired edges were only 1 stitch off, and then put them back to back and joined with a pattern I invented (but am probably not the first to do so): join yarn in rightmost corner of front panel (left if you are lefty) and ch 2; dc dec in same and next st. Then: *2 dc dec in rear panel, 2 dc dec in front panel* across, with no stitches skipped. My long side was 28 stitches, divisible by 4, so I ended with another solo dc dec. To make up the stitch difference, in the middle of the short side I replaced one dc dec with a dc.

bathmat - back

I did one round of dc all around the joined panels, which required starting a new orange skein, and then made a back layer for the mat with single crochet. I used up the rest of the green and cream skeins and started a new skein of cream. Both the cream and the orange were nearly all used up by the final border: dc in cream to join the layers, separate lines along the short sides and then the long sides, and then a round of sc in cream; finally, alternating front post and back post double crochet in orange, made around the cream dcs, with slip stitch to round the corners.

It’s pretty cushy.

Freeform Cotton Triptych

We need a new bathmat. I threw out the purchased one because it was dirty and unwashable, and now we’re using a terrycloth one I made for my husband in his previous apartment – which had a tiny bathroom, and hence the bathmat is tiny. Of course I long ago planned to make a new bathmat. Where do we stand now?

crocheted cotton panels for bath mat

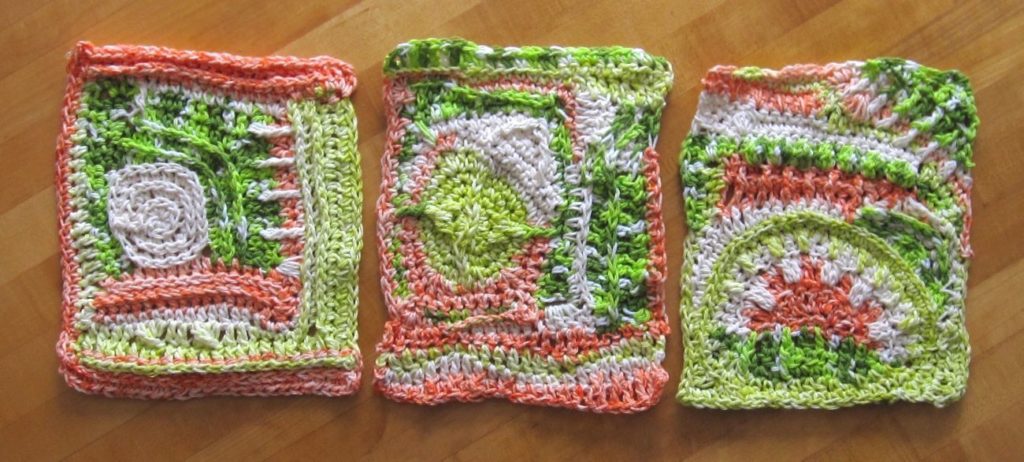
(No pun intended.) Three crocheted panels out of cotton yarn, to be joined with broad strips into a large rectangle, backed with another layer for thickness, and bordered all around to finish. They are in order of creation, left to right.

I had a few ideas that would have made a patterned mat, stripes and ridges and so forth, but when I tried them out I didn’t really care for them. Then I made the little cream-colored square with the spiral ridge, and thought, why not freeform?

I’m not sure I’d really done any freeform crochet before this. It was an interesting challenge. My thought with the first panel was to add L-shaped regions around the starting square until it became whole-bath-mat-sized, but that became boring and I struck out in a new direction for fun. With the later panels the challenge was thinking of things to do that were different. When truly stuck I would try to come up with the most disruptive thing I could do, in terms of the flow of stitching. Then trying to smooth things out again would prompt creative crochet.

Oh, and incidentally, I way overbought for this project. I looked at bathmat patterns on Ravelry to see how much yarn they typically used, and ended up purchasing 5 skeins of the cream and 3 of each of the three other colors. The three panels pictured took far less than a single skein of each!