Cozy cables

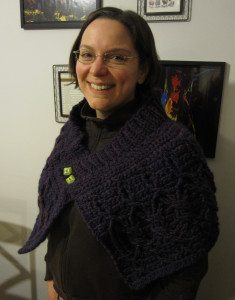
I have a lovely new cabled shoulder wrap. This is a pattern I attempted last spring, but unraveled because of major sizing problems and dissatisfaction with the yarn I was using. It worked better this time around.

photo of me wearing the finished cabled wrap

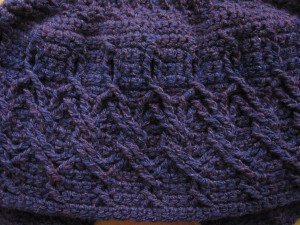
The cable pattern is just beautiful. It looked questionable at various points along the way but always worked itself out in subsequent rows. Following my notes from last time, I used a J hook (6mm) and made the XL size with the S/M ribbing width. I might have been able to make the L, because under its considerable weight it wanted to slouch off my shoulders. I made two fixes to that.

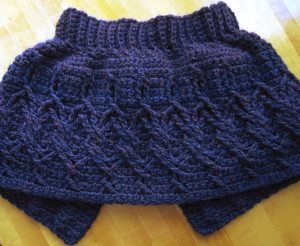
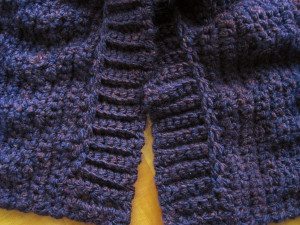
photo of finished wrap from back photo of cabled wrap, close up

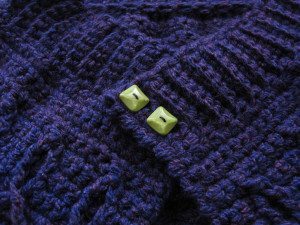
One was to make the ends meet at 90 degrees instead of head on, by placing the buttons parallel to the base of the ribbing instead of parallel to the front edge. That wasn’t enough, so I also slip-stitched from rib to rib on the inside, near the base of the ribbing, to reduce the stretch. That worked perfectly and also made the ribbing stand like an evil Disney queen’s collar, which was a pleasant side effect.

photo of cable wrap buttons close-up photo of slip stitch size adjustment

My buttons were marked 1″ and are chunky. I may need to reinforce the buttonholes to keep them from wanting to slip out, but they work pretty well. I like that they look like fancy dice.

Red and purple are hard to photograph…

Recent Winterwear

Early this fall I decided to downsize my yarn stash by taking the fuzzy wooly yarn and stitching it up into assorted winter accessories: cowls, scarves, hats, and headbands. I’ve used it all up! Here are a few of the items I made.

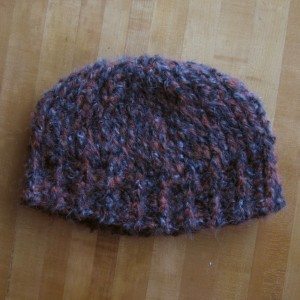
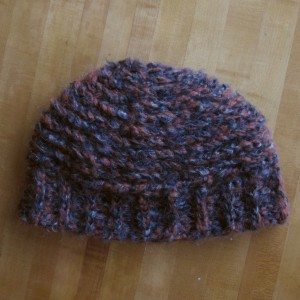
I love to make hats bottom-up. You can judge size more easily, and the work gets quicker as you go along. The hat pictured below, shown both ways out, was made with two strands held together and probably a K/6.5mm hook.

front post double crochet had, posts out front post double crochet hat, ribs out

I started with hdc worked in rows, each stitch made into the back loop of the previous row’s stitch (the one that makes hdc’s faux teardrop on the back). That gives a sort of ribbing. After slip-stitching that together I used fpdc, starting with the round that was on the sides of the ring of ribbing. That gives the interior the horizontal ribbing you can see in the second picture above. It’s possible it would be warmer worn that direction since the fpdc posts would be compressed together more, but I prefer the look of the post “cables.”

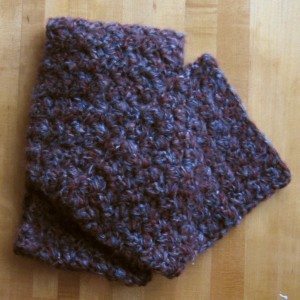
The first image below is of a scarf I made using simplified star stitch, which combined with the yarn choice gives it a cobblestone-y look. I used similar yarns as for the hat, but an N/9mm hook.

cobblestone crochet scarf (simplified star stitch) crochet mobius wrap

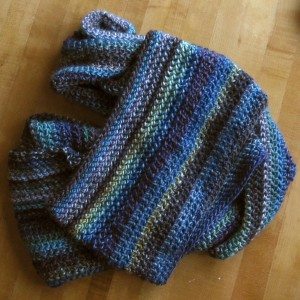
Finally we have a piece that was supposed to be for me despite its wool content. I made a Mobius strip using knotted stitch, out of four skeins of variegated, almost metallic yarn. I wanted it to be an upper-torso wrap that would wind over each shoulder and under each arm, crossing in front and passing smoothly across my back in two horizontal lines, but there were two problems: A) that really needed to have a full turn inserted when closing the strip into a loop, not a Mobius half-turn, and B) it was way too big around. It hung like a double bandolier. Since I can’t wear it as a scarf, hanging around my neck, it’s getting donated. Too bad because it’s far lovelier in person than in the photo – it was impressive how the skeins, each a different colorway, played so well together. Someone who can wear wool will have to love it instead.

PS As of today everything in the site is listed in the pattern and tutorial directory!

Crochet stitch sampler washrag

I’m teaching a crochet refresher class on Wednesday, and for it I designed a simple pattern that would allow us to practice the basic stitches without taking forever but while still making something. I thought I’d share the pattern in case you’re helping someone with crochet, or are just a fan of this type of pattern. It starts with a block made in the round so you don’t have to fiddle with a starting chain until you’re back in the rhythm a bit.
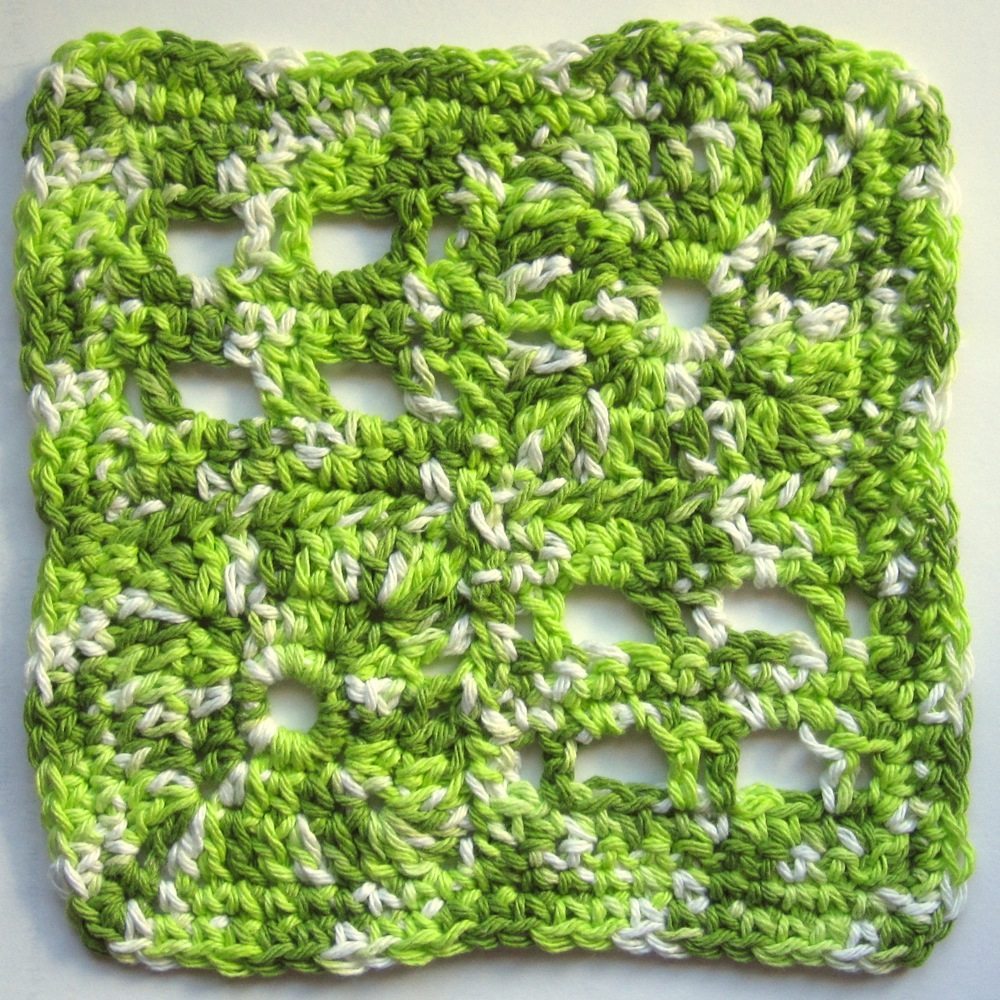
finished washrag sampler

Stitch Sampler Washrag Pattern

Use cotton worsted weight yarn and an H or larger hook (5mm).
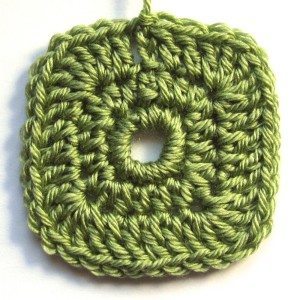
washrag sampler square 1: rounds

Square 1: rounds (make 2)

1. Ch 6 and sl st to form a ring.
2. Ch 1. Sc 12 into ring; sl st to 1st sc made (12 sts).
3. Ch 2. Hdc in same st as sl st. *Hdc 3 in next st, hdc, hdc* three times. Hdc 3 in next st, hdc, sl st to 1st hdc made (20 sts).
4. Ch 3. Dc in next st. *Dc 5 in next st, dc in each of next 4 sts* three times. Dc 5 in next st, dc, dc, sl st to top of ch-3 (36 sts).
Cut yarn, leaving a nice long tail to sew with, and pull cut end through last stitch. Weave in the starting tail.
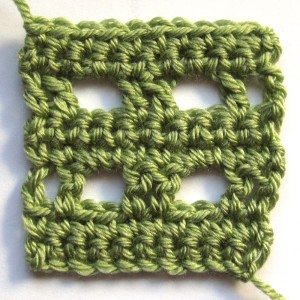
washrag sampler square 2: rows

Square 2: rows (make 2)

1. Ch 11. Starting in 2nd ch from hk, sc across (10 sts).
2. Ch 1, turn. Sc across (10 sts).
3. Ch 3, turn. Dc in next st. Ch 2 and sk 2 sts; dc in next 2 sts. Ch 2 and sk 2 sts; dc in last 2 sts (6 dc and 2 ch-2 sps).
4. Ch 1, turn. Sc in first 2 sts; sc 2 around ch. Sc in next 2 sts; sc 2 around ch. Sc in last 2 sts (10 sts).
5. Ch 1, turn. Sc across (10 sts).
6-8. Repeat rows 3-5.
Cut yarn, leaving a tail to sew with, and pull cut end through last stitch. Weave in the starting tail.

Sewing

Use the long tails to sew the squares together. To line them up, set each rows square with its last row/sewing tail at the top. Place a rounds square above each rows square with its tail off to the left. Match the near edges of the vertical pairs, placing the squares back to back with those edges up, and use the tail to whipstitch them together, stitch to stitch. Sew in the remaining tail afterward.

Next line up the two pairs so the squares make a checkerboard and the remaining sewing tails are on the edges to be joined. With each tail, stitch straight through one square edge to get to the outer end of the seam and whipstitch back to the center; secure the end. Before securing the second end you may wish to open out the full washrag and sew up any gap in the center.

Bordering

You can make a simple but sturdy border for the washrag with single crochet. Tie a slip knot and place it on your hook, and then insert your hook into a stitch on the edge of the washrag and make a slip stitch. Chain 1 and sc around; where you have stitches or leftover starting chain strands this will be straightforward, but on the sides of rows you’ll want 1 stitch per single crochet row and 2 per double crochet row. Just do it by eye. Stitch through the stitches or completely around the end stitch of the row as desired. Put 3 sc into the same stitch to turn a corner. I would make 2 rounds, and of course the second will be easier because there’s no figuring out where to put stitches. Don’t forget your 3 sc to turn corners!