Mystery solved, part 1

Around the time I began my hiatus, I finished clue 4 of 8 on the mystery afghan crochet-along I’ve been doing. After that I did clues 5 and 7, leaving 6 to afterward because it, like 8, joined motifs rather than adding them. Although I’ve made good progress on them, those two will come later – I’ve had to slow way down, so hopefully November, but possibly December.

mystery afghan clue 1 stitching 
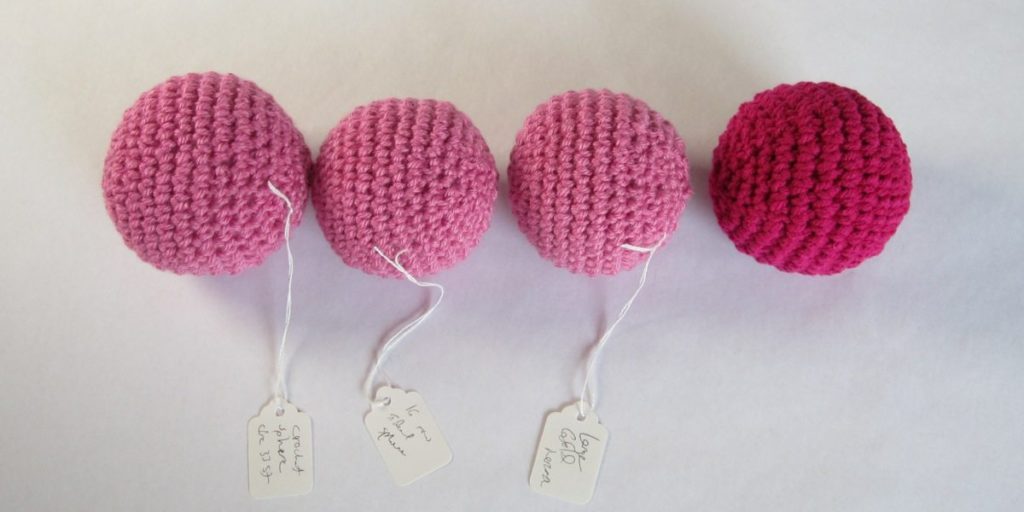
Clue 1: Beginning of center medallion in dark purple, 12 dark gray popcorn grannies, two dark purple old rose hexagons.

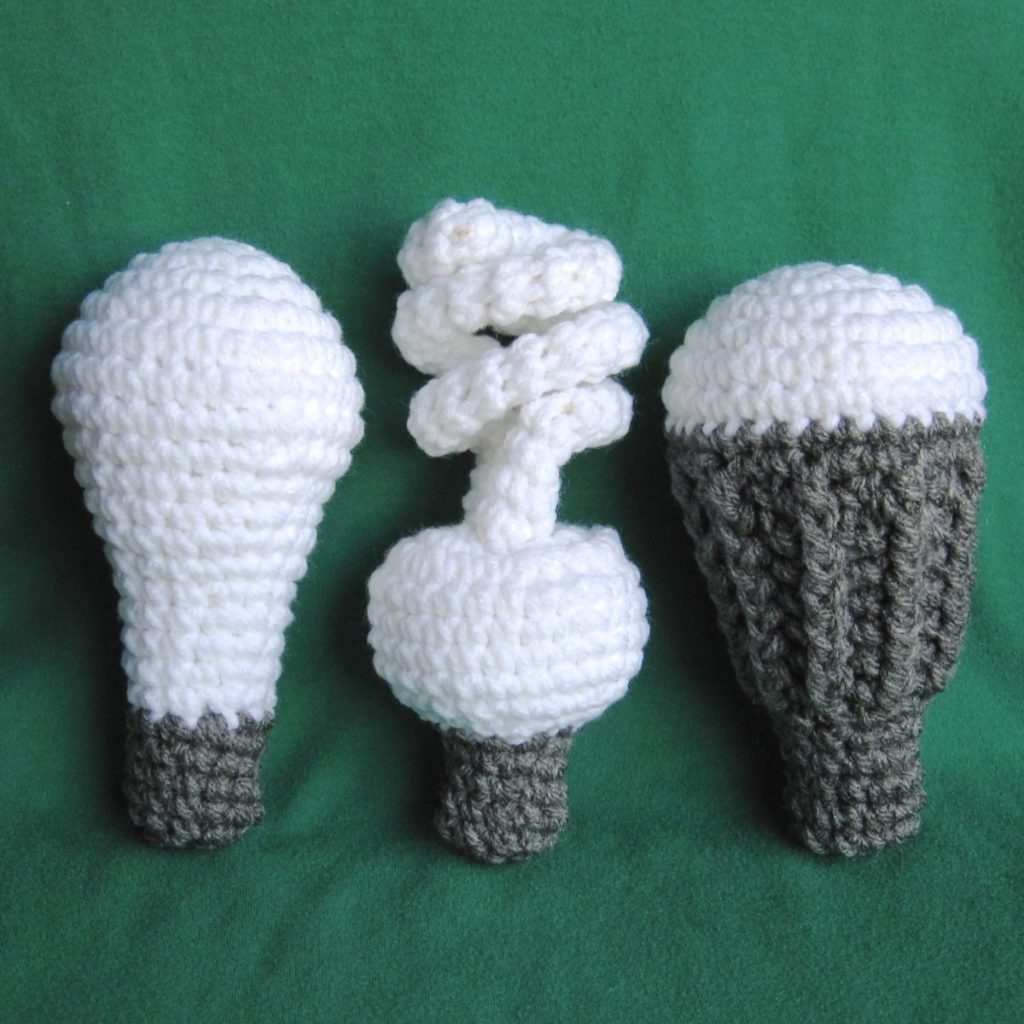
I won’t lie, the beginning of the medallion was a little dull. This whole afghan has endless front post double crochet stitches. Fortunately I’m not in the crowd who were discussing having to space them out because of wrist pain. I’m not sure whether I’d ever made popcorn stitches before, but I’m pretty certain even if so I never made them for anything other than practice or experimentation. They have an interesting slightly pointed texture.

mystery afghan clue 2 stitching 
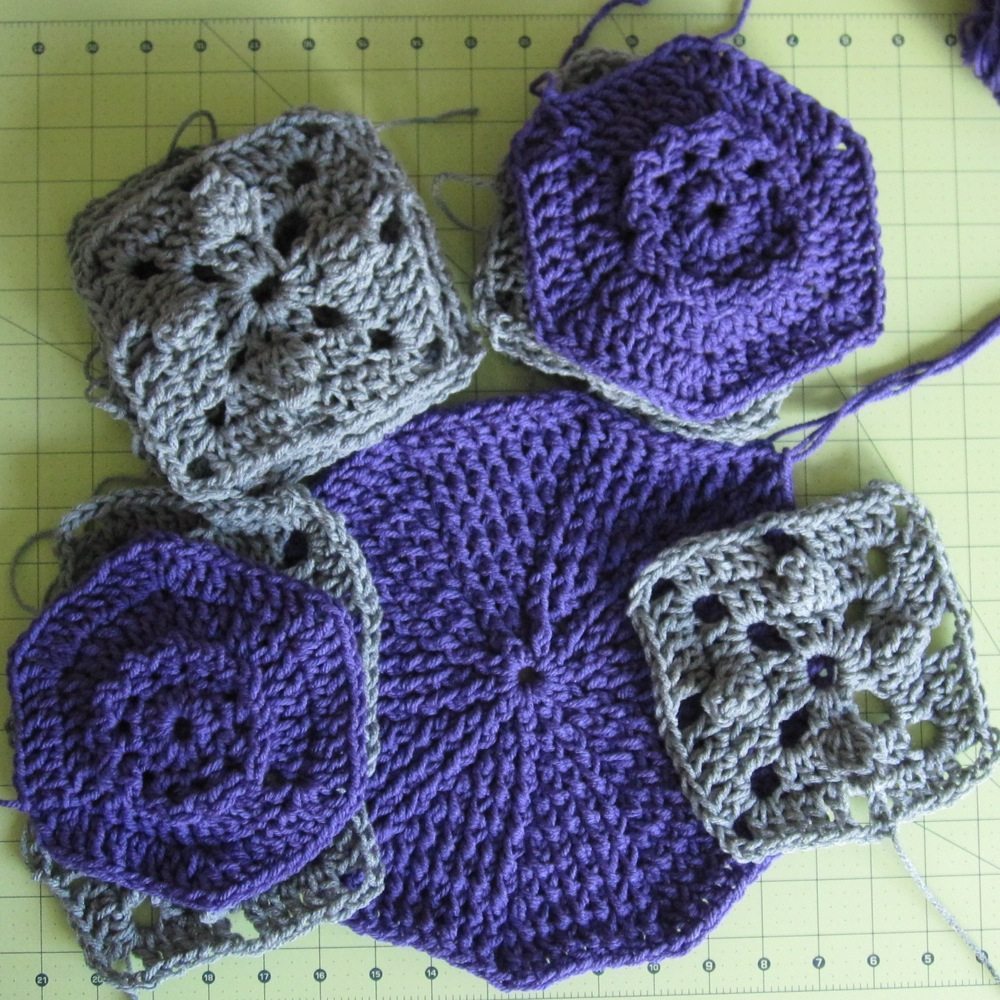
Clue 2: Two dark purple solid hexagons, four spiral hexagons in dark purple and either light purple or dark gray, two round ripple blocks in light purple and light gray, 10 light purple front post grannies.

I like spirals. However, the round ripple blocks might be my favorite motif of the entire afghan, though that may be primarily because of how the two light shades look together. In the photo, note that the solid purple hexagon on the right is upside-down and the one on top of the large motif is right-side-up. I got confused, probably in part because of the old rose hexagons of Clue 1.

mystery afghan clue 3 stitching 
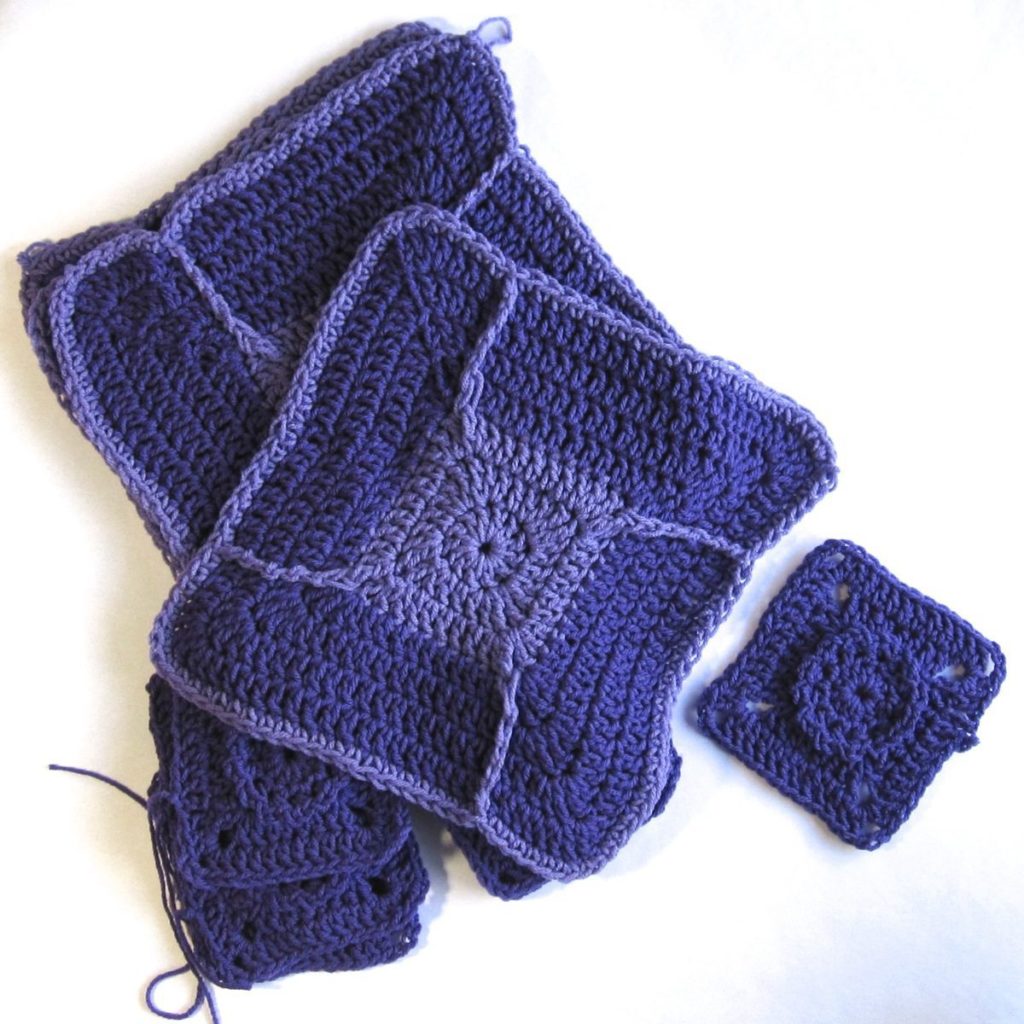
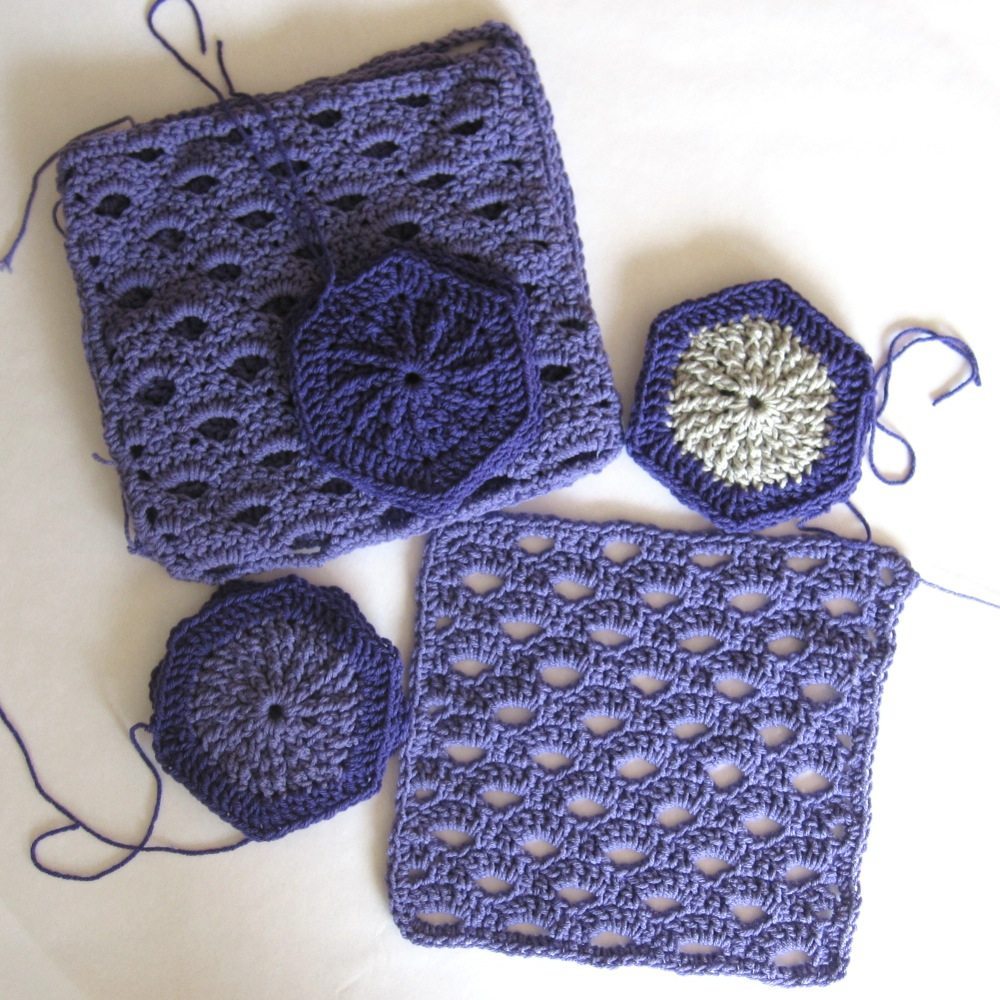
Clue 3: Four light purple scallops blocks (the only motif worked in rows), two dark purple sun rays hexagons (I found these visually indistinguishable from the solid hexagons and may not have split them up correctly for assembly), four two-color hexagons in dark purple and either light purple or light gray.

The scallops were a nice diversion from all the rounds, and I like their look. Keeping my place in the four-row repeated pattern took occasional orienteering, though. I appreciate that JulieAnny spread out the smaller motifs so every clue had something to give you a break from the big motifs.

mystery afghan clue 4 stitching Clue 4: Middle of center medallion in dark and light purple, 12 light gray window pane grannies.

The window pane grannies were quite open, with first-round cluster stitches further condensed by third-round post stitches made on them. The middle of the medallion was tricky but interesting. I had to pull a decent amount of yarn out and redo sections. As painful as that was, I figured I shouldn’t spend as much time on this as I am and then let obvious errors go unfixed. It doesn’t make sense.

mystery afghan clue 5 stitching 
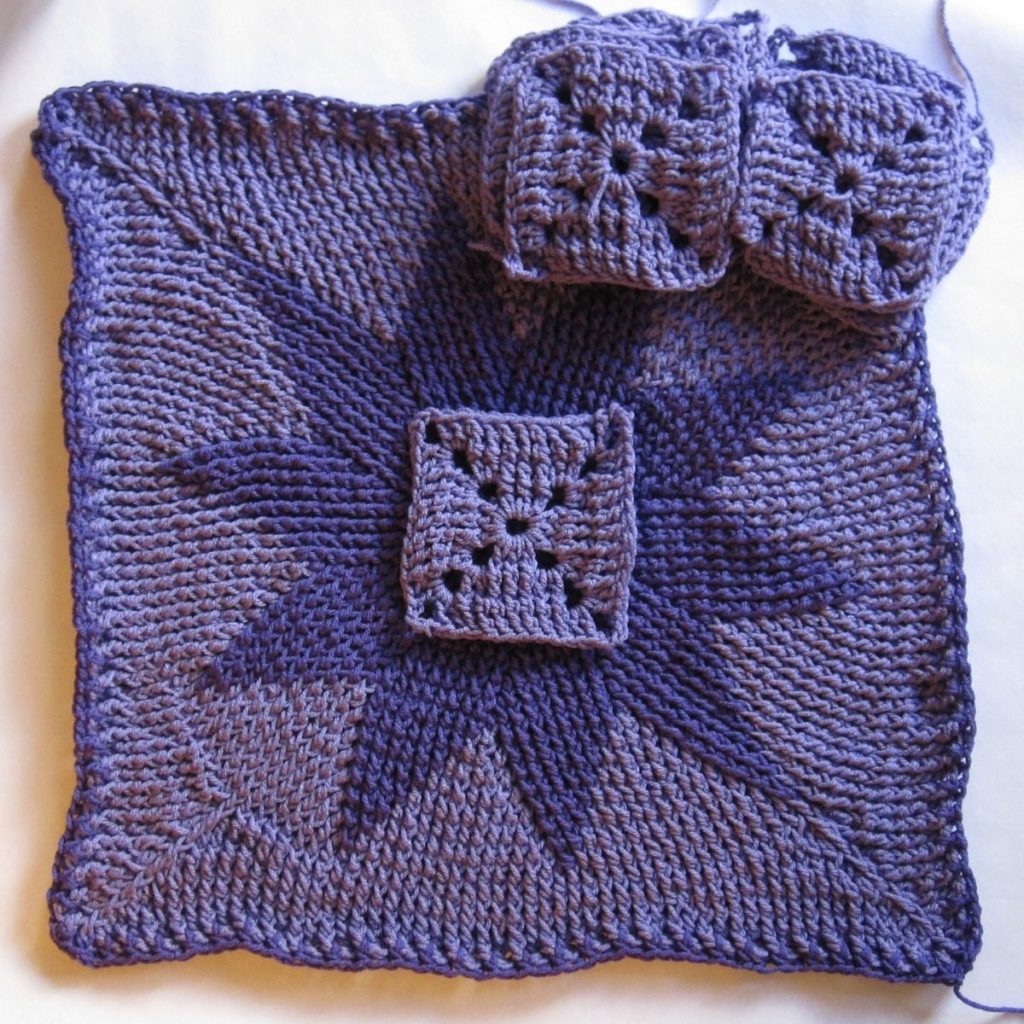
Clue 5: End of center medallion in light purple, 10 light purple front post grannies.

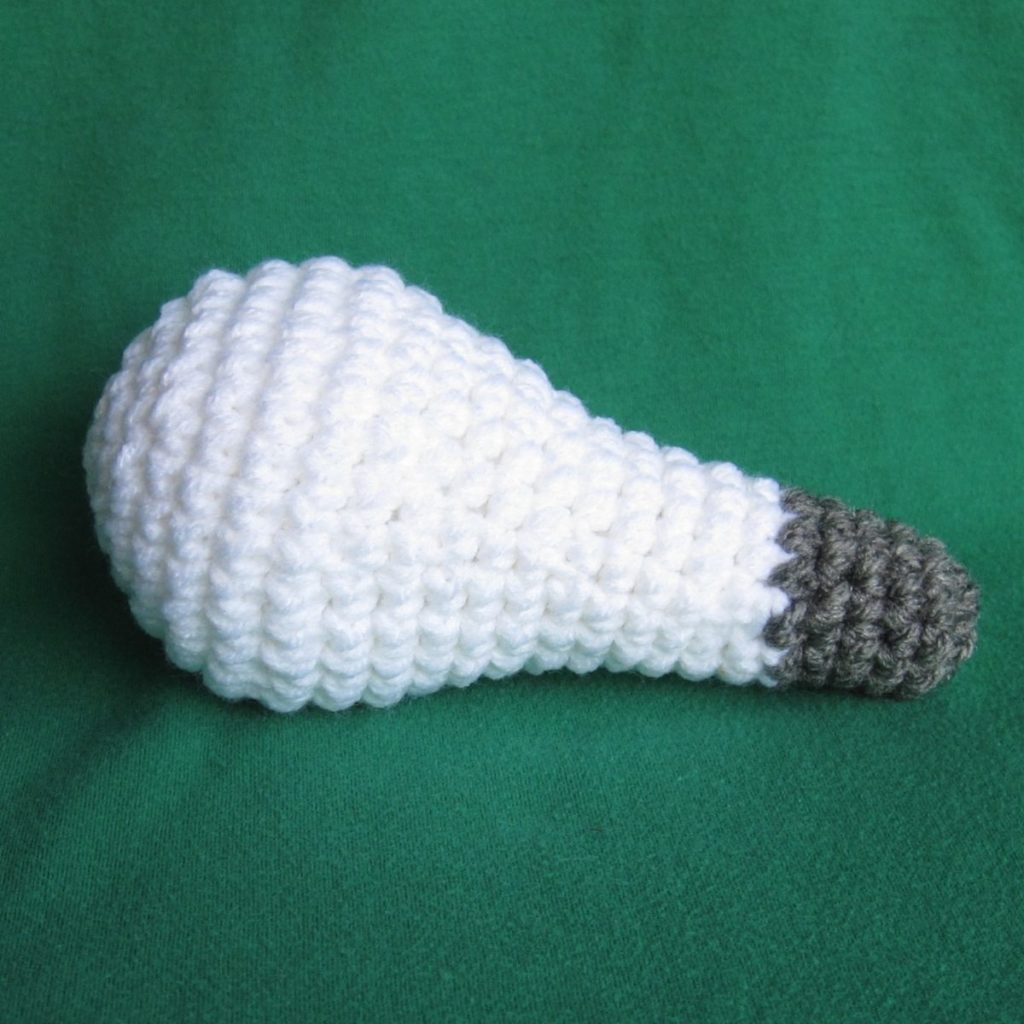
The end of the center medallion was no more interesting than the beginning, but at least the scenery was better. It was probably one of the largest single items I had worked on to date (well, I mended an afghan for my mother-in-law once, which I don’t think I showed here, and that clearly was larger). Front post grannies, well, are front post grannies.

mystery afghan clue 7 stitching Clue 7: Brick squares in light and dark purple, 8 dark purple old rose grannies.

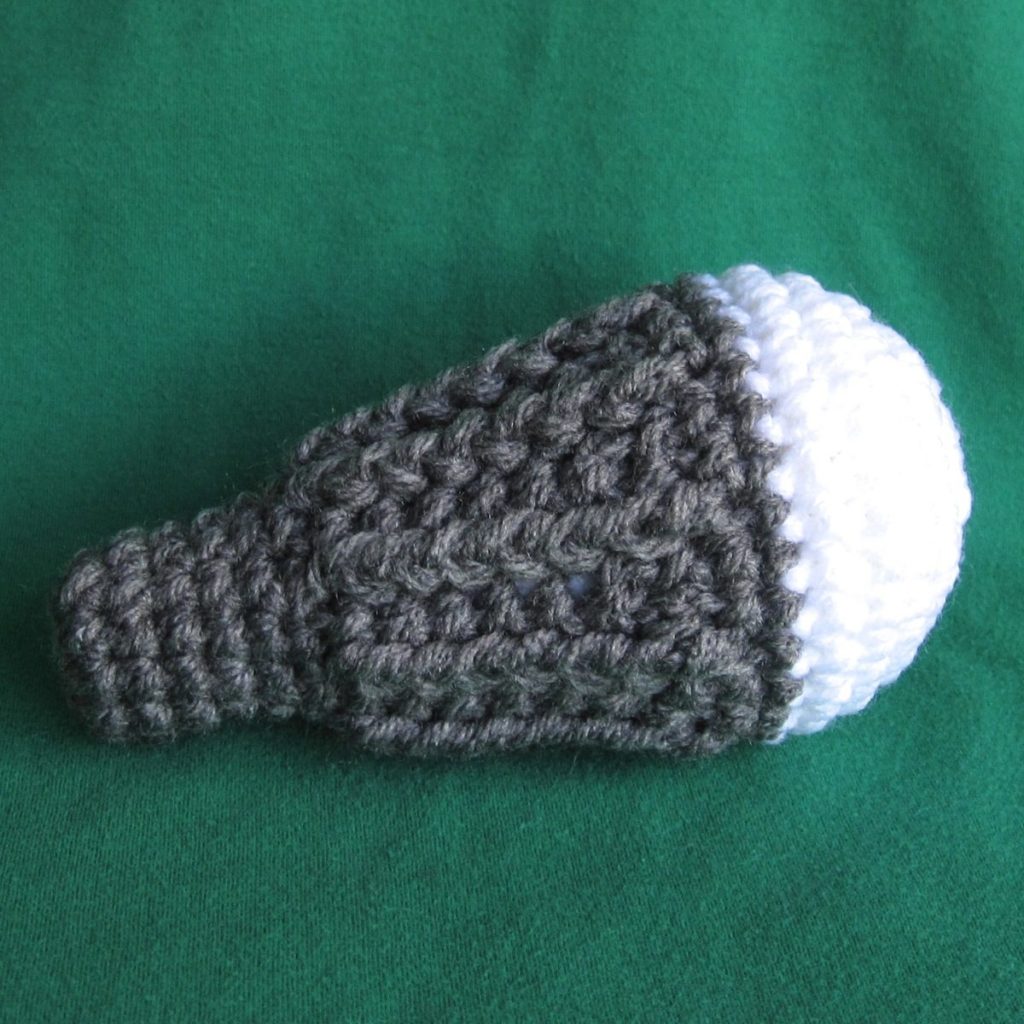
The old rose grannies were nice, and indeed, the centermost rounds were identical to the old rose hexagons. The brick squares were the most frustrating and least satisfying motif of the entire afghan. After consistently failing to maintain anything approaching normal tension with 5 yarn overs and a hook insertion five rounds below, I made the tall stitches by yarning over once and pulling four loops up through strands of stitches in the four intervening rounds. It was still fussy and slow, and I’m still not thrilled, but my tension was much more reliable and I can hope that joining straightens them out.

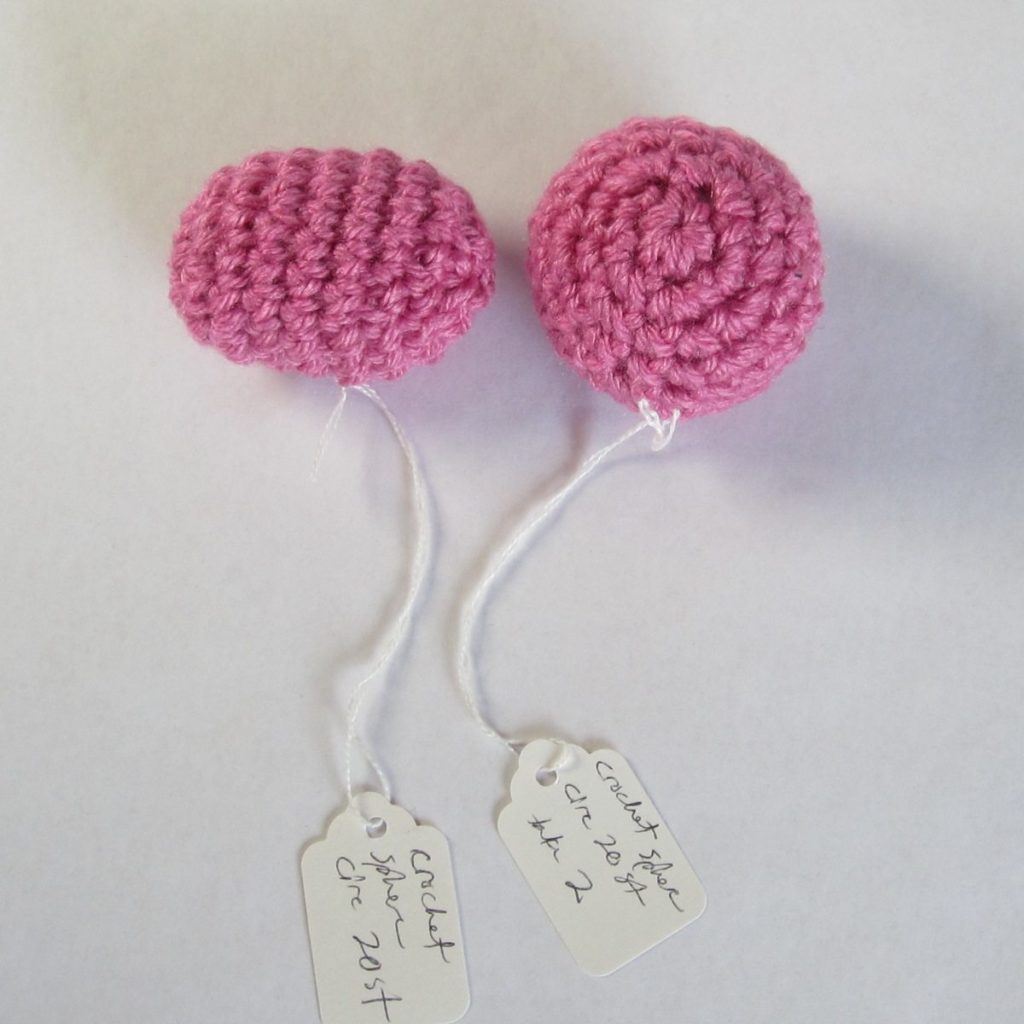
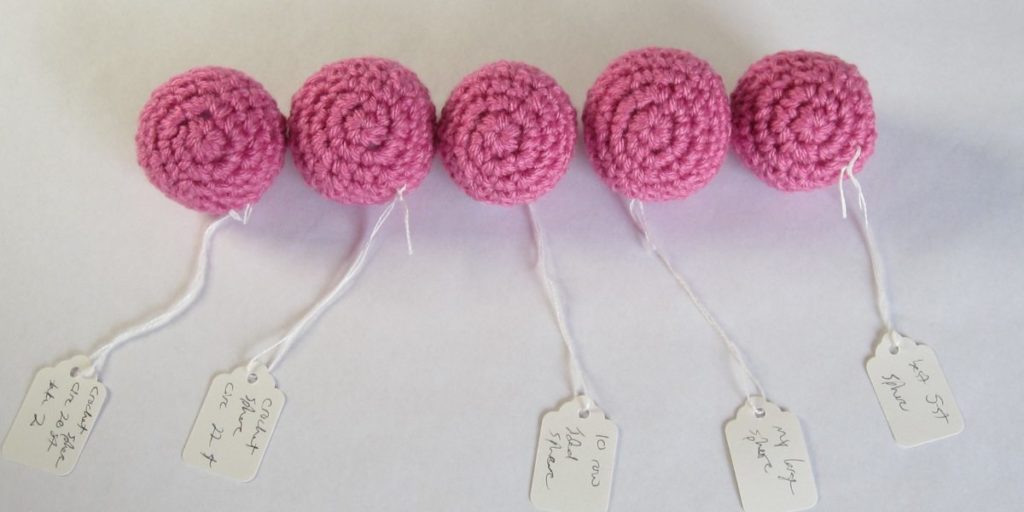
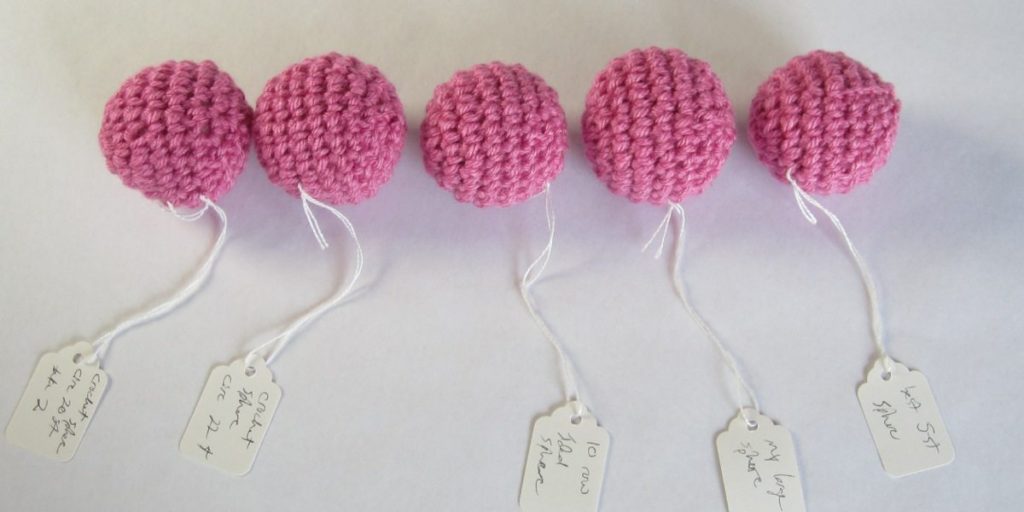
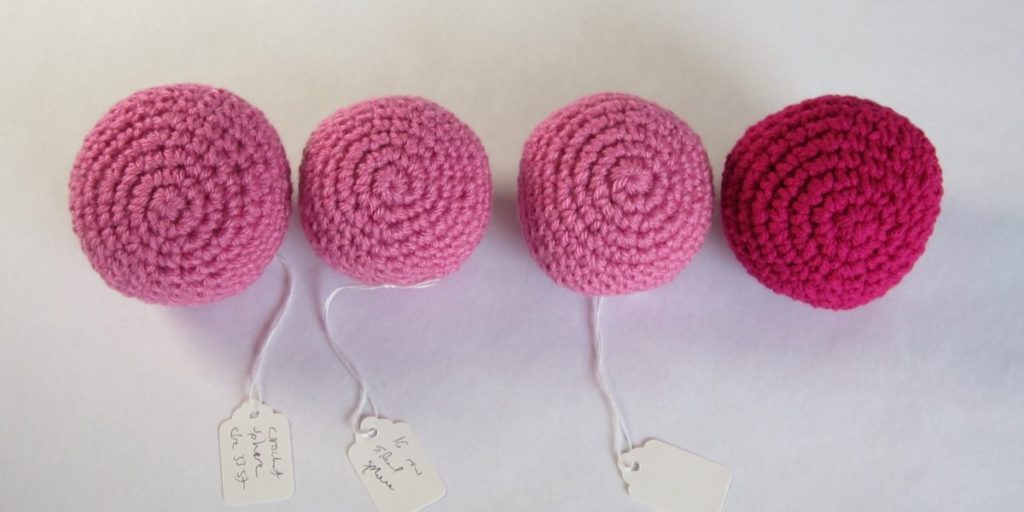
If you want to follow along and get sneak peeks, I’ve kept ridiculously detailed notes on my Ravelry project page (Ravelry login required, I expect), and it’s one of only a few projects I’ve put on Rav as a work in progress. The previous ones were probably all from before I started this blog.

Illumination

This is the 133rd anniversary of the opening of the Savoy Theatre in Westminster, London, which was the first public building in the world to be lit entirely with electricity. In honor of that I have old and new lightbulb patterns for you.

three light bulbs in crochet

Lightbulbs Aplenty Pattern

In the early days of this blog I designed a compact fluorescent lightbulb and stitched an incandescent bulb to go along with it. In honor of today I thought I’d write a pattern for the incandescent bulb, clean up the CFL pattern if possible, and add an LED bulb pattern to the mix!

LED lightbulb

The CFL changes have been made to the original blog post, and for the LED pattern you’ll have to get the Name-Your-Price pattern in the store (which includes all three bulbs). The incandescent pattern is below.

Incandescent Light Bulb

incandescent lightbulb Gauge is not terribly important, but since I use an E/4 hook (3.5mm) on the CFL, I used it on the incandescent as well. You’ll need worsted weight yarn in two colors, stuffing, and (optionally) something to weight the bottom with (I have used tangled necklace chains, beads, pebbles, and coins). My crochet abbreviations and conventions are on the crochet reference page, and any stitch instruction you might want is linked to from the pattern page.

In bulb color:
1. Form magic ring, ch 1, and sc 6.
2. 2sc around (12).
3. *Sc, 2sc* around (18).
4. *2sc, sc 2* around (24).
5. Sc 2, *2sc, sc 3* five times, 2sc, sc (30).
6-8. Sc around (30 sc; 3 rnds).
9. *Dec, sc 5* four times, sc 2 (26).
10. Sc 2, *dec, sc 4* four times (22).
11. *Dec, sc 3* four times, sc 2 (18).
12-13. Sc around (18 sc, 2 rnds).
14. *Dec, sc 4* around (15).
15-17. Sc around (15 sc; 3 rnds).
18. *Dec, sc 3* around (12). Stuff bulb.

Cut yarn and needle join in second stitch from end; FO bulb color.

In base color: tie slip knot and place on hook. Insert into any stitch of rnd 18 and attach with slip stitch.
19. Starting in next st and ended in same st as sl st, sc around (12).
20-23. Sc around (12 sc; 4 rnds). Stuff, finishing with bottom weight if using.
24. *Dec* around (6). FO.

Single Crochet Shaping 2: spheres

For our second episode of Single Crochet Shaping I stitched a whole bunch of crochet spheres.

crochet spheres all together

Here’s the punch line: stuffing matters more than stitching. At least after a point, of course. All of my spheres were pretty well spherical, and I think the lumps were due as much to my stuffing job as to the shaping.

example of differences in stuffing spheres

Some stuffing differences were extremely obvious, as in the spheres above. Those were the same pattern, but the right-hand one is stuffed more fully than the left.

I used four design bases: two from sites that were trying to embed geometry and trigonometry into the design, and two very simple repetitive designs. Those latter two were to increase by either 6 stitches per round or 5, work even for some number of rounds, and then decrease by the same number of stitches as you increased. In both cases I made one adjustment for the larger sphere, which I’ll detail with their patterns, at the end of the post.

The first mathematical approach was the Crochet Sphere Calculator. Its method of calculating the stitch counts is not given, but you tell it the desired circumference in stitches and it gives you a pattern. It may or may not give you a pattern with the exact number of stitches at the largest point that you asked for, I found, but it tells you how to place the increases and decreases. Those placements frequently require significant paying attention to your counting, however. I had one quibble with it, which was that starting with 5 stitches (which is what it means, though it says 0) and then increasing in four and doing a double increase (3 in 1) in the fifth seems less desirable than starting with 6 and then increasing in 5 of them (making a single sc in the sixth). Likewise, but even more so, having a penultimate round of 11 stitches and then decreasing 4 pairs and a trio to get to 5 seems less desirable than decreasing 5 pairs to get to 6 (with or without a single sc in the remaining stitch). Triple decreases, even done by the invisible method, are clumsy and obvious.

The second mathematical approach was the Ideal Crochet Sphere. This is based on viewing each round as a latitude line and calculating its circumference from its angle to the “north pole.” There is a separate pdf with two larger spheres and a blog post with a form that calculates the pattern for a sphere of your desired size, though by telling you only the number of increases or decreases in the round. You must decide on their placement. However, you can certainly place them so that there is as much repetition in the counting as possible, to minimize the need for going back in your round and counting to remember what you’re doing next. The pre-made patterns are arranged to have as much repetition as possible without stacking increases and decreases on top of each other round to round.

small crochet spheres, front view

small crochet spheres, side view

Above, left to right: Sphere calculator 20-stitch circumference (this is the one shown in the stuffing picture above), sphere calculator 22-stitch circumference, 10-round ideal sphere, 6-increase sphere, 5-increase sphere (patterns for last two at bottom).

large crochet spheres, front view

large crochet spheres, side view

Above, left to right: Sphere calculator 33-stitch circumference, 16-round ideal sphere, 6-increase sphere, 5-increase sphere (patterns for last two below, again; last sphere in different yarn because I ran out).

You can see that they are all more or less equivalently spherical. I didn’t make any effort to offset my increases and decreases in the 5- and 6-increase spheres, and doing so would have made them smoother. The large 5-increase sphere is fairly lumpy, but you should have seen what it looked like before stuffing! A strawberry. It looked pretty much just like a strawberry (at least before too many decrease rounds).

My recommendation if you don’t want to have to work out, say, how many rounds to work even in a 6-increase sphere, is to use the Ideal Crochet Sphere. It gives good results with the least effort.

Patterns for my spheres after the cut… Continue reading Single Crochet Shaping 2: spheres