I keep my to do list in a 4″x6″ notebook, one page per day. This give me enough space for a detailed list and some changes of plans without being a wastefully large amount. This is also where I keep track of hours worked, scored with points; this is a system based on David Seah’s Printable CEO.
The current notebook is a clearance Staples purchase, college ruled with a classy and non-flashy cover. It came into use in a fit of envy over Carrose Creation’s Filofaux project, but with the knowledge that in November a new calendar is either a waste of money or an exercise in extreme patience. I added some stickers and a ribbon bookmark (also pictured: my “reporter’s notebook” for the Upper Valley Fiber Crafts blog, prior to getting its own ribbon bookmark).
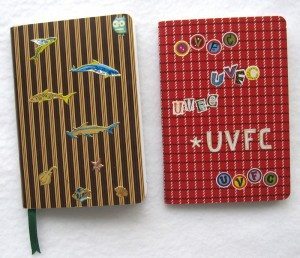
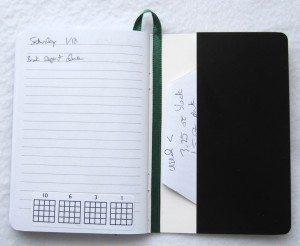
Obviously this picture was taken a while ago, before tomorrow’s page filled with tasks.
I wanted something prettier for my next one, although time will tell whether that’s what I really want. So I went through my paper collection and asked my sister and mother for any contributions they might have, of paper lightweight and light-colored enough to use in a notebook, at least 6″x8″ in size. I ended with 17 distinct papers and a cover cut from a textbook advertising flyer, and bought 4 more so that I’d have 21*4 = 84 pages, an even 12 weeks. I used stamps on the plain backs that most of the pages had. I’ve been busy so I wasn’t as thoughtful with it as I had hoped, but if I like it I’ll make the next starting more in advance. This notebook got a ribbon bookmark too, added before assembly, and I pasted striped tissue paper over it and the text on the inside of the cover.
After folding each page in half and aligning them, I stapled them with my husband’s booklet stapler and then trimmed the edges, more carefully than with my blog planner. Then I discovered it was really too much for the stapler, so I added two more staples outside in and one inside out. Hopefully it will stay together; otherwise I’ll have to sew it. I made my own washi tape with masking tape and Sharpies as described on DIYSara (whose blog I found while searching out handmade planner resources, fittingly enough) to cover the short edges of the cover, to give it a little protection and also to keep the tissue paper from getting scraped off.

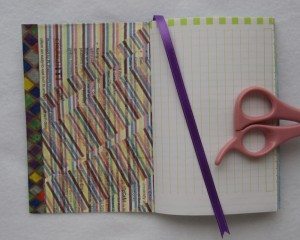
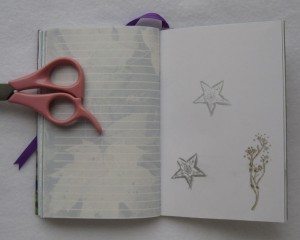
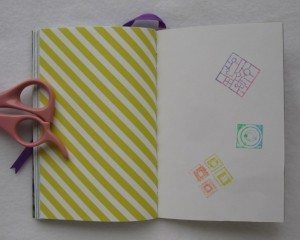
My scissors make an appearance because it doesn’t lie flat very well and I didn’t want to manhandle it too much. I’m hoping it breaks in easily.
This isn’t really an FYDP because I deliberately waited until after Christmas, but I did leave it late – I prefer being able to write tasks into the next week’s lists. Now to date all the pages and put in the tasks and dates I already know. Onward!


