Success!

Tomorrow is my birthday, so I am taking a moment to reflect on projects that went just right. I’m generally happy with my work, but every once in a while the planets align and the result is better than I hoped.

In my early twenties I had a pair of jeans I loved, except that they were just a little too short. I added some length in the form of orange wire-edged ribbon, a beloved article from my stash, and miraculously, it worked! Even a professor who didn’t typically comment on such things said he liked them.

They are with me no more, though for the lovely reason that they are now too big, so I do not have a picture and must turn to more recent successes.

I adore brocade. It’s so rich! And so difficult to use for anything. However, I wanted a purse to go with a brown dress, and had brown and gold brocade at hand. My grandmother’s button box was in the closet and the two came together to make a perfect envelope clutch:
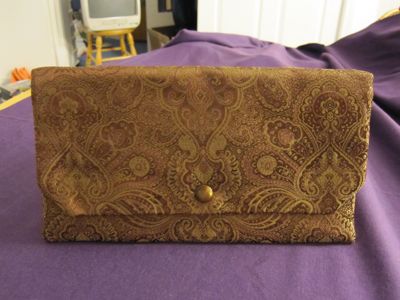
brown and gold brocade clutch purse

It is fully lined with an inner pocket. This picture shows the true look of the fabric better, too.
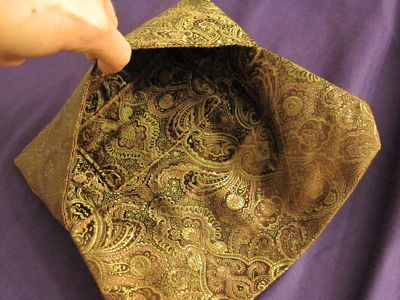
brown and gold brocade clutch purse

Perfect projects need not be self-designed, though that is a bonus. I wanted a hobo bag to take to Germany, and McCall’s M4400, in brocade again, came out exactly as I desired:
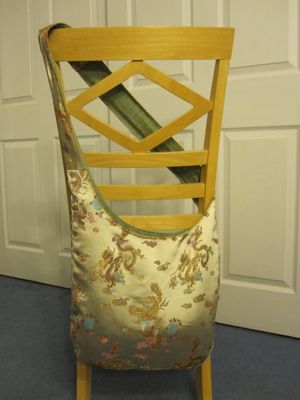
hobo bag

I didn’t technically have enough fabric to make the bag, so I had to piece the straps. In fact, though it does not show here, I pieced the lining as well. The depths of the bag are lined with a straw-colored calico because I didn’t have enough green; this actually is a bonus because it is easier to find things against a lighter background. In the close-ups you can also see the decorative topstitching I did (by machine!). The top seam of the strap didn’t stitch together so neatly, so I added a loop around to cover it up.
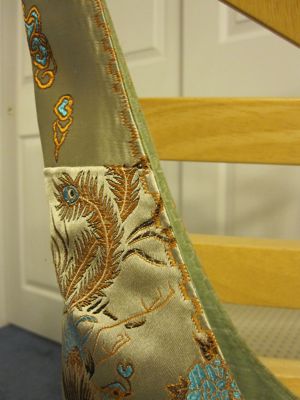
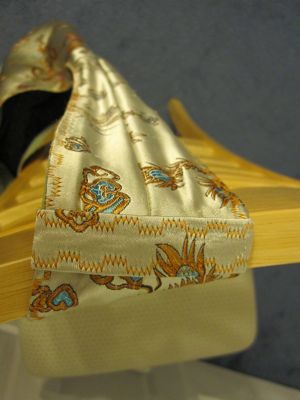
hobo bag piecing hobo bag strap

What projects, fabric or otherwise, have you had come out just right?
Yipig Yipig

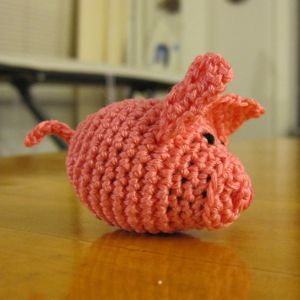
April’s Amigurumi Army theme was “let’s pig out!” I had been wanting to try Kristie’s Kids’ pig pattern for a while, so that gave me the excuse to make it a priority.

At first, the pig was a little pink egg with ears:

egg pig

Then I found another skein of matching embroidery floss and made the legs.

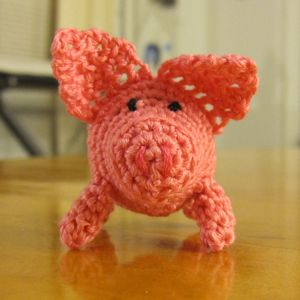
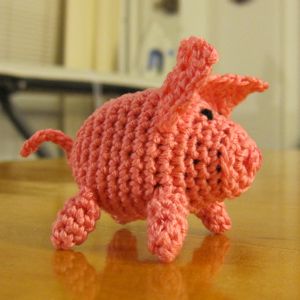
front view side view

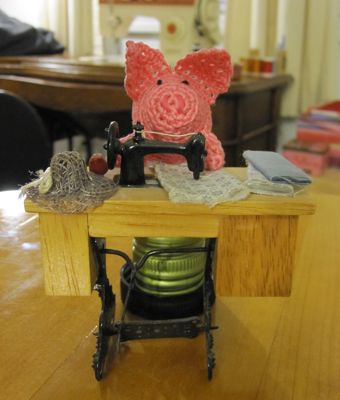
Finally, I put that pig to work.

sweatshop labor

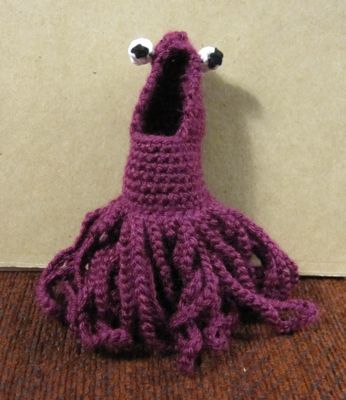
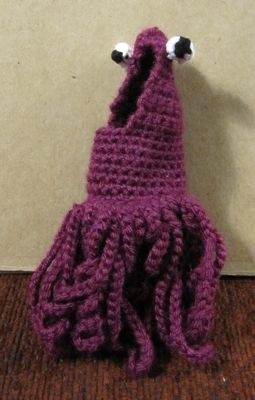
Long ago, I began crocheting a Sesame Street yip yip alien, as explained by wikiHow. I made one false start well before the new year and according to my Ravelry records I started a second one on February 20th of this year. I altered the pattern a fair bit – I was skeptical of it when it said to chain 2.5 to 3 inches in order to make a loop an inch in diameter, an endeavor that requires over 3 inches of chain; but really I changed it so the decreases for the “head” were in the middle instead of at the edges. I was hoping that would make the mouth a better shape, though I am unsure of the quality of the results. My version is also a fair bit bigger than the pattern’s. Finally, I did long chains slip-stitched into loops around the base instead of the individual chains lark’s-head-knotted in pairs onto the base.

Instead of making the straw-piece eyes recommended by wikiHow I made – well, a bunch of eyes that are now in my “to use as stuffing” bin. I settled on: with black, start a magic ring, make one full sc and begin a second. For the final loop of that second sc change to white, and then make four more sc in the magic ring in white. Pull the ring tight. Continuing in white, still, continue around the circle making 4 more sc in back loops only. Tie the loose ends of the black and white yarn securely to the end of the black yarn still connected to the skein, and cut all three close to the knot. With the remaining white strand, make two invisible decreases, but use the back loops instead of the front loops. Slip stitch if desired, cut yarn leaving a long tail, and sew to close off back end of eyeball. Put loose end through side of eye for sewing to head.

I don’t think I can recommend that method.

Without further ado, though:

front view side view

Pi pillows

Recently I was asked by a student to participate in a Pi(e) celebration, giving the mathematical side. I decided to make Pi Prizes to give out for trivia such as where the first zero is in the decimal expansion of pi, the best fractional approximation for pi, mnemonic devices for the digits of pi, etc. I intended to crochet an amigurumi pi or three, but quickly realized that would take far too long.

Instead, I typed a boldface pi in the largest font size LaTeX makes, blew it up to maximum magnification in the pdf viewer, screenshot it, used iPhoto to print it out as an 8×10, drew a half-inch margin around it and used that as a pattern. When I sewed I actually only used a 3/8″ seam allowance, and if I were to make more I would probably adjust the pattern so the pi is not so spindly. I would also leave the top as the opening for turning and stuffing, even though stitching it closed there would be more visible – the first one I made I left the inseam of the left leg open, and getting the stuffing into the right leg was very difficult. In the latter two I left the top of the inseams and the bit of crossbar connecting them open, and the closed-up corners are not as neat as they could be.

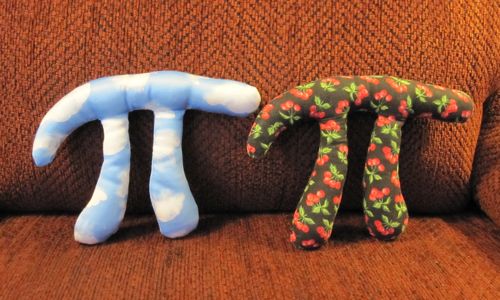
Pi in the Sky and Cherry Pi:

plush pi in cloud and cherry fabric

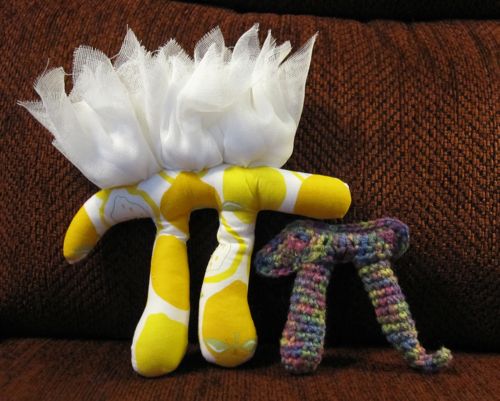
Lemon Meringue Pi and my original crochet pi:

plush pi in lemon fabric and crochet pi

The fabric was all from my stash, including the cheesecloth meringue puffs. Pumpkin, apple, and pizza pi are other obvious choices, and I’ve thought about finding a lime-printed fabric and extending the crossbar of the pi to the right with a trefoil-shaped end to make key lime pi. Moon pi would be adorable. There are apparently several kinds of velvet pi. I may be missing other easy ones, but it seems to get abstract fast – chicken pot pi? Mud pi? Mincemeat pi? Humble pi? Cow pi?

I’m just glad I didn’t got through with my original plan of crocheting pi from furry yarn.