First Friday

I hope you have art galleries to go to! Last month, I was at Boston Logan airport looking at their two George Rhoads rolling ball sculptures. By the time this appears I will be at the Upper Valley Food Co-op‘s First Friday open house celebrating their 35th anniversary. The Sew-Op is having an open house in conjunction with it and we’re hoping to lure people in to not only take classes, but attend open sewing hours and be teachers, teacher’s aides, or open hours monitors.

Once again, if you don’t have a gallery to go to, I’ve tried to provide a (sorely inadequate) substitute in the form of artistic links.

I have been pondering my upcoming Summer of Embroidery. I signed on to teach a beginning embroidery class in the fall, and am going to stitch a sampler this summer as part of the preparation for that. Expect a number of entries with bits of that as I finish. I have another project I’ll be writing about soon, and have been inspired to try to put an image from a dream into solid form via thread painting and ribbon embroidery.

When I was looking up the examples above, this beautiful tree came up under thread painting. It’s not that, but it is fiber art of the best kind.

Now that I’ve had a chance to process my photos, here’s a great picture of Burly Hot-Pants at the wedding:
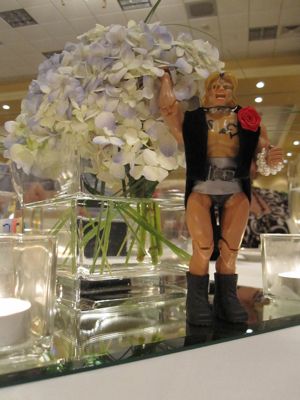
centerpiece

As for coming attractions…. well, I’ve been trying to make a summer hat for myself for a while now. I keep posting pictures various places in the hope that announcing the plan will induce me to actually complete it. I am midway through the design process, but not at all done. Here’s one more announcement!
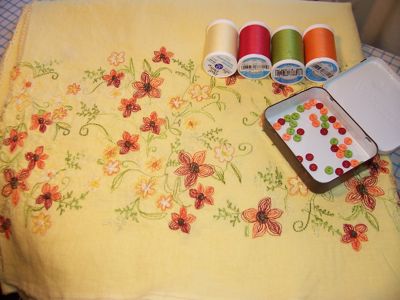
makings of summer hat

Instead of a second preview, I’d like to take a poll. My first “real” crochet pattern will hopefully be finished and posted soon; which of the following would you most like to see a crochet version of?
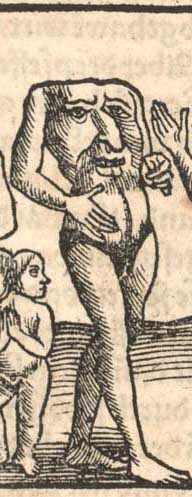
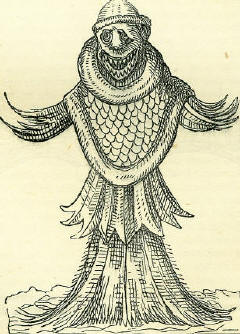
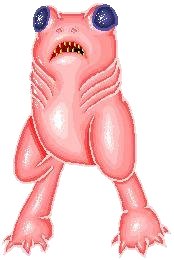
Blemmye Sea Monk Canvey Island monster

Potholders

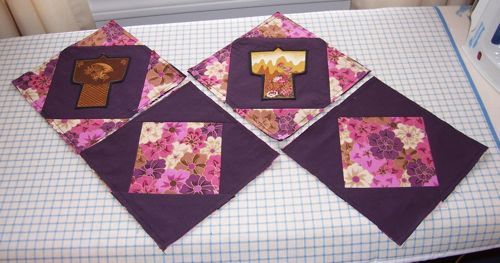
Marsha Michler suggests learning quilting methods via small-scale work: potholders. This is the only size quilt I have ever completed, and pairs of potholders have become my standard wedding gift. I am making some for July weddings, and will post a tutorial from them, but for now I just wanted to show off some pictures.

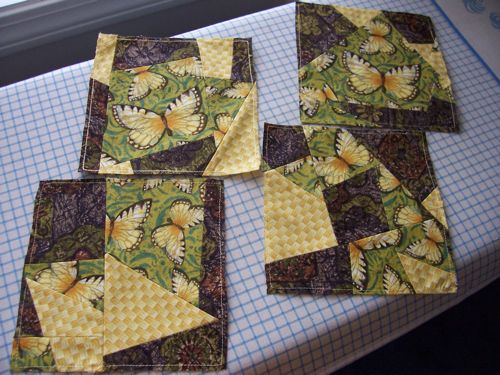
Last summer I made butterfly potholders from two calicos out of my stash and some heavier fabric (the dark green and brown) found at an antique store for a dime:

butterfly fabric potholder sides

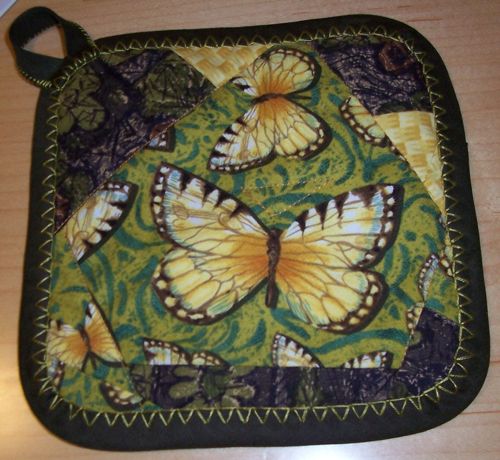
Usually I finish the edging with blanket stitch; this time I got fancy and used closed blanket:

butterfly fabric potholders

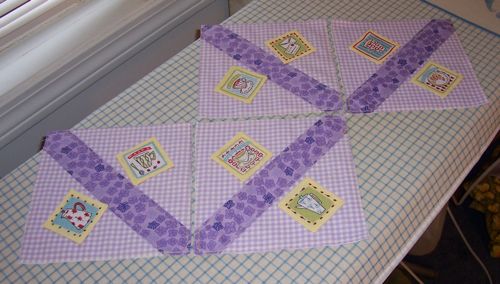
I have two sets in progress (which of course are not going to be the sets I give at this summer’s weddings!), one casual and one more formal (sexy, even?):

lavender gingham coffee-themed potholder sides

kimono applique potholder sides

The main delay on these is that the kimono and coffee appliques need to be stitched down, and I want them to be nice looking. Hence, hand embroidery, at which I am very slow.

Silver tie event

Remember this?

silver and velvet, ooh la la

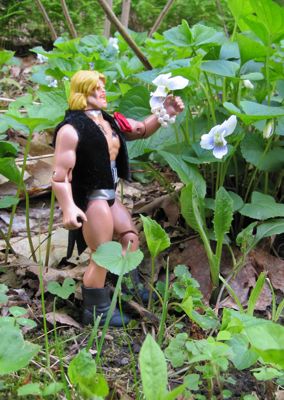
Burly Hot-Pants has been with me or one of my former roommates since my senior year of college. I have no idea what sort of action figure he is, except it is not one of the major brands. I bought him at Wal-Mart, I think, and he became our mascot. We had photo shoots like “Burly Storms the Capitol!” (of Virginia) and “Burly in the Lost World!” (after Cha Cha brought home a bucket of plastic dinosaurs). We immediately gave him dark roots and tattoos. I don’t remember when we cut his pants off into short shorts, which eventually died and had to be replaced with new short shorts (those, I made in summer 2005). Originally he hung from the wire shelf in our fridge, a Cha Cha innovation, with a gun in his free hand. The guns disappeared long ago, leaving him only his boots and ammo belt. Near the end of senior year I bought him some Barbie accessories, though the only one that survives is a pearl necklace.

For Nickel’s wedding he acquired a silver Sharpie bow tie, and the necklace became a bracelet or anklet. That may have been when we gave him lipstick and nail polish, though we may also have done that earlier. Alas, the lipstick bled all over his mouth.

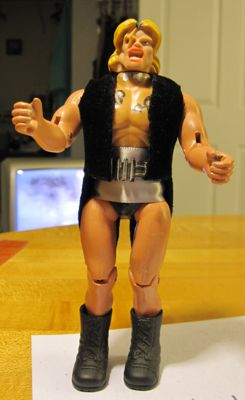
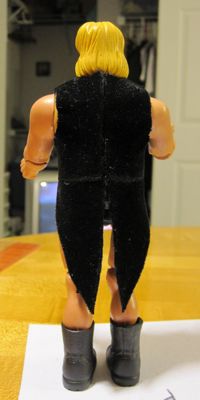
Naturally, he needed some new accoutrement for Dana’s wedding. What would be more natural than a Chippendales-style tuxedo jacket and cummerbund? He ditched his brown hot pants altogether in favor of his black plastic codpiece, but kept the boots and ammo belt (you never know what situations may arise at a wedding).

As BHP’s personal tailor and photographer, I present to you: Silver Tie Burly.

tux from front tux from back
You may be able to see in the back that I was watching Quest for the Mighty Sword, the greatest movie ever made.

As tough as he is, Burly has a softer side.

Burly's softer side

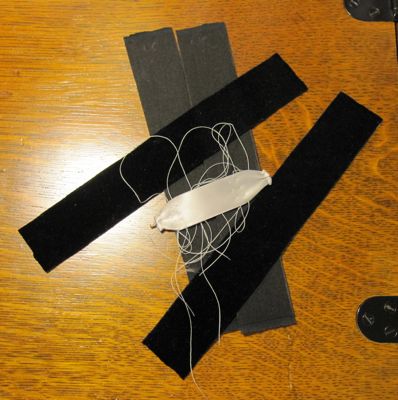
As you can probably tell, the cummerbund in the sneak peek picture was not the final cummerbund; I ended up just taking a length of ribbon and Stitch Witchery-ing velcro on each end.

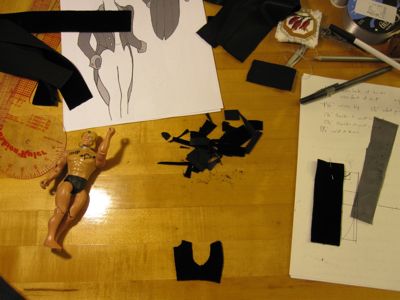
Construction notes: I started by cutting a straight line across a strip of velvet and lining the bottom up with the top of BHP’s codpiece and the inside with the center of his chest or back, and gradually cutting the front and back pieces to shape. I used fusible interfacing both to stabilize the velvet and in place of sewing the seams (so it is far from the sturdiest item I’ve ever made). After cutting four pieces, to which tails would be attached, I realized it would be better to make two pieces that went around under his arms on each side and only had to be ironed together at the shoulder and center back. I also realized the heavier of the two interfacings I’d gotten to try (both Pellon, but one a lightweight standard-style interfacing and the other a sheer tricot) was the only one that worked – the tricot had too much stretch, which would be desirable in other settings but not when using it like tape. So I cut new pieces from wider velvet and used my tailor’s ham to aid in ironing (I could have used a smaller one! Perhaps I’ll make one). For the tails, I attached a strip of velvet to one side of the back hem, cut it to a nice shape, put another piece against it wrong sides together and cut it to match, and then ironed it on. I decided not to attempt a collar; I rather like the military-vest look of the front as it is, but admittedly the omission had more to do with thinking it would be difficult.

detritus

In the picture you can also see my primary inspiration.