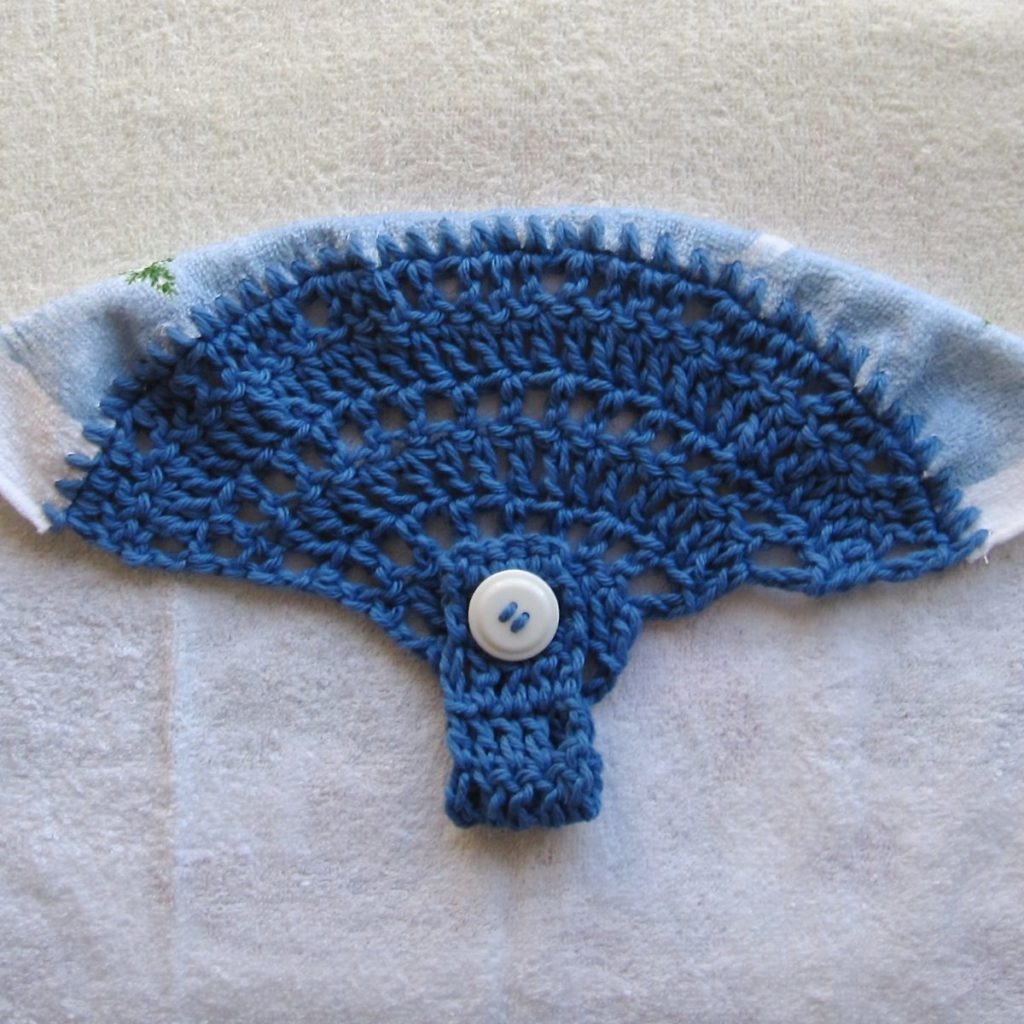
I didn’t make too many crochet-topped towels for the Sew-op sale, because I inherited some finished ones with the materials for all the towels. I did make two, though, and so needed to reverse-engineer/develop a pattern, which I’ll record here.
The pattern I pulled from the existing towels was too large for my stitching – I was already using an F hook (3.75mm) and might have had to go down two hook sizes for the right gauge, which would have been truly uncomfortable. F is about as small as I want to go with cotton worsted weight.
I experimented with stringing the button onto the yarn before I began stitching, two parallel lines on the top of the button with a diagonal line joining them across the back. You have to start by bringing the end of the yarn back to front through a hole, down a neighboring hole, up the diagonally opposite hole, and finally back down the remaining unused hole. I used a steel hook to pull the yarn through rather than threading it through a needle, which may have been doing things the hard way. You’ll probably have to slide it back manually a couple of times and then forward a bit when you want to use it. It worked well but you want to pull it tightly up against the hook when you use it.
To begin you have to single crochet across the top of the half-towel (after zigzagging or serging the raw edge). I made about 3 stitches to the inch, and just jammed my hook through the towel. I use Boye hooks, which have a reasonably pointy end; I don’t know if Bates hooks would work as well. Originally I tried to “pre-drill” with a large pin, but that didn’t seem to make much difference except if I needed to stitch into the binding on either side. After that first row you’re home free.
Note: This pattern uses the common convention that the ch-3 at the start of a row of dc counts as the first dc and is included in the stitch count for the row (but the ch-1 at the start of a row of sc does not count as an sc). If that is unfamiliar, visit the Learn Crochet section on turning chains for more. Feel free to replace “ch 3, counts as stitch” with another option as you so choose.
The pattern!
Crocheted Towel Topper
Requires F/5 hook (3.75mm) or as needed for a good gauge, less than a half ounce (14 g) cotton worsted weight yarn, prepared half-towel, 1″ (2.5cm) diameter button.
Abbreviations and conventions are listed on the Crochet Reference page. See notes above for additional details.
1. Place a slip knot on your hook. With the right (decorated) side of the towel facing you, sl st to join at the right end (left if you are lefty) and ch 1. Try to make those two stitches loosely. Sc across the towel edge, making about 3 stitches to the inch.
2. Ch 3 and turn. Make 32 dc stitches, spreading them out so you’re skipping stitches evenly, and making sure the last one is in the sl st/ch of the first row (33 dc). (See below for my examples).
3. Ch 3 and turn. Dc across (33 dc).
4. Ch 3 and turn. *Sk 1, dc 1* across, making sure you don’t count the st under the turning ch as your first skip (17 dc).
5-6. Repeat 3-4 (17 dc then 9 dc).
7. Ch 3 and turn. If you are sewing the button on afterward, dc across (9 dc). If you strung the button on first, dc 3 (4 dc made) and then slide the button up to the hook. With button to front, insert your hook through the diagonal strand on the back of the button (replaces yarn over) and pull up a loop through the stitch below (3 loops on hook). Work the loops off in pairs as for a normal dc, then dc 4 (9 dc, center containing button).
8. Repeat row 4 (5 dc).
9-13. Ch 3 and turn. Dc across (5 dc; 5 rows).
14. Ch 3 and turn. Dc, sk 1, dc 2 (4 dc). The skip makes the buttonhole.
15. Ch 1 and turn. Sc in first two stitches, between middle two stitches, and into last two stitches (5 sc).
Finish off. If you didn’t crochet the button on in row 7, sew it on now to the middle stitch of that row.
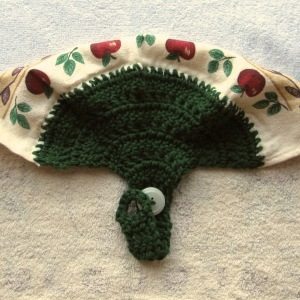
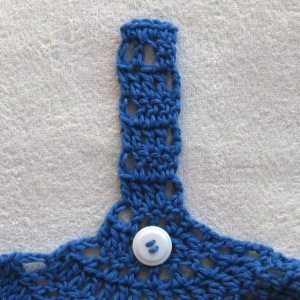
To make this more like the original, shown below, you’d shift the button from the middle of row 7 to the middle of row 9, and replace the end with the following rows:
14-15. Ch 3 and turn. Dc across (makes a total of 7 dc-across rows).
16. Ch 1 and turn. Sc across (5 sc).
17. Ch 6 (or maybe a bit more, if you’re working tighter), turn, and sl st into the opposite end of the row. Without chaining, turn and sc 8 or 9 around chain. FO.
Here’s the promised note about how I skipped in row 2 for my two towels:
One came out with 47 stitches across, so I needed to skip 14. I made 2 or 3 dc (counting the turning chain!) and then skipped 1 stitch. With the shorthand (size of batch) x (number of consecutive batches of that size), I could write it briefly as:
2×2, 3, 2×4, 3, 2×4, 3, 2×2.
The other had only 41 stitches, so I needed to lose just 8. I made 3 or 4 dc and then skipped 1, as so:
4, 3, 4×2, 3, 4×2, 3, 4.
To calculate your own, count your stitches (including the initial sl st/ch 1) and subtract 33, leaving X (my Xs were 14 and 8). Divide 33 by X+1 (the extra because you need to begin and end with a batch of dcs, so there’s one more batch than skip) and round down to get the smaller batch number, B (my Bs were 2 and 3). Now you can start just mapping out your stitching. If you go dc B, sk 1, dc B, sk 1, …., dc B, for a total of X skips, how many stitches are you short? That’s how many of the dc B batches have to be changed to dc B+1 (for me, 3 and 6). Spread those changes out symmetrically.
I’m taking a Thanksgiving break, so I’ll see you back here for First Friday on December 5th.


Hi Rebecca,
Your crochet topped towels look very quick to make. You mentioned trouble with poking the hook through the towels. I have a blog post called Tea Towel Party (18 Jan 2013) which has some ideas about solving that. I would suggest using a blanket stitch on your towel with a thread that matches the towel colour. You can read the ideas, whys and wherefores under the heading “Materials, Methods & Musings” here: http://lupeyloops.blogspot.com.au/2013/01/tea-towel-party.html
I too posted about crocheted topped towels this week. If you don’t mind, I will share the link to your post here ( http://lupeyloops.blogspot.com.au/2014/11/two-new-tea-towel-designs.html ) so my blog readers can view your work as well.
I found your blog through Kathryn Vercillo’s Link Love post. Thank you for sharing your work for all of us to enjoy. Have fun!
Cheers,
Jodie